Back Up and Restore Your Controller on Controller UI
This page introduces:
| Starting from CoPilot version 3.14, you have the option to back up and restore your Aviatrix Controller directly from the CoPilot UI. See Back up and Restore Your Controller on CoPilot UI |
for more details.
Backing up Your Controller Configuration on Controller
Aviatrix stores the Controller backup in an AWS S3 bucket or an Azure Container. Before you begin, determine where you would like to store the backup and create either the S3 bucket or Azure Container.
Creating regular backups of your Aviatrix Controller is essential to ensure the security and integrity of your network configurations. In the event of a failure or the need to migrate to a new Controller, having a backup allows you to quickly restore your settings and minimize downtime
|
-
Log into the Controller.
-
Go to SETTINGS > Maintenance > select the Backup & Restore tab.
-
Under the Backup section:
-
Select the appropriate Cloud Type and Account Name.
-
AWS: populate the S3 Bucket Name.
-
Azure: populate the Region, Storage Name, and Container Name.
-
GCP: populate the Bucket Name, Gcloud Project Credentials, and File Name.
-
OCI: populate the Tenancy OCID, User OCID, Compartment OCID, API Private Key File, Bucket Name, Region, and File Name.
-
-
-
(Optional) You can click Multiple Backup to enable multiple backups. See Multiple Backup for more details.
By default, only the latest configuration data is stored. Each time the configuration is backed up, it overwrites the previous one. If you would like to keep every copy, check the box Multiple Backup.
-
Click Enable.
The first time you enable this feature, the configuration will backed up to your specified location. After this, the configuration data is automatically backed up daily at 12 am.
Multiple Backup
Selecting the Multiple Backup checkbox enables the Controller to backup a maximum of 3 rotating backups. Each backup filename will contain the date and time of when the backup is made. Additionally, the backup without any date and time in the filename contains a copy of the latest backup.
If you want to force an immediate backup (e.g. for a configuration change) you can accomplish this by clicking Backup Now. If multiple backups are not enabled, each time the configuration is backed up, the backup up file will be overwritten. Otherwise, the oldest backed up file will be overwritten.
|
Selecting the Multiple Backup option is recommended. If the backup is already Enabled, go ahead and Disable it, turn on the Multiple Backup option and then Enable the backup again. |
|
You should enable cross-region replication in AWS when creating your S3 buckets. This ensures that an S3 bucket remains accessible if there is a regional CSP failure. The replacement Controller can retrieve and restore its backup file. |
Restoring Your Controller Configuration on Controller UI
|
Make sure your Controller backup and Controller restore take place in the same CSP (Cloud Service Provider): AWS, Azure, or GCP and share the same basic configuration. For example, an AWS backup can only restore to another AWS Controller. Note that in the case of AWS backups, an AWS Controller set up with IAM roles cannot backup and restore to an AWS Controller set up with a secret key, or vice versa. |
Initialize a New Controller
If you are starting from a new Controller, follow these steps to get started:
-
Log into the Controller with the admin username and the default password.
-
Follow the initial steps to get the Controller up and running:
-
Shut down the older Controller.
-
Transfer the IP address to the new Controller.
-
Proceed to configure the new Controller by entering an email address.
-
Change your admin password.
-
Enter or skip the proxy configuration.
-
Allow the upgrade to run.
-
Restore Controller Configurations on Controller UI
Once you are past the initial configuration steps:
-
Log into the Controller.
-
Go to Settings > Maintenance > select the Backup & Restore tab.
-
Under the Restore section:
-
Select the Cloud Type for the Location:
-
For AWS/ARM:
-
If you would like to use an existing account, please make sure you create one Access Account only with the exact Access Account Name that was used in your previous Controller. Mark the Use Cloud Account Name checkbox and select the account. Otherwise, enter an Access Key and Secret Key.
-
Enter the Bucket Name and File Name of the file to restore. The file name can be obtained from the external storage that configured to store your backups. It may display as "CloudN_<Controller Private IP>_save-cloudx-config.enc".
-
-
For Azure:
-
Enter the Subscription ID and Directory ID.
-
Enter the Application Client ID and Application Client Secret
-
Enter the Storage Name, Container Name, and File Name of the file to restore. he file name can be obtained from the external storage that configured to store your backups. It may display as "CloudN_<Controller Private IP>_save-cloudx-config.enc".
-
-
For GCP:
-
Enter the Bucket Name.
-
Upload the GCP Project Credentials.
-
Enter the File Name of the file to restore. The file name can be obtained from the external storage that configured to store your backups. It may display as "CloudN_<Controller Private IP>_save-cloudx-config.enc".
-
-
For OCI:
-
If you would like to use an existing account, please make sure you create one Access Account only with the exact Access Account Name that was used in your previous Controller. Mark the *Use
-
-
Cloud Account Name* checkbox and select the account. Otherwise, enter a
Tenancy OCID, User OCID, Compartment OCID. Upload an OCI Private Key. * Enter the *Bucket Name, Region and File Name of the file to restore. The file name can be obtained from the external storage that configured to store your backups. It may display as "CloudN_<Controller Private IP>_save-cloudx-config.enc".
-
Click Restore.
If Aviatrix Managed CloudN exists in the backup Controller, after the restore operation on the new Controller, you must navigate to the Aviatrix Managed CloudN UI and follow steps of 2.2 and 2.5 in "Workflow on Aviatrix CloudN" (see link below) by entering the new FQDN or IP of the new Controller to complete the restore. You must repeat 2.2 and 2.5 on other Aviatrix Managed CloudN devices if you have more than one.
For more information on CloudN see Managed CloudN Workflows on the old documentation site.
AWS Encrypted Backups
AWS S3 allows uploaded backup files to be encrypted in the server side for more secure storage. The encryption is all done in the AWS S3 server side. This server side secure storage is in addition to the already encrypted Aviatrix Controller backups.
Follow the steps below to enable AWS Encrypted backups:
-
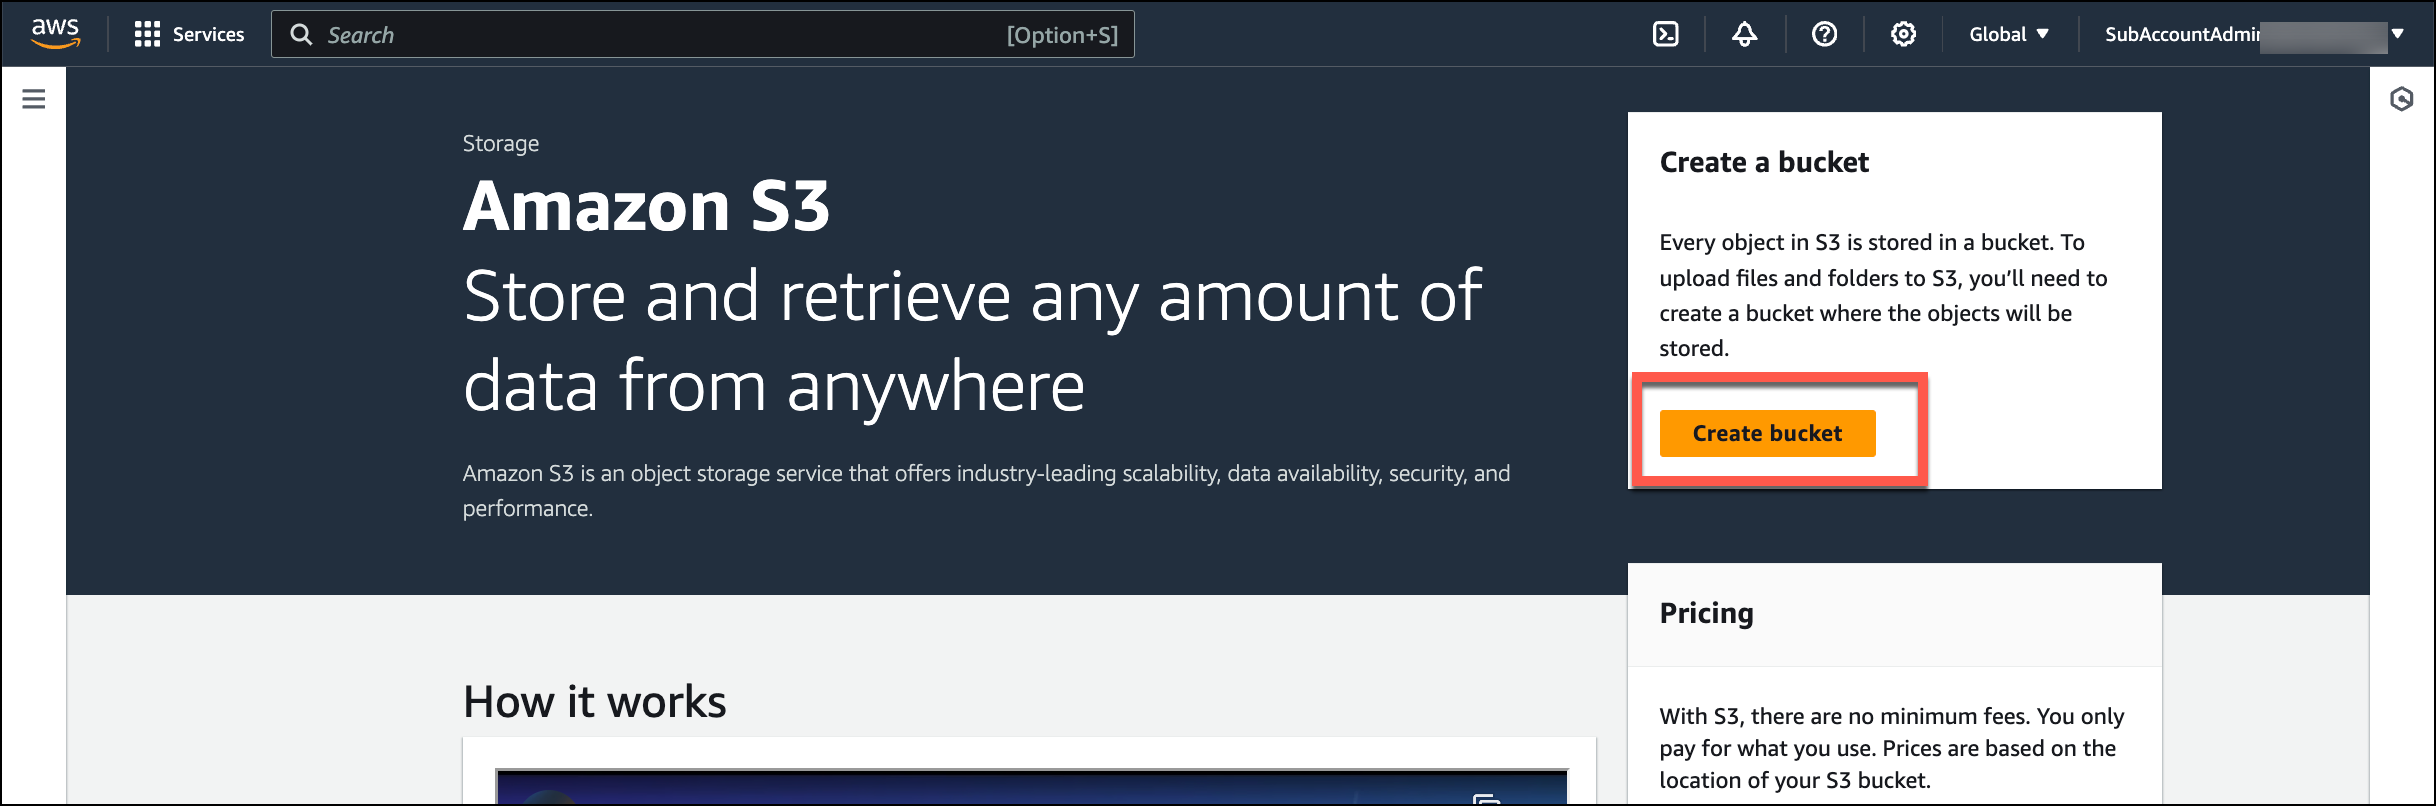
Create AWS S3 bucket.
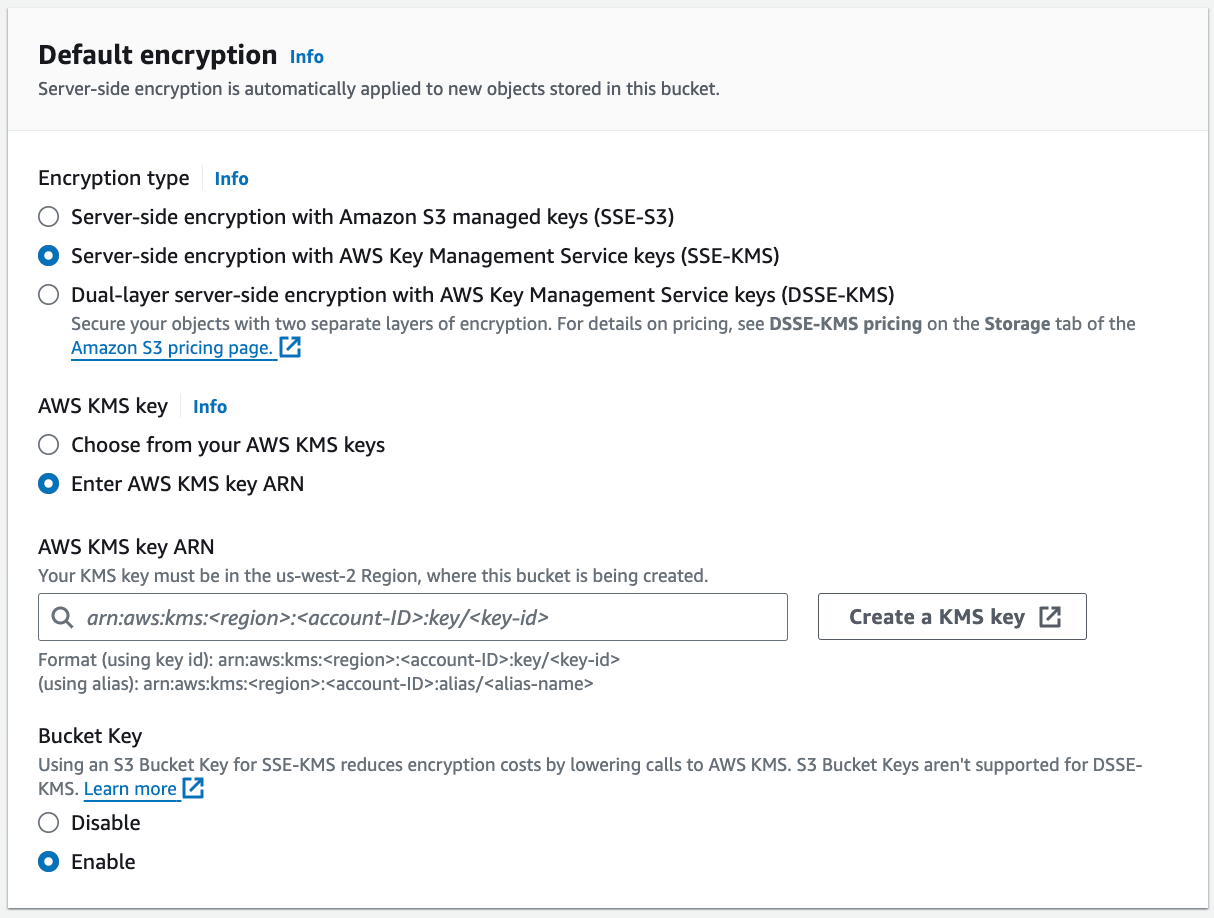
-
After configuring other bucket properties, configure bucket server side encryption by selecting either Server-side encryption with AWS Key Management Service keys (SSE-KMS) or Dual-layer server-side encryption with AWS Key Management Service keys (DSSE-KMS).
-
Click Create a KMS key to create a new key. A separate tab opens where you can configure and save the key.
-
After the key is saved, go back to the Create bucket tab and enter the key in the AWS KMS key ARN field.
-
Click Create bucket.
Azure Private Link Backups
Azure Private Link enables you to access Azure PaaS Services (for example, Azure Storage and SQL Database) and Azure hosted customer-owned/partner services over a private endpoint in your virtual network. Traffic between your virtual network and the service travels the Microsoft backbone network. Exposing your service to the public internet is no longer necessary.
By leveraging the Azure private link, the Controller backups will happen privately from your VNet so that your blob storage account does not need to be exposed to the outside world.
-
Create an Azure Storage Account.
-
Set up the Storage Account for Private Link:
-
On the Networking tab for the storage account creation, select Private endpoint for the connectivity method.
-
Add a new private endpoint with the target of the blob storage resource and enable DNS Integration.
If you currently have existing private endpoints deployed, you may need to leverage an existing private zone in another subscription. This must be completed through the dedicated private endpoint creation workflow. For additional assistance with this setup please reach out to an Aviatrix Solution Engineer.
-
-
Verify Backup through Controller.
Once successful, backing up traffic from the Controller will be performed privately across private link so that associated storage account does not need to be accessible publicly.
OpenVPN is a registered trademark of OpenVPN Inc.