Configure Check Point Security Gateway using Custom Data
Follow the Aviatrix Firewall Network (FireNet) workflow to Launching and Associating Firewall Instance to launch the firewall instance.
To configure the Check Point Security Gateway using Custom Data:
-
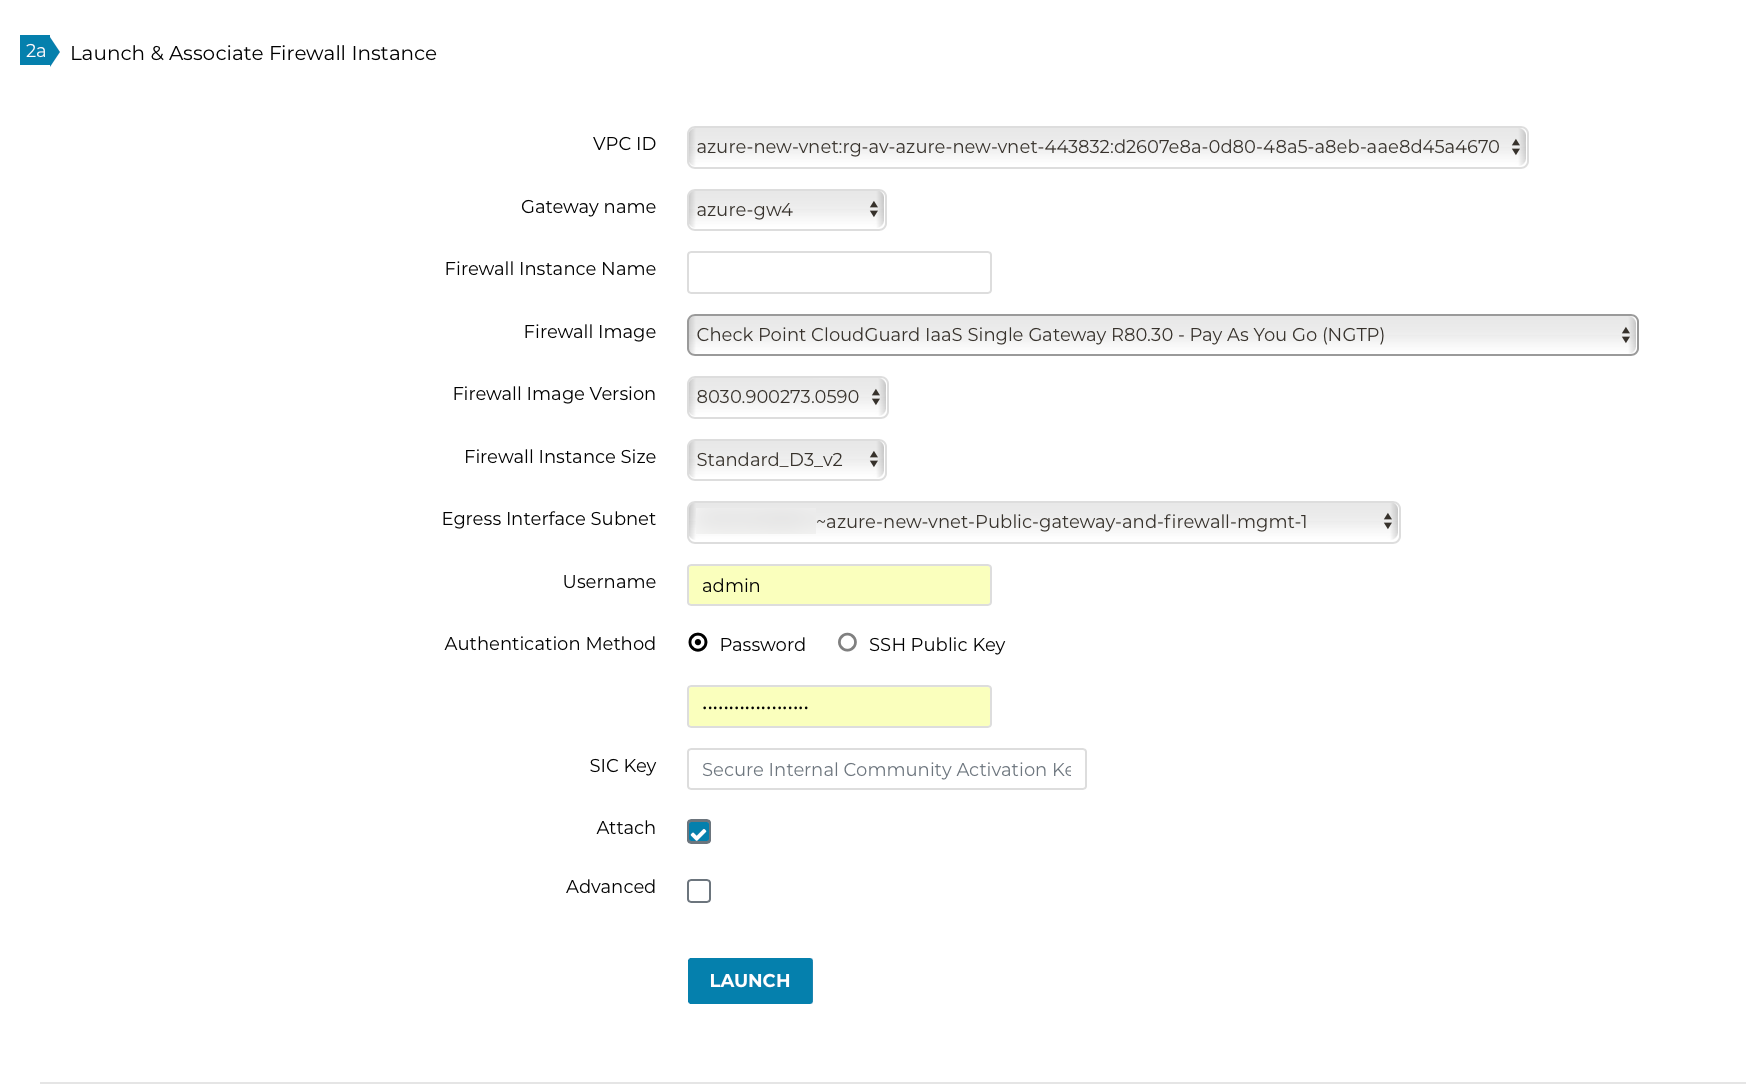
Navigate to the Aviatrix Controller > Firewall Network > Setup > Firewall > Launch & Associate Firewall Instance.
-
Fill in the required fields. Click the Advanced checkbox.
-
Fill in the following parameters. You must specify a custom username and password, and generate a hash string for the password.
| Advanced Field | Example Value |
|---|---|
User Data |
Bootstrap Configuration |
Below is a sample Check Point Bootstrap Configuration to configure firewall "Allow-all" policy, health check policy and RFC 1918 static routes is shown below:
#!/bin/bash

clish -c "set user <user> password-hash <100+ character hash string>" -s
clish -c 'set interface eth1 state on' -s
clish -c 'set hostname checkpoint' -s
blink_config -s 'upload_info=false&download_info=false&install_security_gw=true&install_ppak=true&install_security_managment=false&ipstat_v6=off&ftw_sic_key=<password>'
-
Launch the instance. Wait 15 minutes for it to boot up and initialize.
-
Log into the HTTPS interface of the public IP with the username and password specified in the Bootstrap Configuration file.