Azure Spoke Subnet Groups
For Azure-based Transit FireNet Gateways that have Spoke Gateways attached, you can use the Azure Spoke Subnet Groups dialog to add Azure Spoke Subnet Groups to these attached Spoke Gateways. These subnets can then be enabled for inspection.
| You cannot add Azure Spoke Subnet Groups to a Spoke Gateway that has inspection enabled. |
When you add an Azure Spoke subnet group, selecting the Spoke Gateway automatically synchronizes the Subnet(s) list with the Azure portal so that the list is refreshed with any new subnets for this Spoke Gateway.
-
On the Security > FireNet > FireNet Gateways tab, click the name of an Azure FireNet Gateway that has at least one Spoke Gateway attached.
-
Click the Policy tab.
-
Click Azure Spoke Subnet Groups.
-
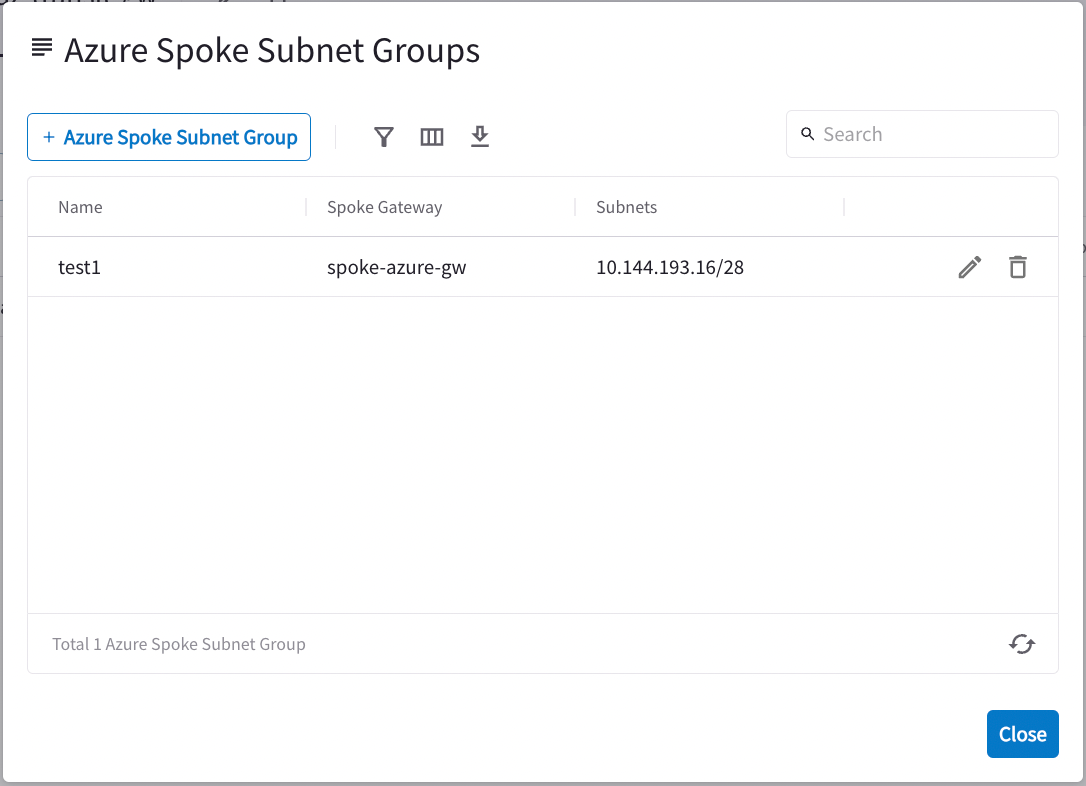
In the Azure Spoke Subnet Groups dialog, you can:
-
Edit or delete an existing subnet group (if editing, you can only add or remove a subnet group; if deleting, you are prompted if you want to delete the subnet group)
-
Add a Subnet Group
-
-
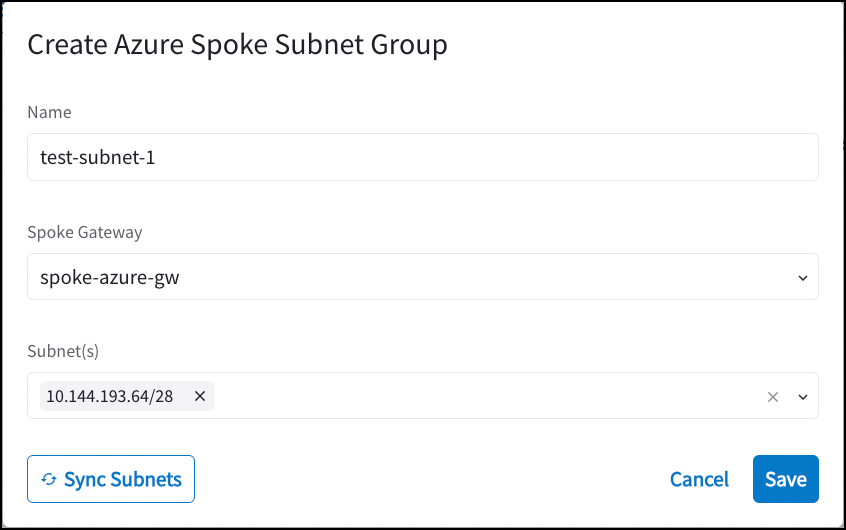
If adding a subnet group, click +Azure Spoke Subnet Group.
-
Enter a name for the Subnet Group.
-
Select the Spoke Gateway (only Spoke Gateways attached to this Transit FireNet are available). The Subnet(s) list is automatically refreshed with any new subnets for this Spoke Gateway from the Azure portal.
-
Select the Subnet Group(s).
-
Click Save. It may take a couple of minutes for the changes to save and for the new subnet group to be displayed on the Azure Spoke Subnet Groups dialog.