Site2Cloud Configuration Workflow
In this document, learn how to establish connectivity between an Aviatrix gateway in AWS, Azure, or GCP and your on-premise router or firewall using Aviatrix Site2Cloud.
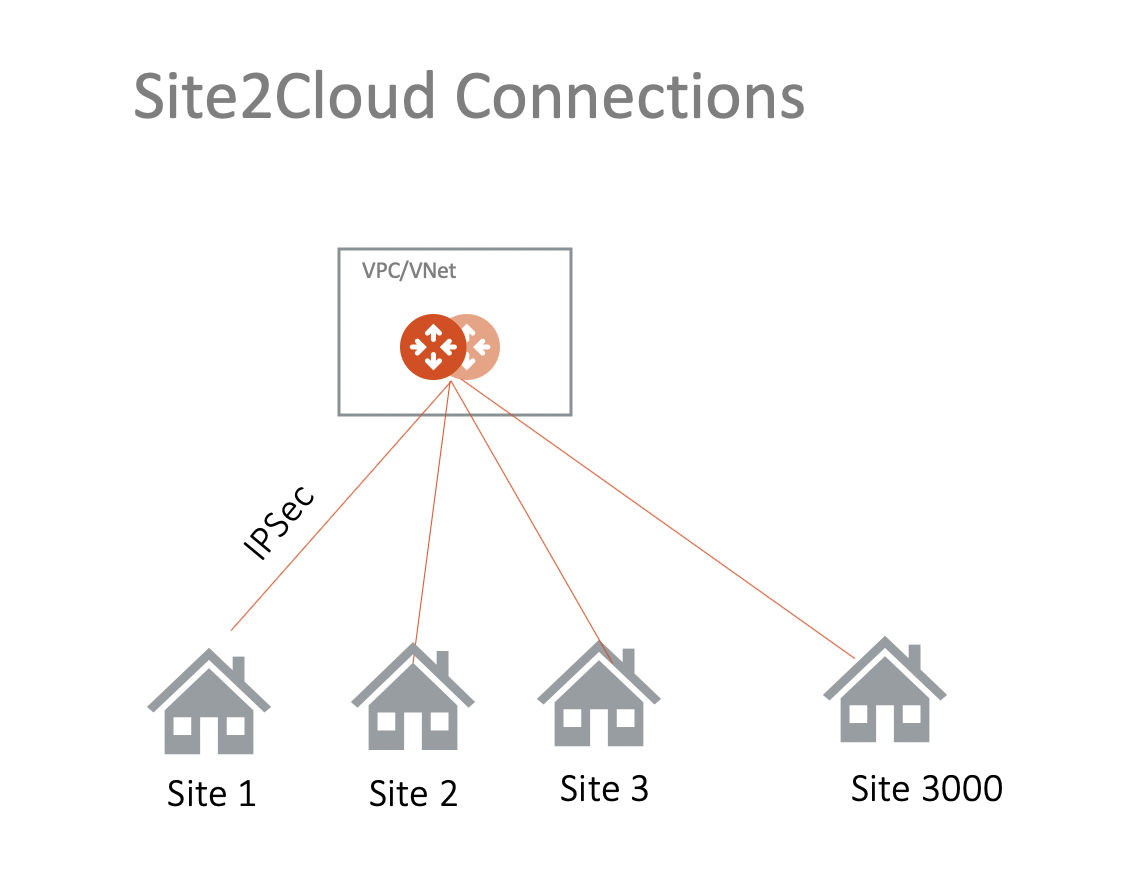
Aviatrix Site2Cloud builds an encrypted connection between two sites over the Internet in an easy-to-use and template-driven manner. Its workflow is similar to AWS VGW or Azure VPN.
On one end of the tunnel is an Aviatrix Gateway. The other end could be an on-prem router, firewall, or another public cloud VPC/VNet, that Aviatrix does not manage.
|
If you are planning to use certificate-based authentication for your Site2Cloud connection, ensure that you have already generated and exported the external device CA certificate. |
To create the external (S2C) connection:
-
Log in to Aviatrix CoPilot.
-
Go to Networking > Connectivity > External Connections (S2C).
-
Click +Add External Connection.
-
Enter a name for the external connection.
-
See the below sections for information on configuring the connection.
See About External Connection Settings for descriptions of the fields in the Add External Connection dialog.
Creating the Connection
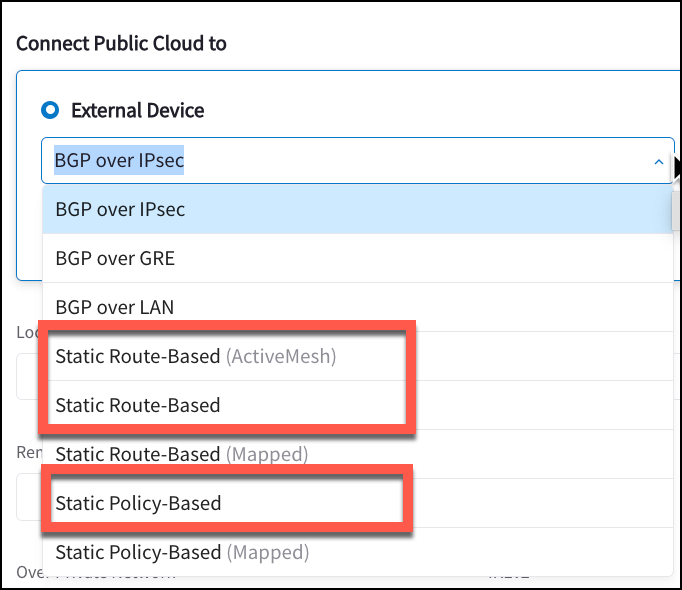
You can create one of the following connections:
External Device
-
Static Route-Based (ActiveMesh): connect to a remote site that supports route-based VPN with static configuration from the Transit/BGP-enabled Spoke Gateway.
-
Static Route-Based (Non-ActiveMesh): connect to a remote site that supports route-based VPN from a Spoke Gateway.
-
Static Route-Based (Mapped): connect overlapping networks between the cloud and on-prem from a Spoke Gateway.
-
Static Policy-Based (Mapped or Unmapped): connect to a remote site that supports policy-based VPN with static configuration from any local gateway (Unmapped) or connect overlapping networks between the cloud and on-prem from any local gateway (Mapped).
|
Typically, route-based VPNs are more flexible and powerful. This type of connection creates a virtual IPsec interface, and whatever traffic hits that interface is encrypted/decrypted according to phase 1 and phase 2 IPsec settings. A route-based VPN is created with two policies, one for inbound and another for outbound with a normal Accept action. In a policy-based VPN, the tunnel is specified within the policy itself with an IPsec action. |
Unmapped vs Mapped
For the Static options, you should select Unmapped (any Static option not marked as Mapped) unless the Local Subnet and the Remote Subnet overlap.
Selecting a Mapped option provides the advantage of not needing to configure individual SNAT/DNAT rules. It also provides flexibility to build address translations for many scenarios (multi-site CIDR overlapping with on-prem CIDRs; multi-site CIDRs overlap and on-prem CIDRs do not overlap).
If you select a Mapped connection, you have to enter information in the following fields:
-
Real Remote Subnet CIDR(s): a list of the destination network CIDRs, separated by comma, that will be encrypted (for example, 10.10.1.0/24, 10.10.2.0/24).
-
Virtual Remote Subnet CIDR(s): a list of virtual remote network CIDRs that are mapped to the real remote subnet (for example, for the real CIDRs listed above, you can have these virtual remote subnets: 192.168.1.0/24, 192.168.2.0/24).
-
Real Local Subnet CIDR(s): a list of the source network CIDRs, separated by comma, that will be encrypted. If left blank, the full CIDR is used. If you enter a value, make sure you include the VPC/VNet as well. These Local Subnets are advertised to Remote Subnets that the Site2Cloud connection can reach. Examples of real local subnets are 172.16.1.0/24, 172.16.2.0/24.
-
Virtual Local Subnet CIDR(s): a list of virtual local network CIDRs that are mapped to the real local subnet (for example, for the real CIDRs listed above for the real local subnet, you can have these virtual local subnets: 192.168.7.0/24, 192.168.8.0/24).
|
If you select the Mapped option in conjunction with the Forward Traffic to Transit Gateway option (possible after you configure your Site2Cloud connection, under the Edit options), bi-directional traffic flow occurs. If the Local Subnet field is outside of gateway VPC/VNet, you need to open the gateway inbound security groups to allow the Local Subnet network CIDR ranges. The Remote and Local Subnet fields can contain multiple values. Use a comma to separate the values. If you enter multiple real subnets, you must configure an equal number of virtual subnets. One-to-one mapping is supported if both sides are configured properly. Avoid using the same Destination Virtual CIDR on multiple tunnels with the same Source Real CIDR on a gateway. If one tunnel goes down, it may affect the active sessions on the other tunnels. It is advised to use different Destination Virtual CIDR/Source REAL CIDR pair for each tunnel on the same gateway. |
CSP Gateways
After the external connection is created, you can view and change its settings here.
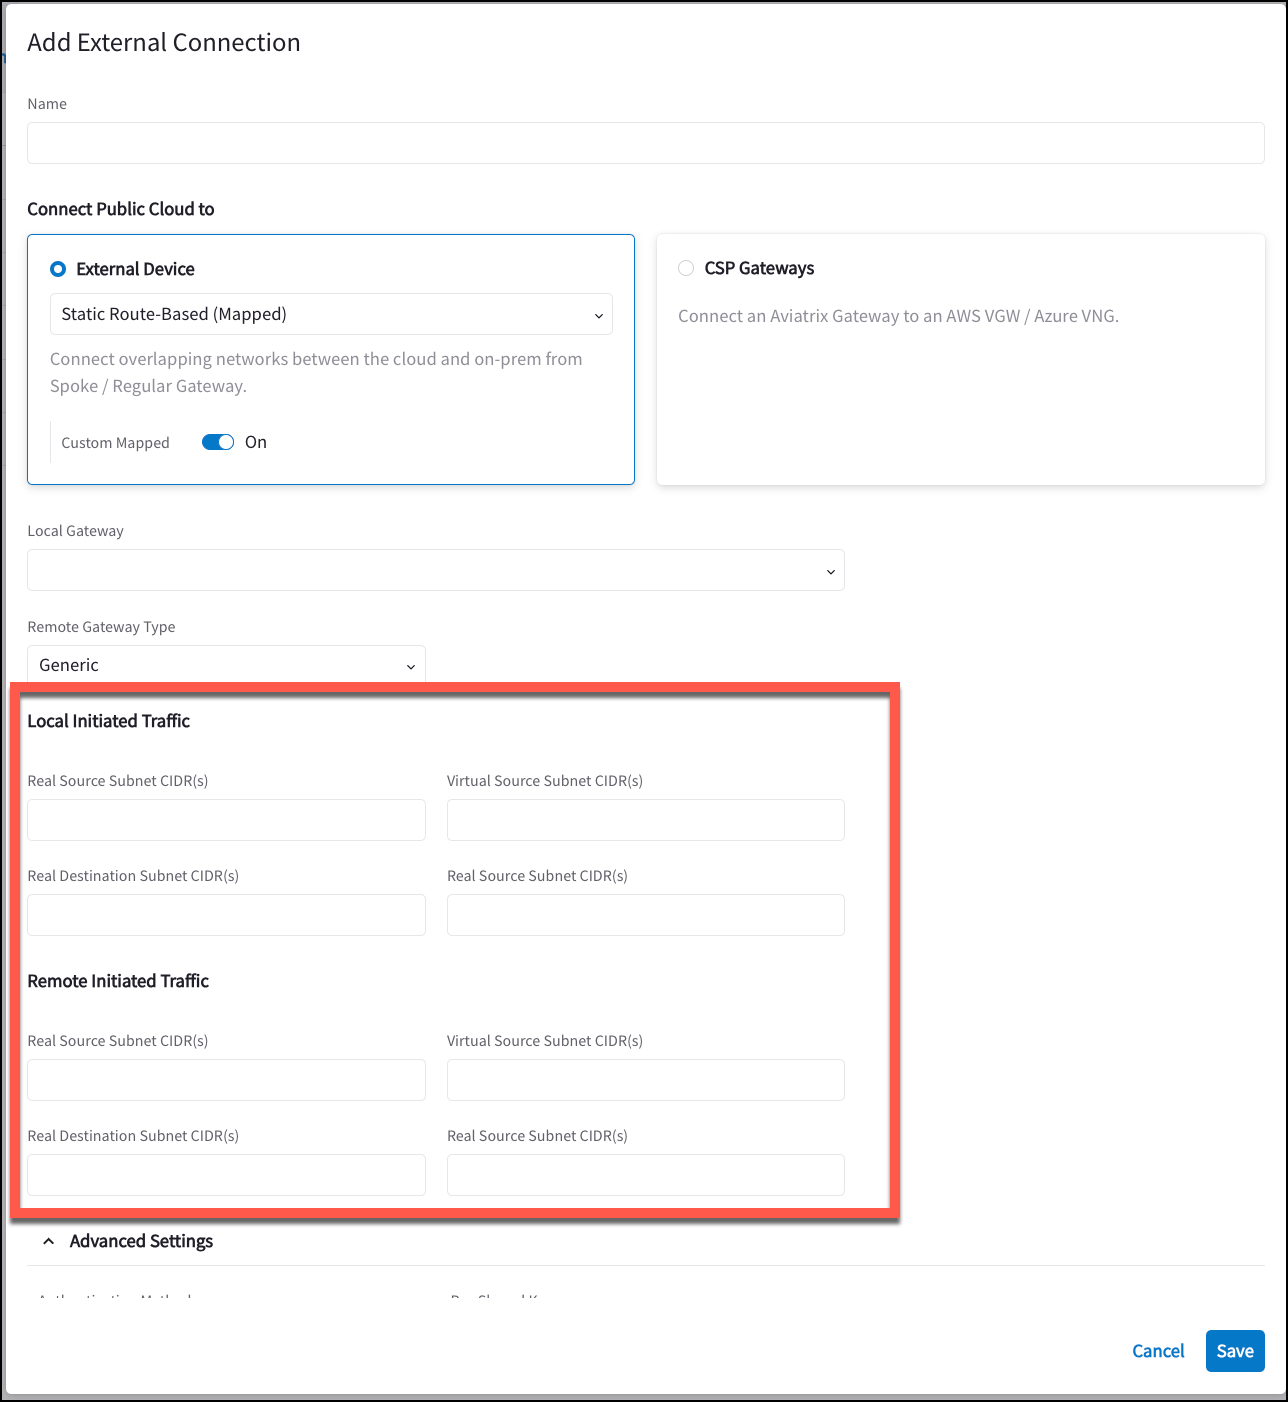
Custom Mapping
If you turn On the Custom Mapped option after selecting a Mapped option, more complex Site2Cloud configurations are possible. You can have locally initiated traffic flows only; remotely initiated traffic flows only; and differing NAT translation based on these local/remote initiated flows.
Creating External Connection with HA
If you want to create a High Availability (remote backup/failover) connection in case the primary remote connection fails, click +Connection in the Add External Connection dialog and enter the necessary information for the HA connection in the second Connection row. The fields displayed will vary depending on if you select the PSK or Certificate Authentication Method.
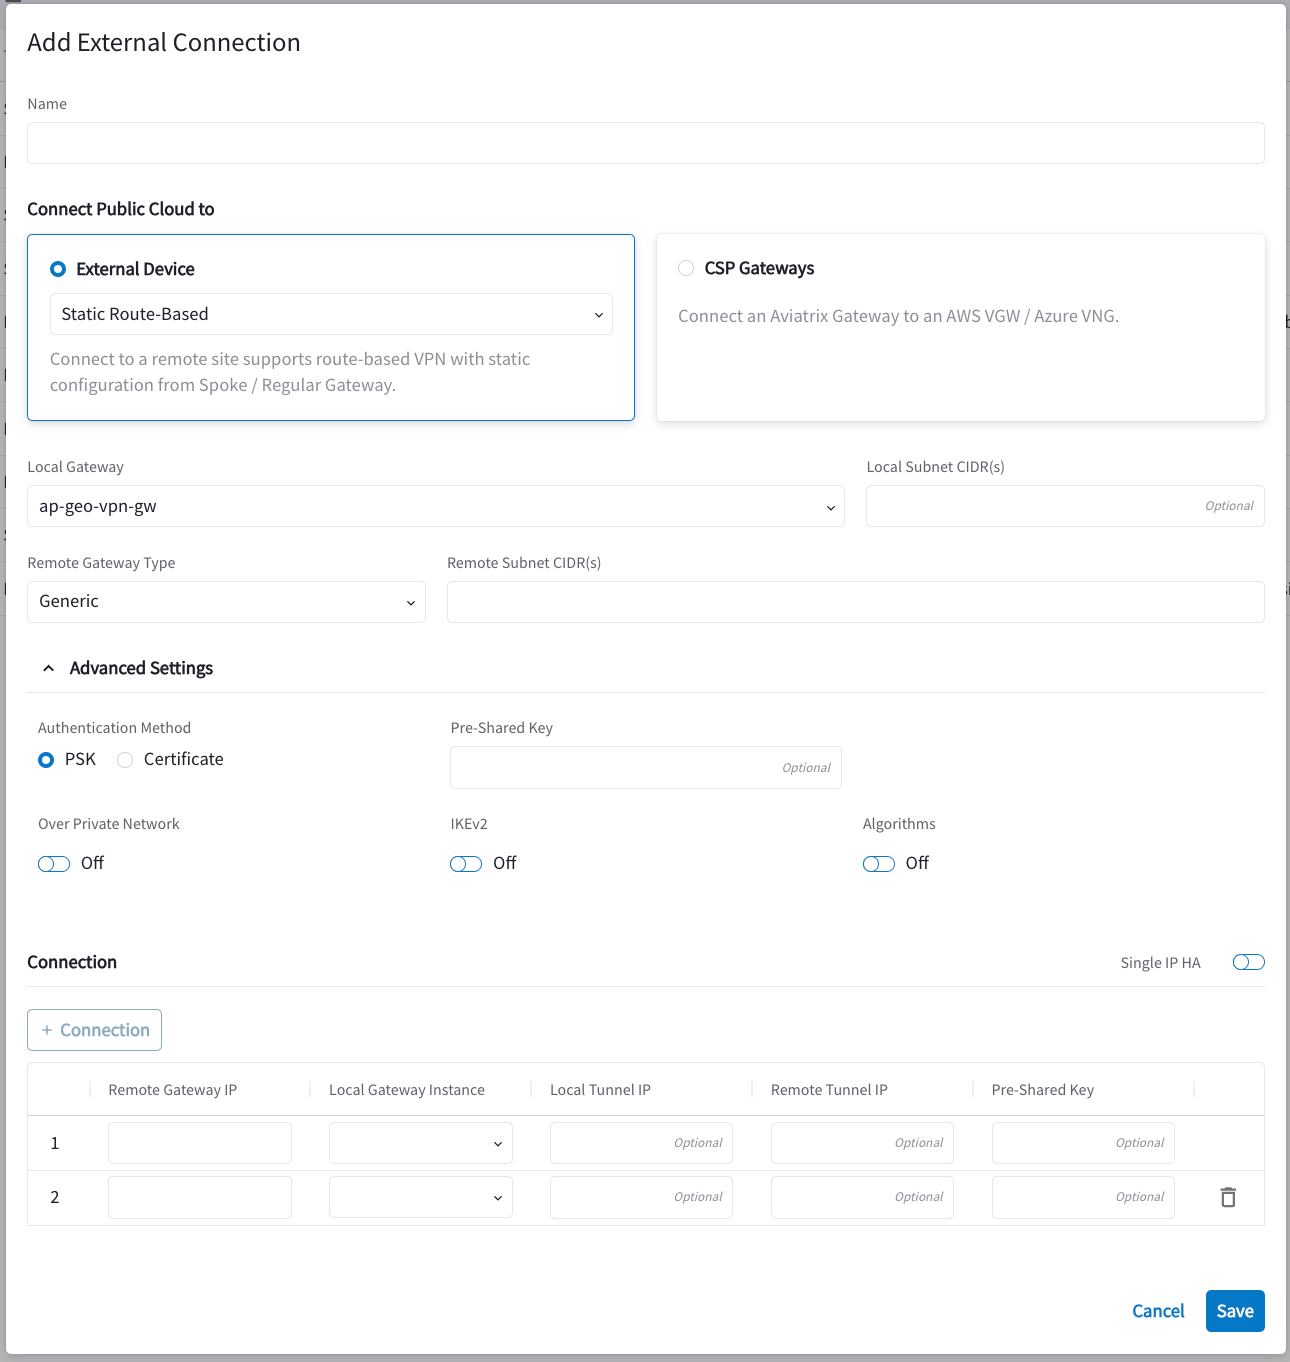
See About External Connection Settings for more information on how to fill out the Connection fields.
|
If Mapped NAT is enabled, HA in the Site2Cloud (external) connection is not supported. You can use the same Pre-Shared Key for the HA connection (if PSK-based authentication is selected). |
Downloading the External Connection Configuration
You can generate a remote site configuration template. This template file contains the gateway public IP address, VPC/VNet CIDR, pre-shared secret and encryption algorithm. You can import the information to your remote router/firewall configuration.
To download an external connection configuration:
-
Go to Networking > Connectivity > External Connections (S2C).
-
On the External Connections (S2C) tab, locate the connection you created and click the vertical ellipsis
 icon in that row.
 -
Click Download Configuration.
-
Enter the following values:
-
Vendor: select your remote site device from the Vendor menu, or use the Generic/Vendor Independent template (you select Generic for anything that is not an Aviatrix gateway. If you are connecting two Aviatrix gateways, you select Aviatrix as the vendor).
-
Platform: If you select a Generic vendor, the Platform field is populated as Generic, and the Software field is populated with Vendor Independent.
If you select the Aviatrix vendor, the Platform is populated with UCC, and the Software version is 1.0. If you select a specific hardware vendor (such as Cisco), available platforms belonging to that vendor are displayed in the Platform field (ISR, ASR, and CSR are for Cisco routers), and the Software field is populated with the related software version.
-
-
Click Download.
Using the Downloaded Configuration
If connecting two Aviatrix gateways, you use the information from the downloaded configuration when creating the other side of the tunnel. Gateways can be created in different Controllers or in the same Controller. See Aviatrix Gateway to Aviatrix Gateway for more information.
If connecting an Aviatrix gateway to a firewall or other on-prem vendor, you can use the downloaded configuration information to populate the necessary information in your firewall UI.
Network Device Support
Aviatrix Site2Cloud supports all types of on-prem firewall and router devices that terminate VPN connections.
Troubleshooting
You can check Tunnel Status at Diagnostics > Cloud Routes > External Connections.
You can perform diagnostics for the connections at Diagnostics > Diagnostic Tools.