Bootstrap Configuration Example for VM-Series in Azure
Using the bootstrap option significantly simplifies VM-Series initial configuration setup.
In this document, we provide a bootstrap example to set up an to allow HTTPS for Health Check Policy , "Allow All" firewall Policy and Egress NAT policy for the VM-Series to validate that traffic is indeed sent to the VM-Series for VNet-to-VNet traffic inspection. This example does not use Panorama.
Use version 9.1.0 or above for better results.
For a manual setup, follow the manual setup example.
If you plan to select Azure Storage when you create your Palo Alto VM-Series firewall using a bootstrap configuration:
For more information on file structure, see Prepare the Bootstrap Package in the Palo Alto VM-Series Deployment Guide.
Creating a Storage Account and Private Container
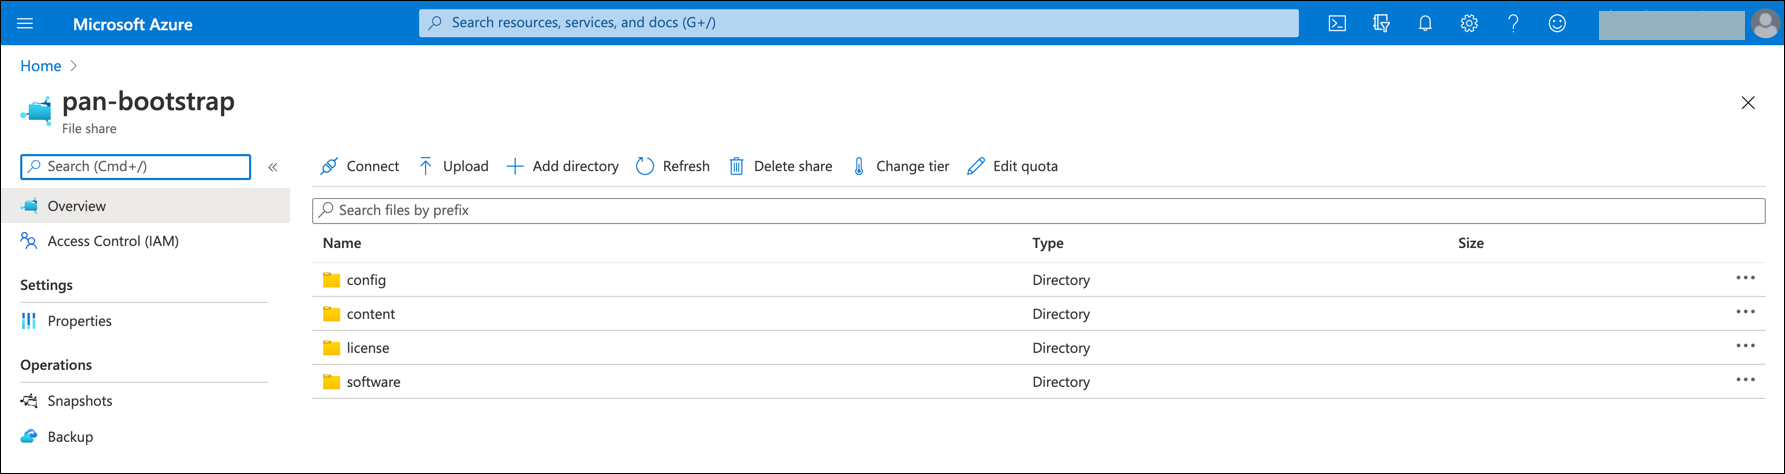
Log into the Azure cloud console and create a storage account and file share in the storage for bootstrap with a unique name (for example "pan bootstrap") using steps 1 and 2 in this guide with the following structure:
Storage Account (e.g. bootstrapstorage)
    File Share (e.g. pan-bootstrap)
        Config/
            init-cfg.txt
            bootstrap.xml
        Content
        License
        Software
See this link for more information.
Uploading Config Files
Follow step 2c in this guide to upload the configuration. Example Bootstrap.xml and config files are provided below.
-
The example bootstrap.xml file contains the "Allow All," Egress and API admin setup. To download the file, click bootstrap-azure.xml.
-
For the example init-cfg.txt file, click init-cfg.txt.
|
In the example bootstrap.xml, you must specify custom usernames and passwords for the <https_interface_admin_username> and <api_admin_username>, and generate hash strings for the passwords. You can generate hash strings in the Palo Alto firewall UI via the PAN firewall CLI:
You can also create your own bootstrap.xml file. |
-
In the AWS console, upload these two files to your config folder under S3 > Buckets > <bootstrap bucket name>.
Launching the VM-Series Instance
Follow Step 3 in this Palo Alto Bootstrap document to get an access key, which will be required at a time of VM-Series launch.
Deploy the firewall. Select an Azure-based Transit FireNet and a PAN VM-Series Firewall Image.
Fill in the required fields. Click Advanced. Fill in the following parameters.
| Advanced Field | Example Value |
|---|---|
Bootstrap Storage Name |
Azure Storage Name (e.g. bootstrapstorage) |
Storage Access Key |
Azure Storage key (e.g. XiFiEeCzBLueMDTcKGdxhSV+ZUG3UvnLgfqA==) |
File-share Folder |
File Share Folder Name (e.g. pan-bootstrap) |
Share-directory (Optional) |
Config (Optional) |
Launch the VM-Series instance. Wait 15 minutes for it to boot up and initialize.
Login to the HTTPS interface of VM-Series management public IP with the username and password specified in the bootstrap.xml file.
Configuring API Vendor Integration
In order for the Aviatrix Controller to automatically update firewall instance route tables, monitor the firewall instance health and manage instance failover, you need to setup API access permissions.
-
Navigate to Security > FireNet > FireNet Gateways.
-
In the firewall row, click the vertical ellipsis icon
 and select Vendor Integration.
 -
In the Username field, enter the username specified in the bootstrap.xml file.
-
In the Password field, enter the password specified in the bootstrap.xml file.
If you are manually configuring the firewall from scratch, follow the instructions here to enable API access.
Validating the Configuration
Now your firewall instance is ready to receive packets.
The next step is to validate your configurations and polices using FlightPath and Diagnostic Tools (ping, traceroute etc.).