Installing Aviatrix Edge OS Using iDRAC Remote Console and ISO
This topic provides instructions for installing Aviatrix Edge OS on Dell hardware by using iDRAC remote console and ISO.
If you prefer to use a USB installer to install Aviatrix Edge OS, follow the instructions in Installing Aviatrix Edge OS Using USB.
|
These instructions require that a Dell iDRAC license is applied on the Dell server, which would allow the operator to access the server’s remote virtual console and load virtual media. The license is typically applied at factory by Dell, please choose enterprise iDRAC as described in Dell tech specs for Aviatrix Edge. |
| This document does not cover user management for Dell iDRAC. You are responsible to configure user access on the Dell server. You will need an admin user or one with equivalent access to install Aviatrix Edge OS on the server. |
1. Prerequisites
Before you start to onboard and install the Edge OS on the edge device, make sure these prerequisite steps are completed.
2. Onboard Edge Device onto Aviatrix Edge Platform
-
In Aviatrix CoPilot, go to Cloud Fabric > Hybrid Cloud > Devices tab.
-
Click Onboard Device, then provide the following information.
Field
Description
Name
A name to identify the edge device.
Platform
The Aviatrix Edge Platform Account where to onboard the device.
Device Configuration
Dell HW with single ethernet controller for Edge Spoke Gateway, select:
-
DELL Poweredge 1x E810
Dell HW with two ethernet controller for Edge Spoke or Transit Gateway, select:
-
DELL Poweredge 2x E810
Serial Number
The serial number of the edge device.
-
-
Expand Device Interface Configuration and configure the device’s Function MGMT (Management) interface.
-
If you plan to use DHCP for the device Management interface, turn DHCP toggle to On.
-
If you plan to configure a Static IP address for the device Management interface, leave DHCP toggle to Off.
-
If DHCP is Off, enter the Static IP address for the Management interface.
Field
Description
Interface CIDR
The Static IP address of the Management interface.
Gateway IP
The Management Default Gateway IP address.
Primary DNS
The primary DNS server IP address.
Secondary DNS
(Optional) The secondary DNS server IP address.
-
If you are using a proxy server to route internet traffic, from the Proxy Profile dropdown menu, select the proxy profile to upload to the edge device (see Using a Proxy Profile on the Edge Device).
-
-
Under Advanced, specify the Edge Management CIDR that will be used on the Edge gateway interface. If a CIDR is not specified, the system auto assigns 10.100.101.0/24 CIDR range and assigns 10.100.101.2 IP address on the interface.
If the auto assigned CIDR is used, ensure that this range does not overlap with any other network. 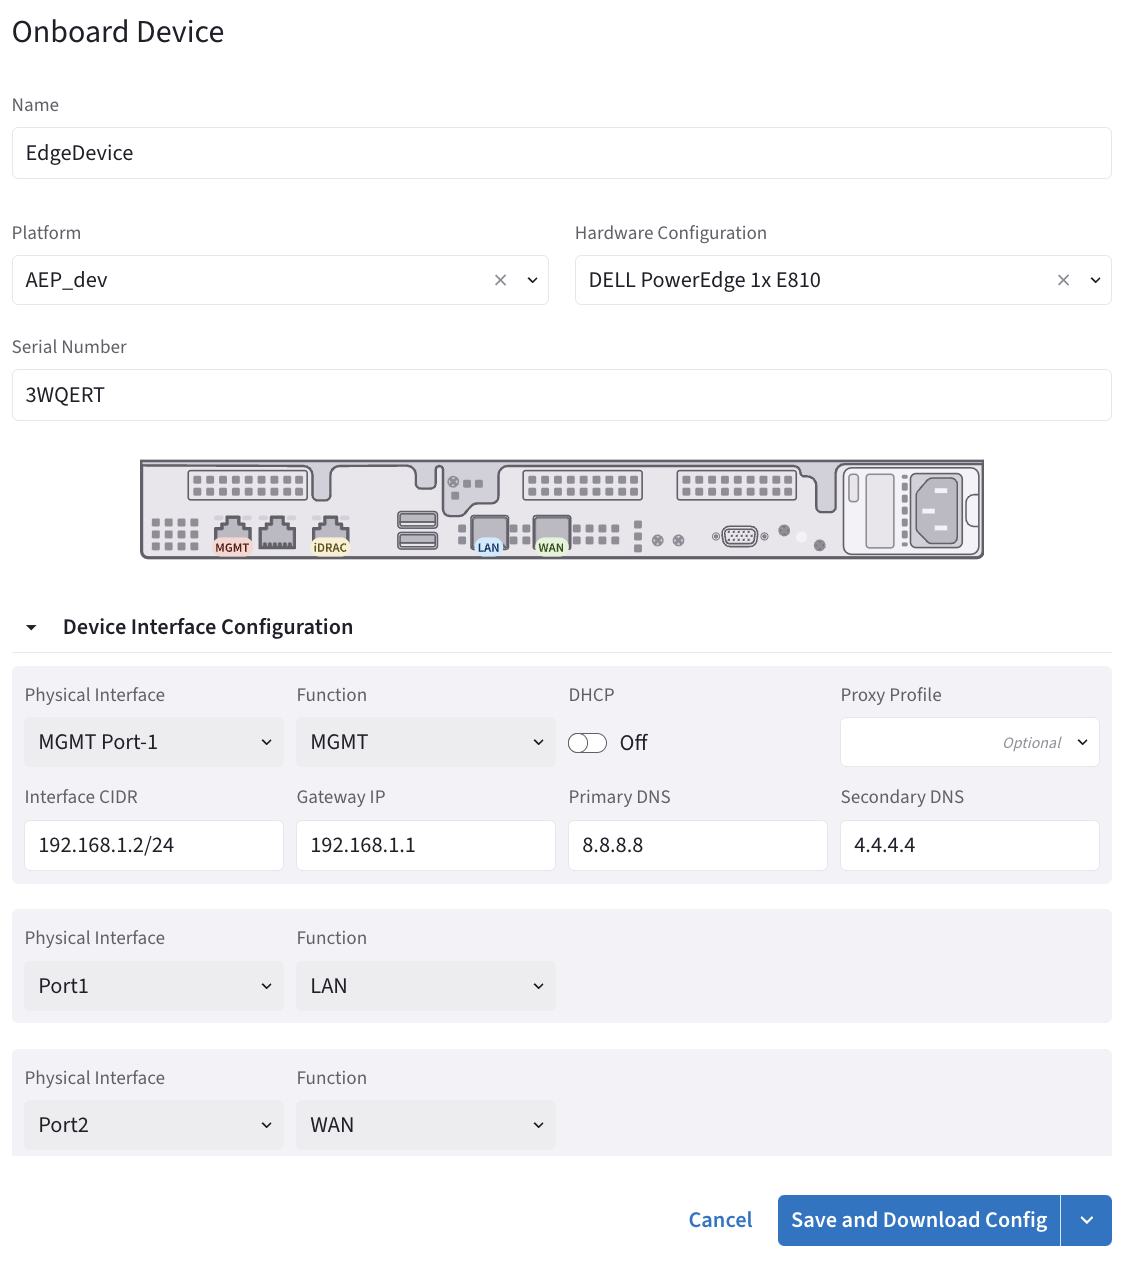
-
Save the configuration.
-
When DHCP is selected for MGMT interface, click Save.
-
When Static IP is selected for MGMT interface, from the Save and Download Config drop-down menu, click Save.
This will download a bootstrap-config.img file (for example, 3QDDWX3-bootstrap-config.img). Your device will show up as Provisioned in Copilot.

-
-
If you need to change the management interface’s configurations (from DHCP to Static or vice versa), you can click Edit icon and update the configuration. Save the changes you made to the device.
3. Install Aviatrix Edge OS on the Edge Device
Install Aviatrix Edge OS on the edge device.
-
Obtain the latest iso file published by Aviatrix from the Aviatrix Support site.
-
Download the latest, production Aviatrix Edge OS .iso file to a jumphost which is in the same network as the Dell server. The jumphost enables a fast upload of the ISO file to the server as compared to getting it over the internet. If the server has fast internet access, you can mount the ISO file from your laptop.
If the ISO file is fetched over the internet and if the download speed is poor, it may increase the overall installation time. It is recommended that the file be downloaded to a laptop/jumphost in the same network as the server. -
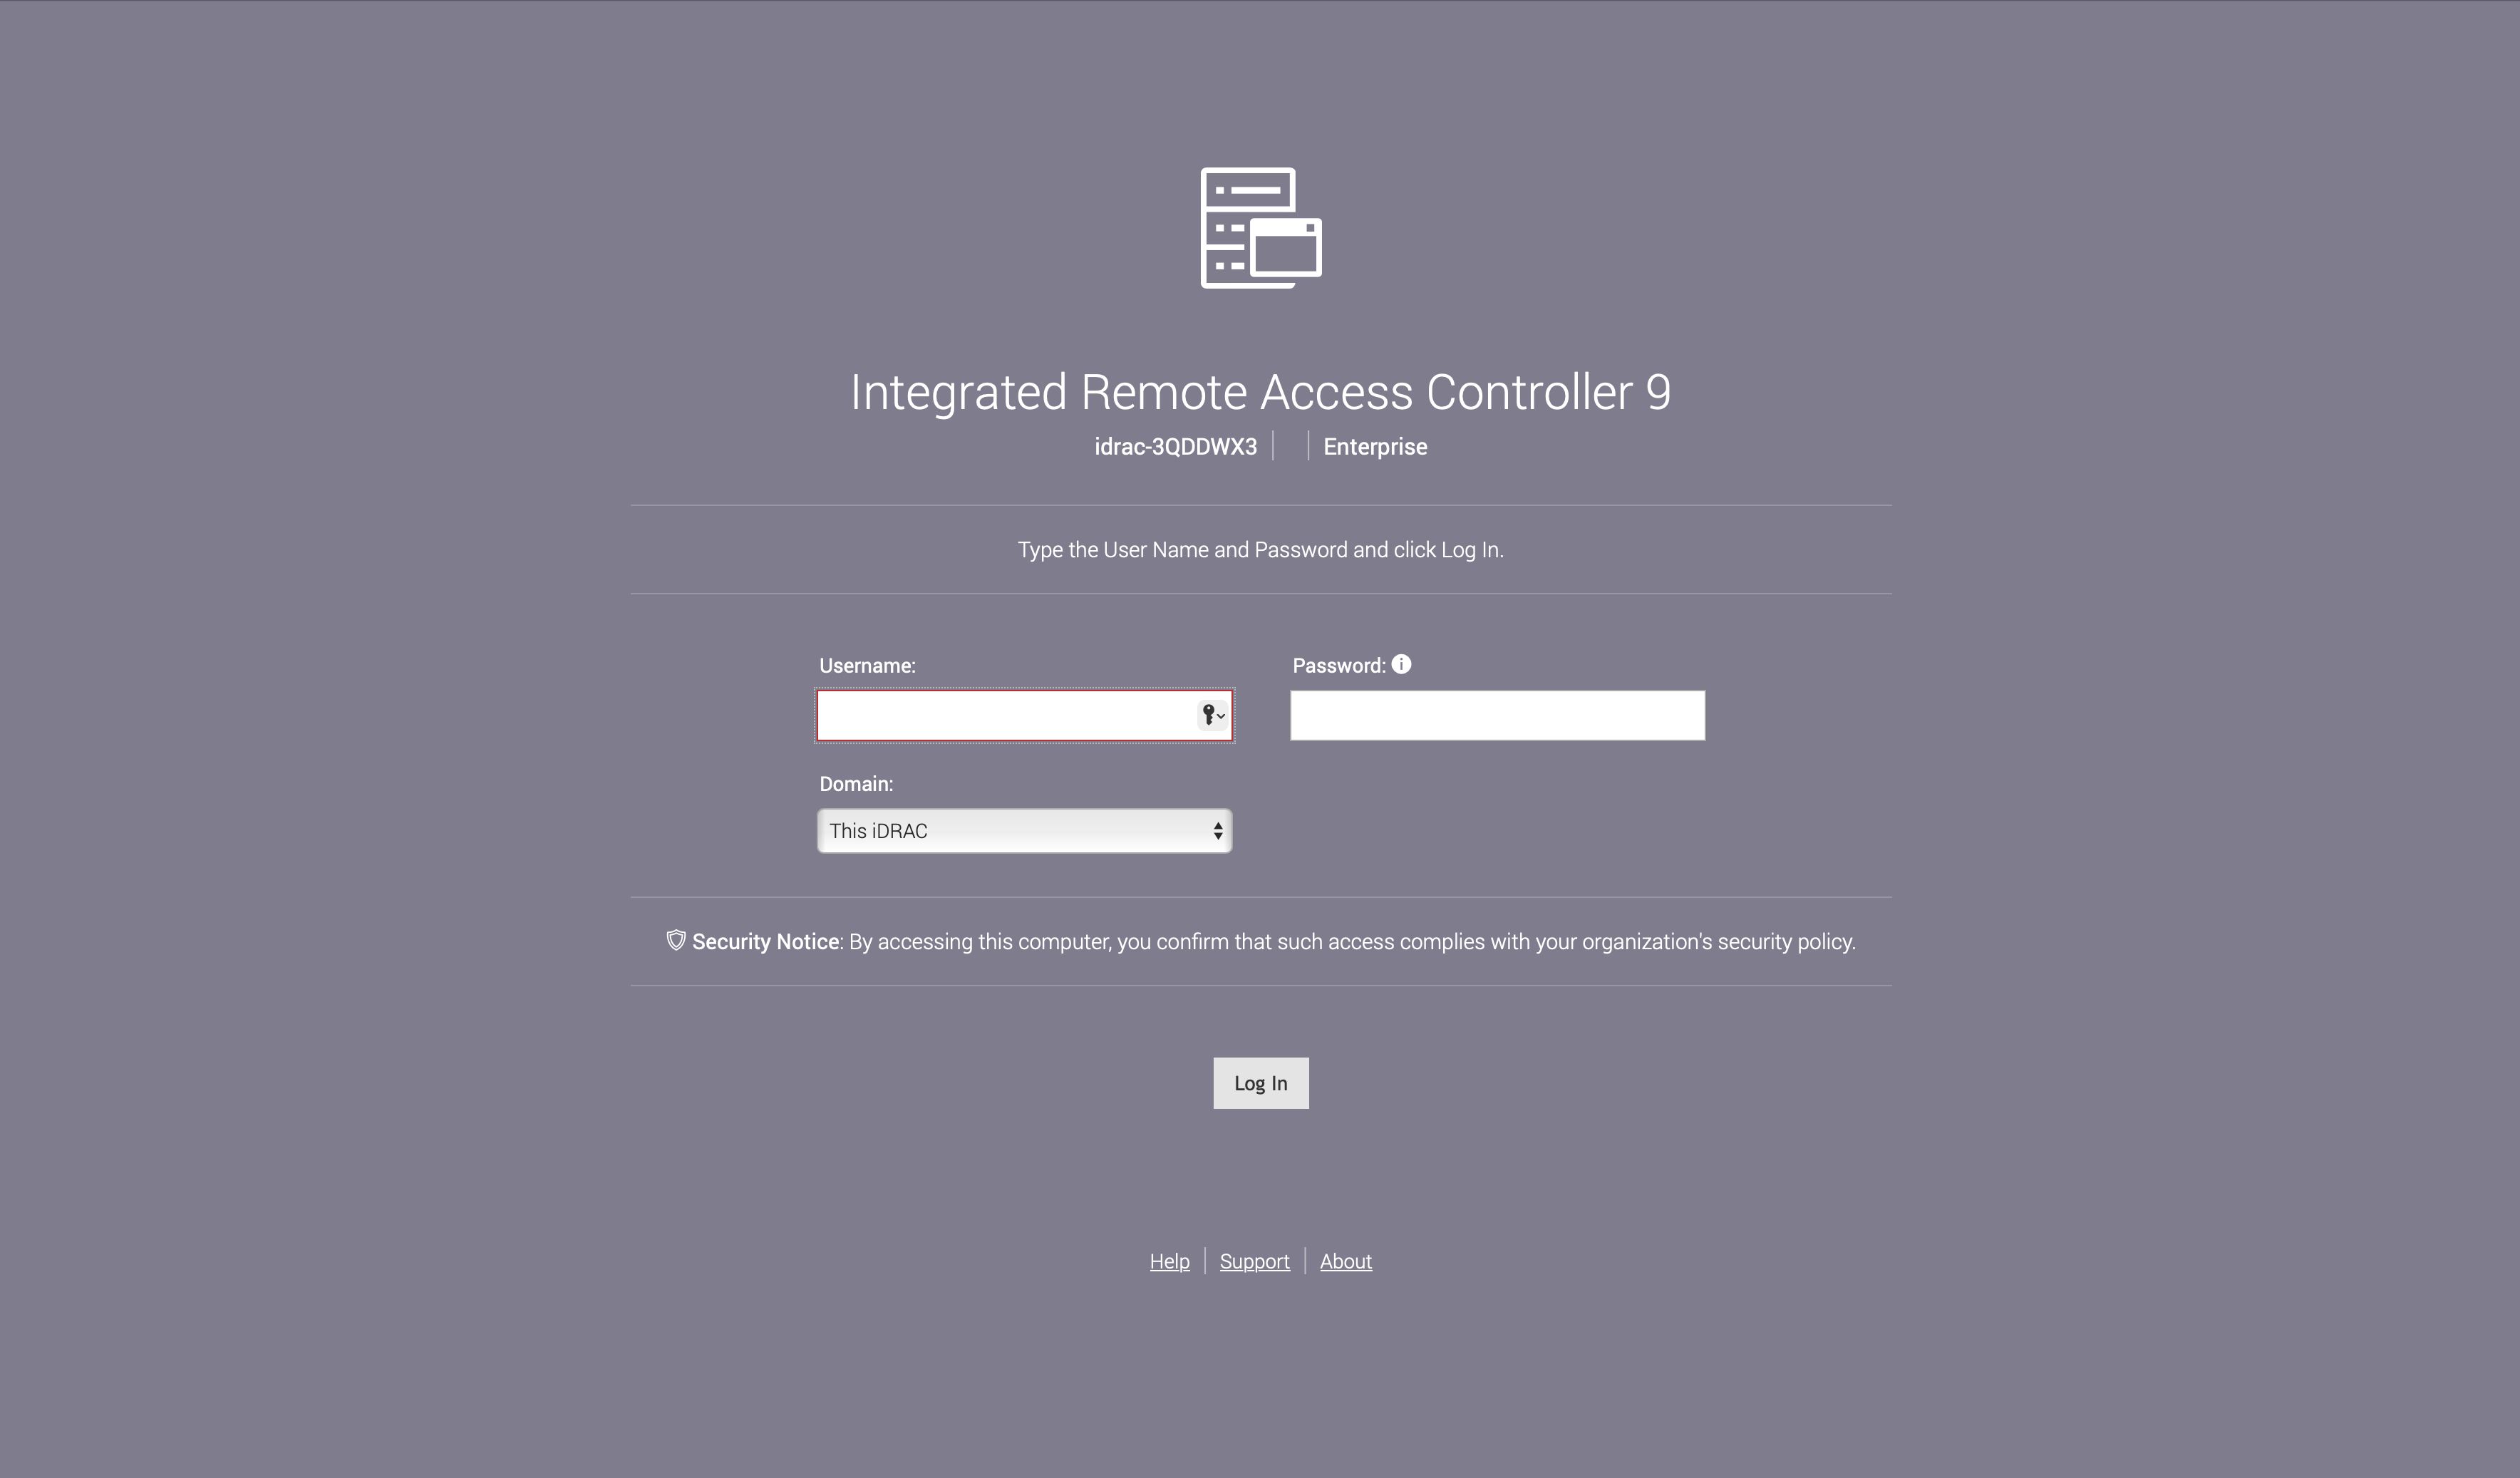
From the jumphost, login to the Dell server’s iDRAC UI.
-
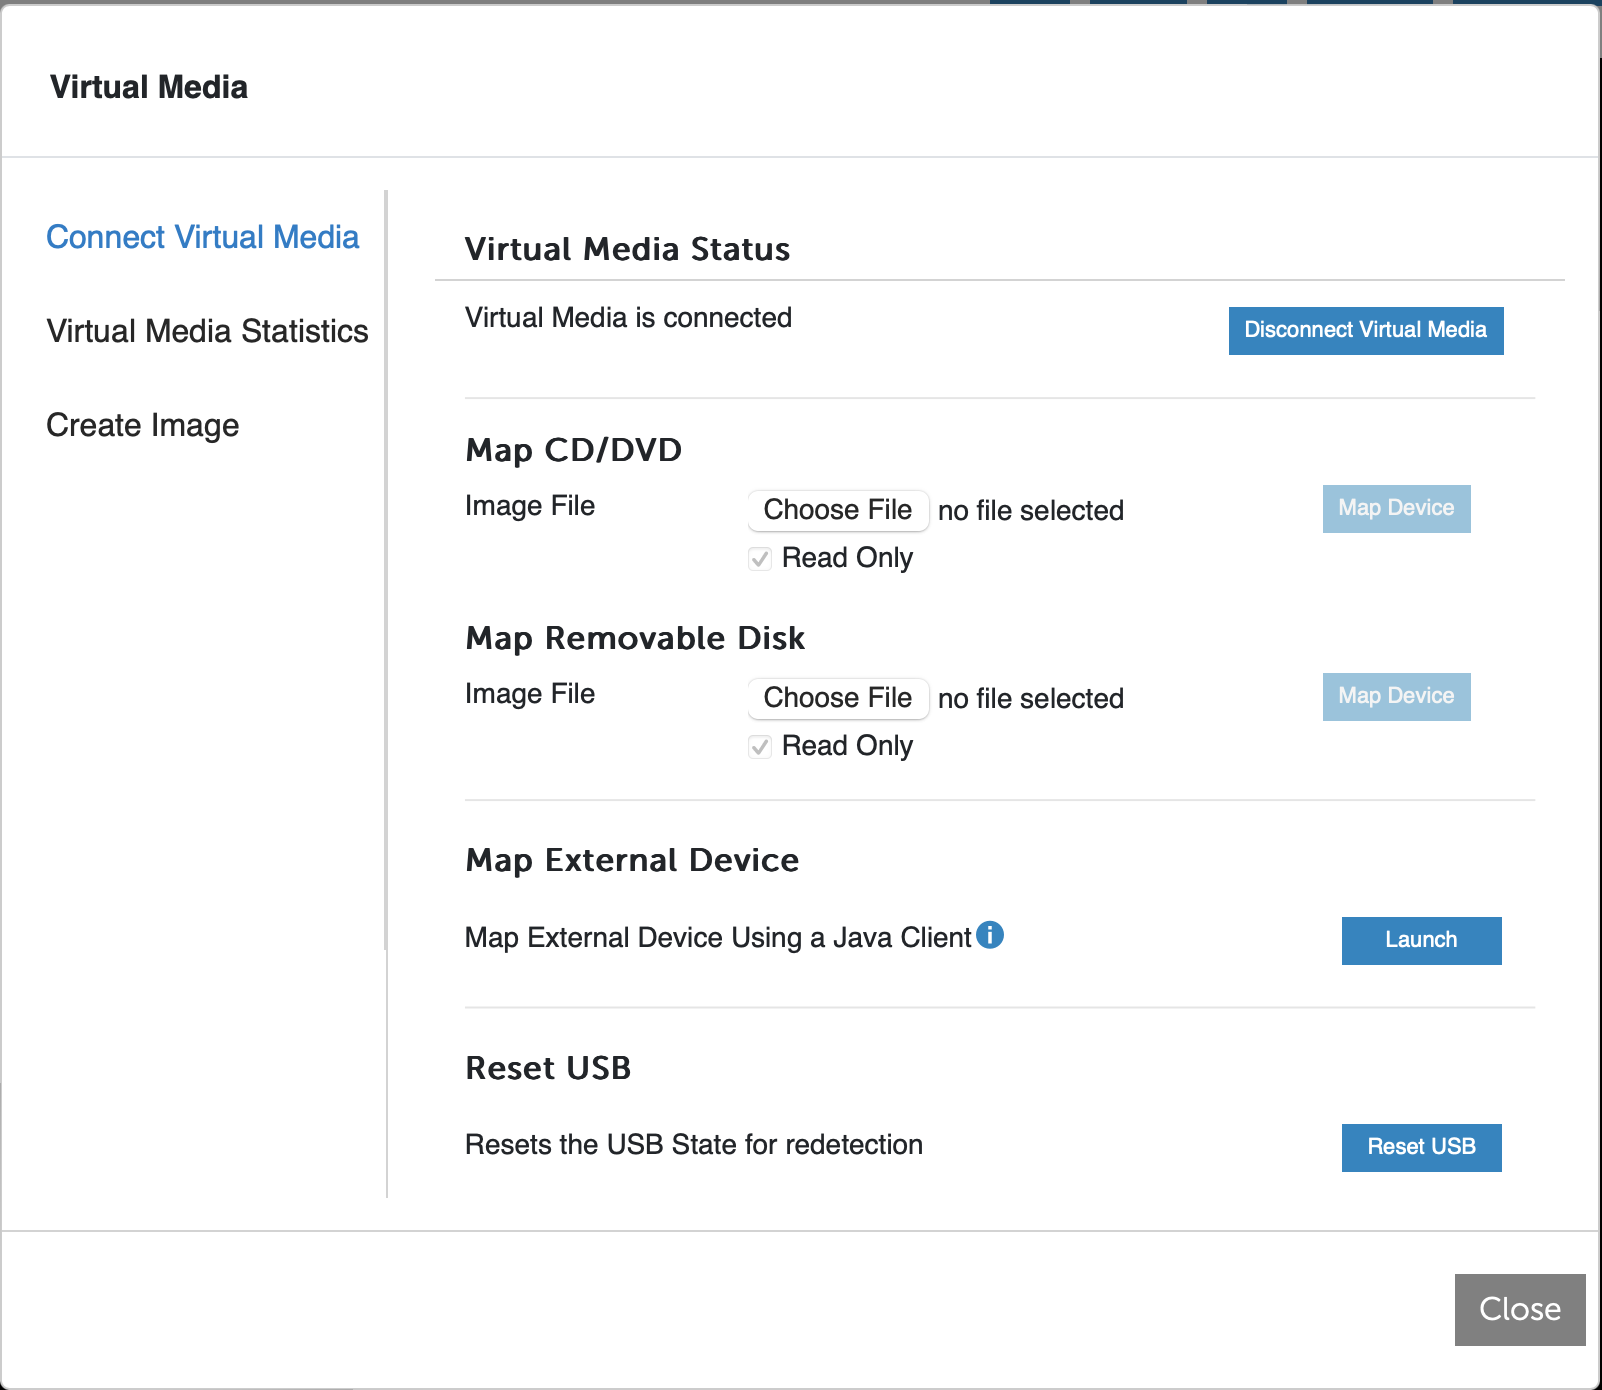
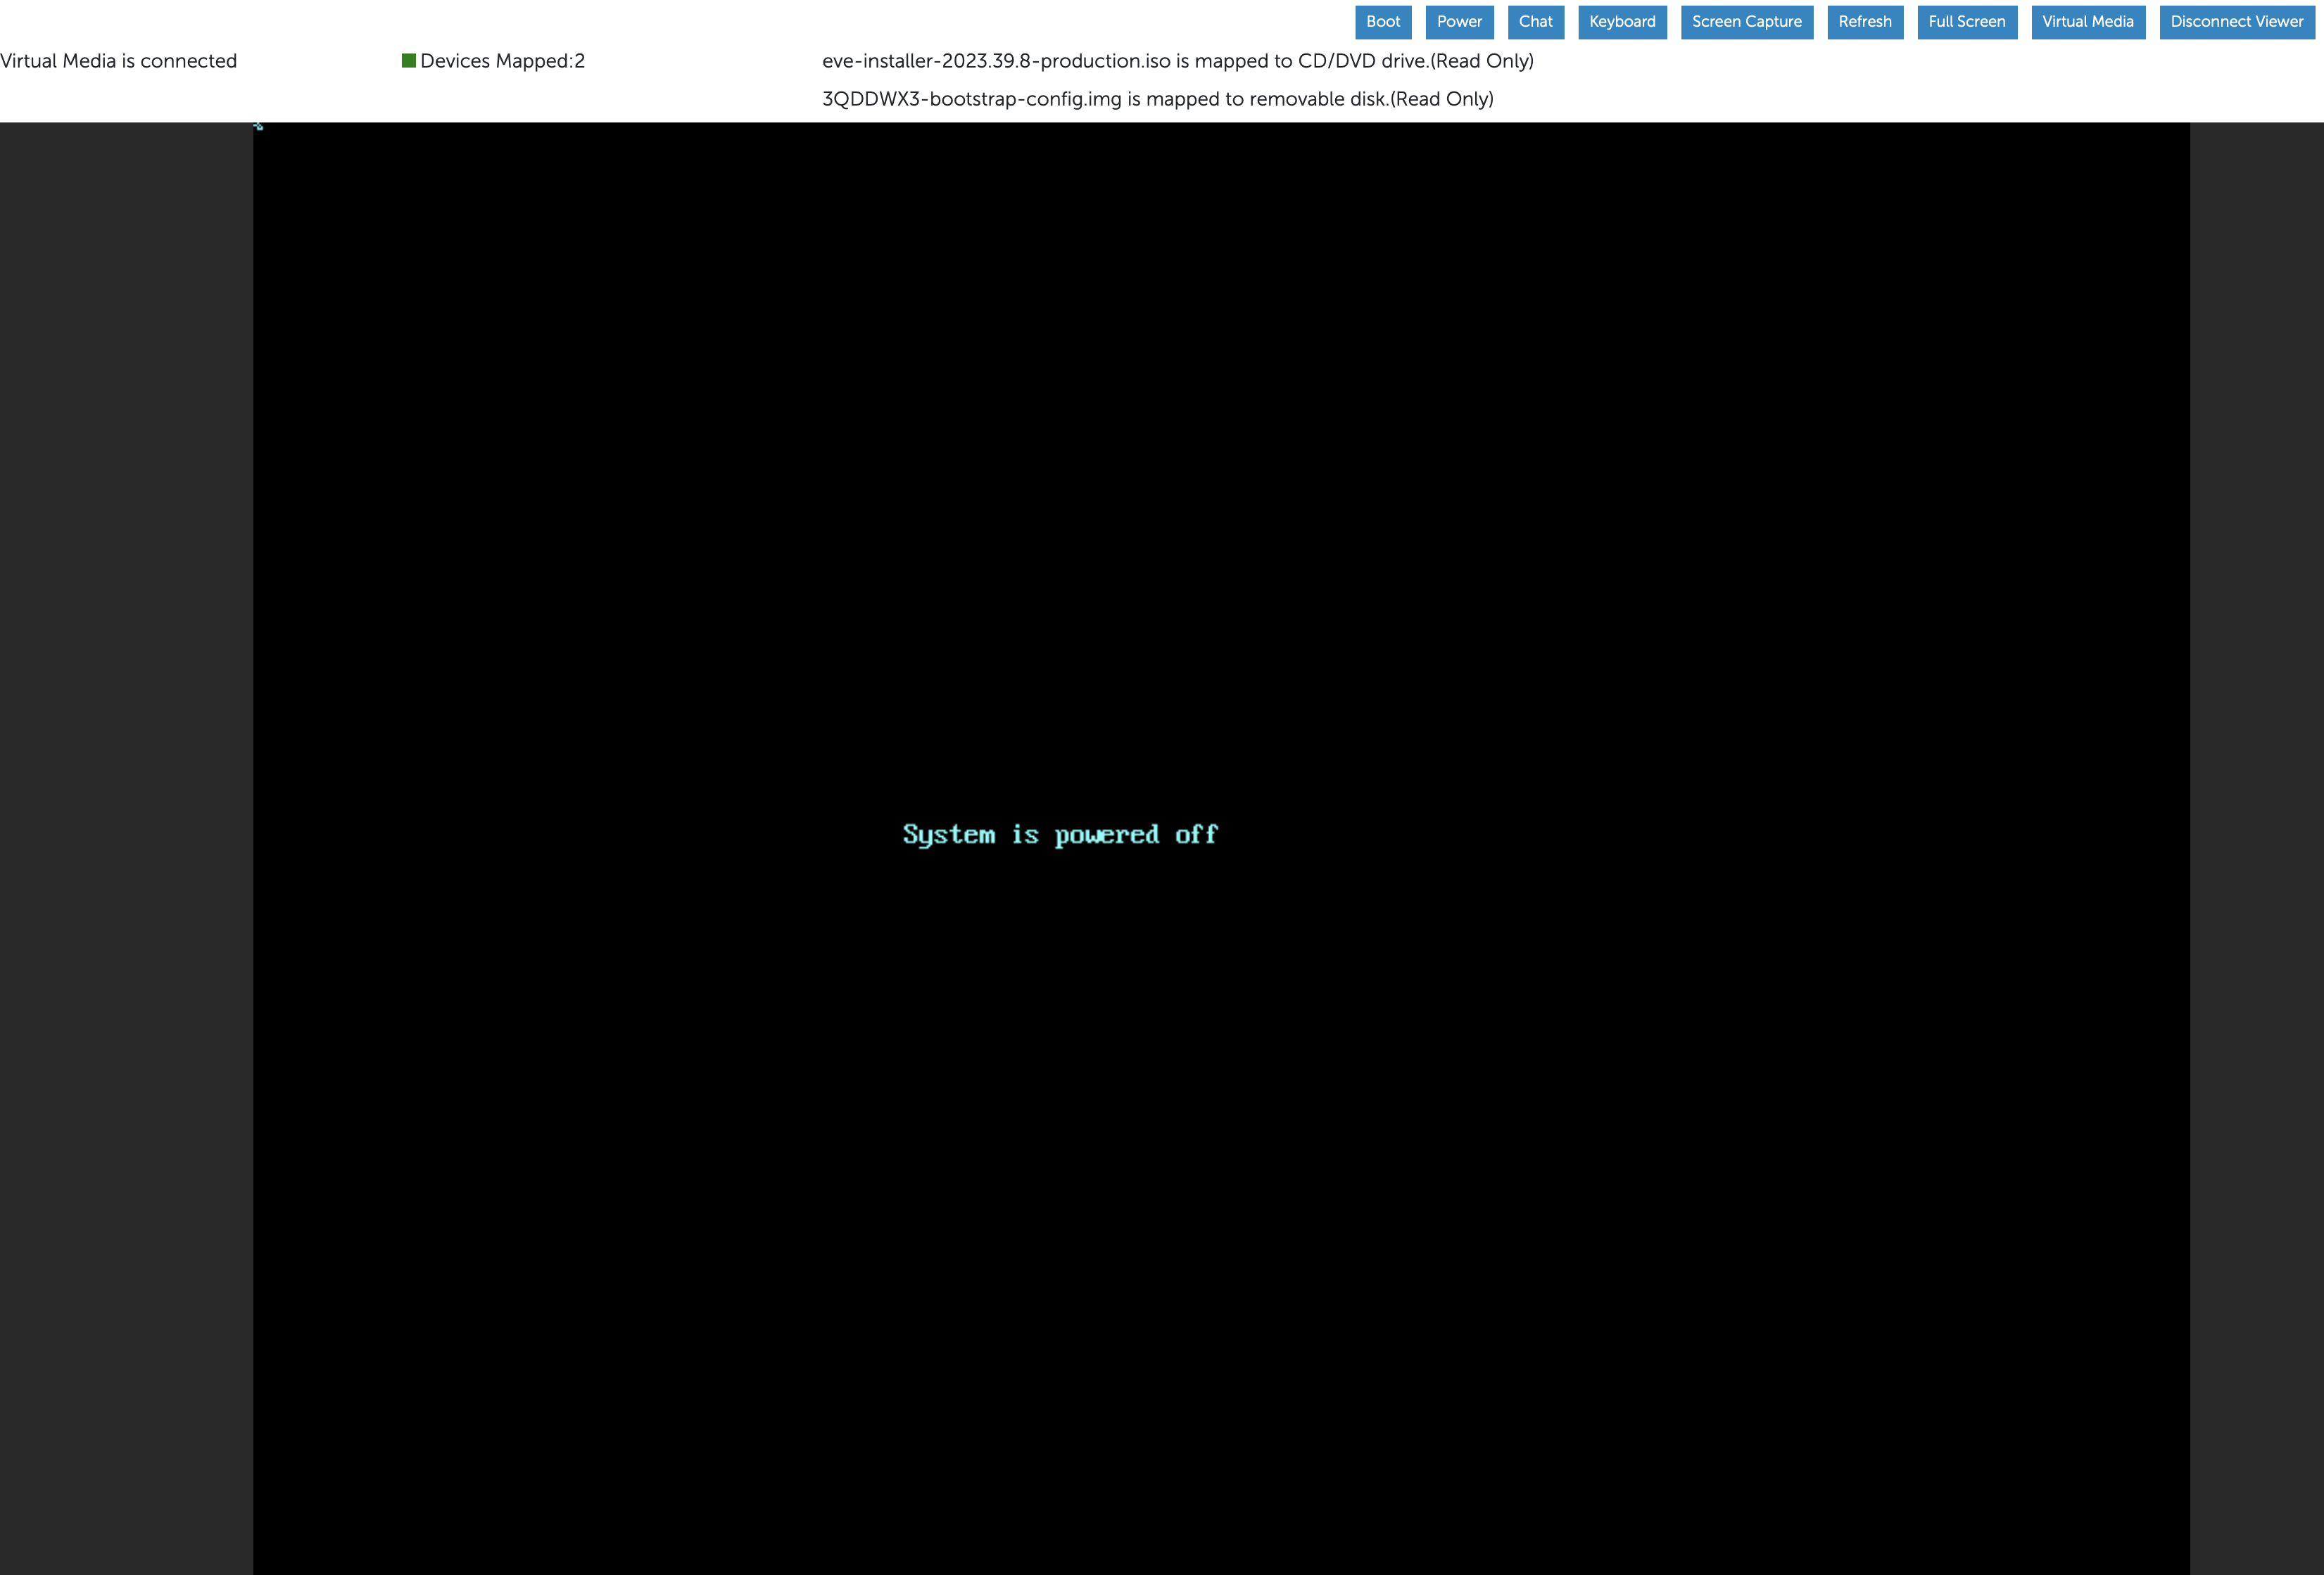
Open the Virtual Console to the server. On the Virtual Console window, click Virtual Media > Connect Virtual Media > Connect Virtual Media. Virtual Media should show up as connected.
-
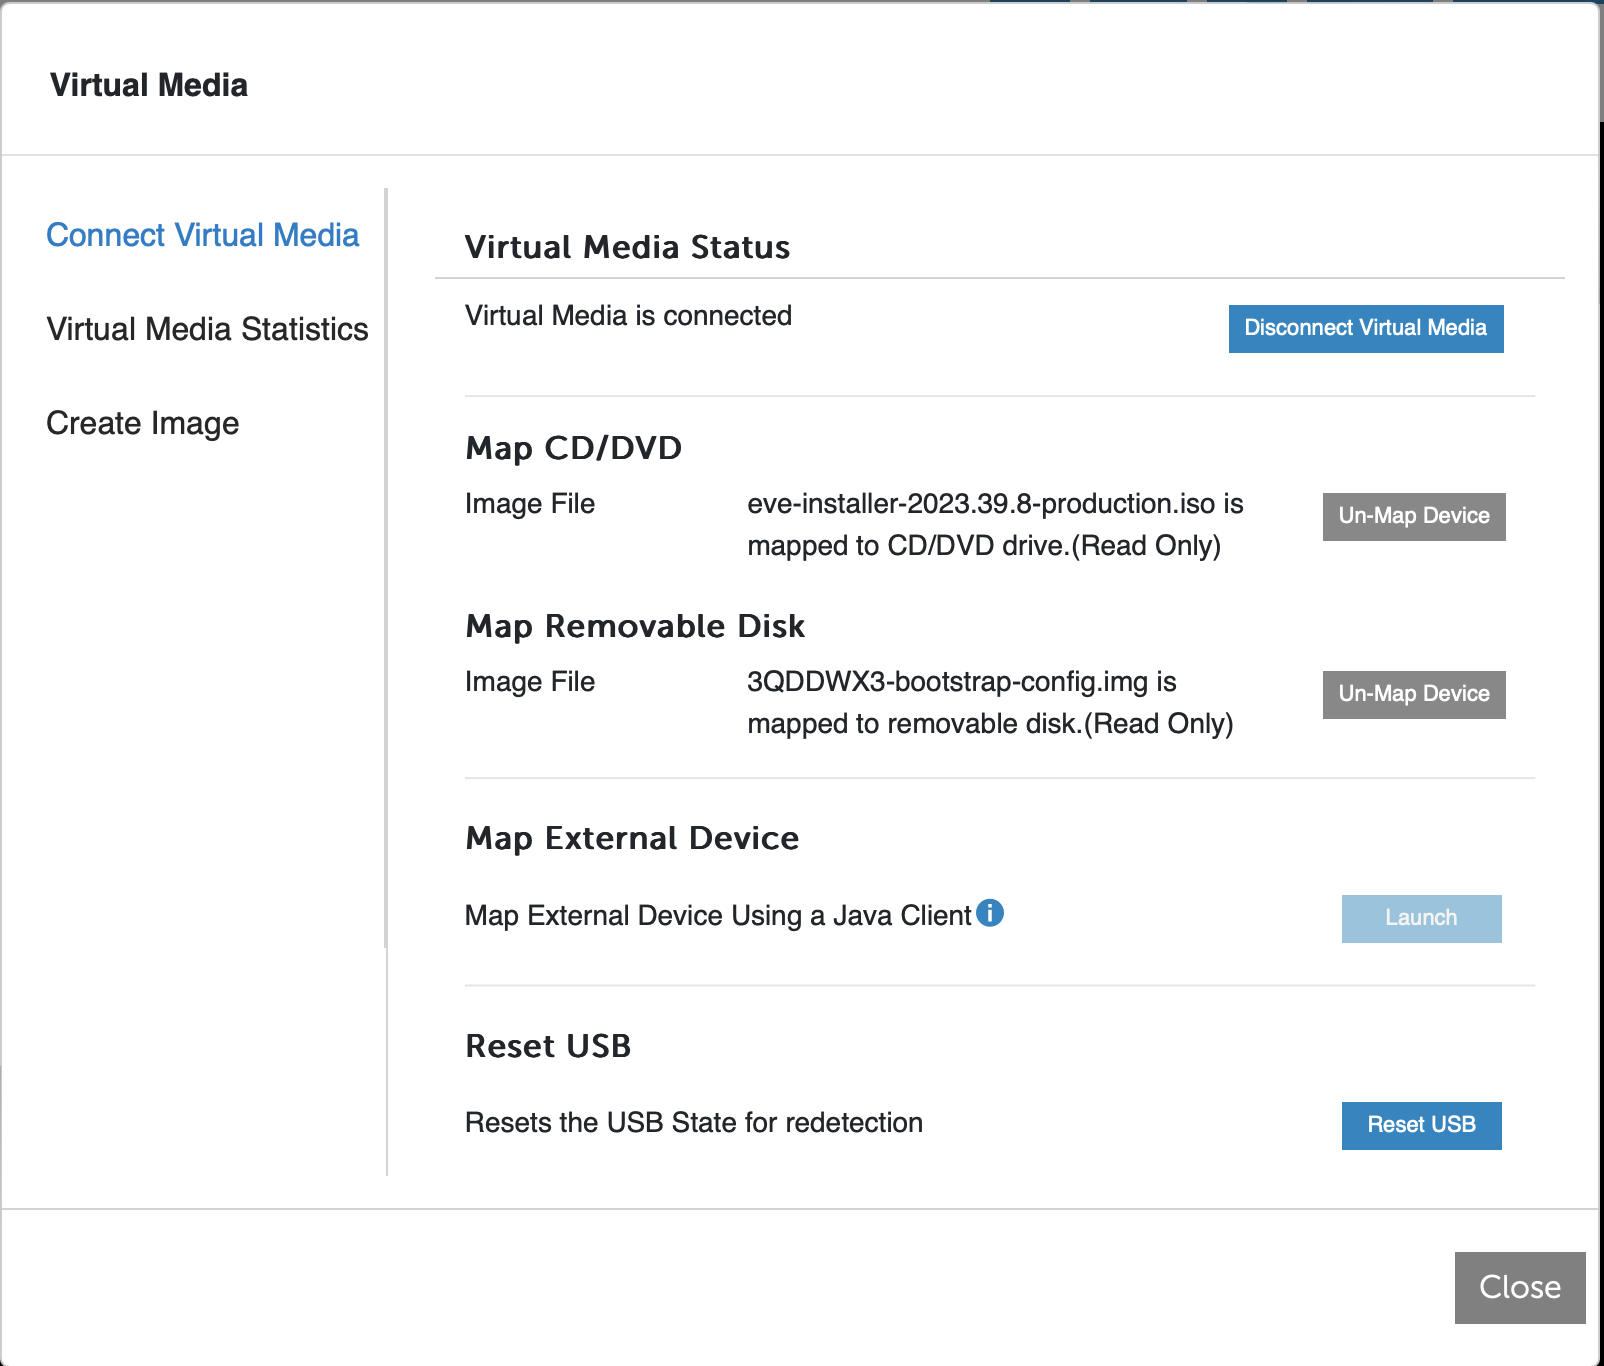
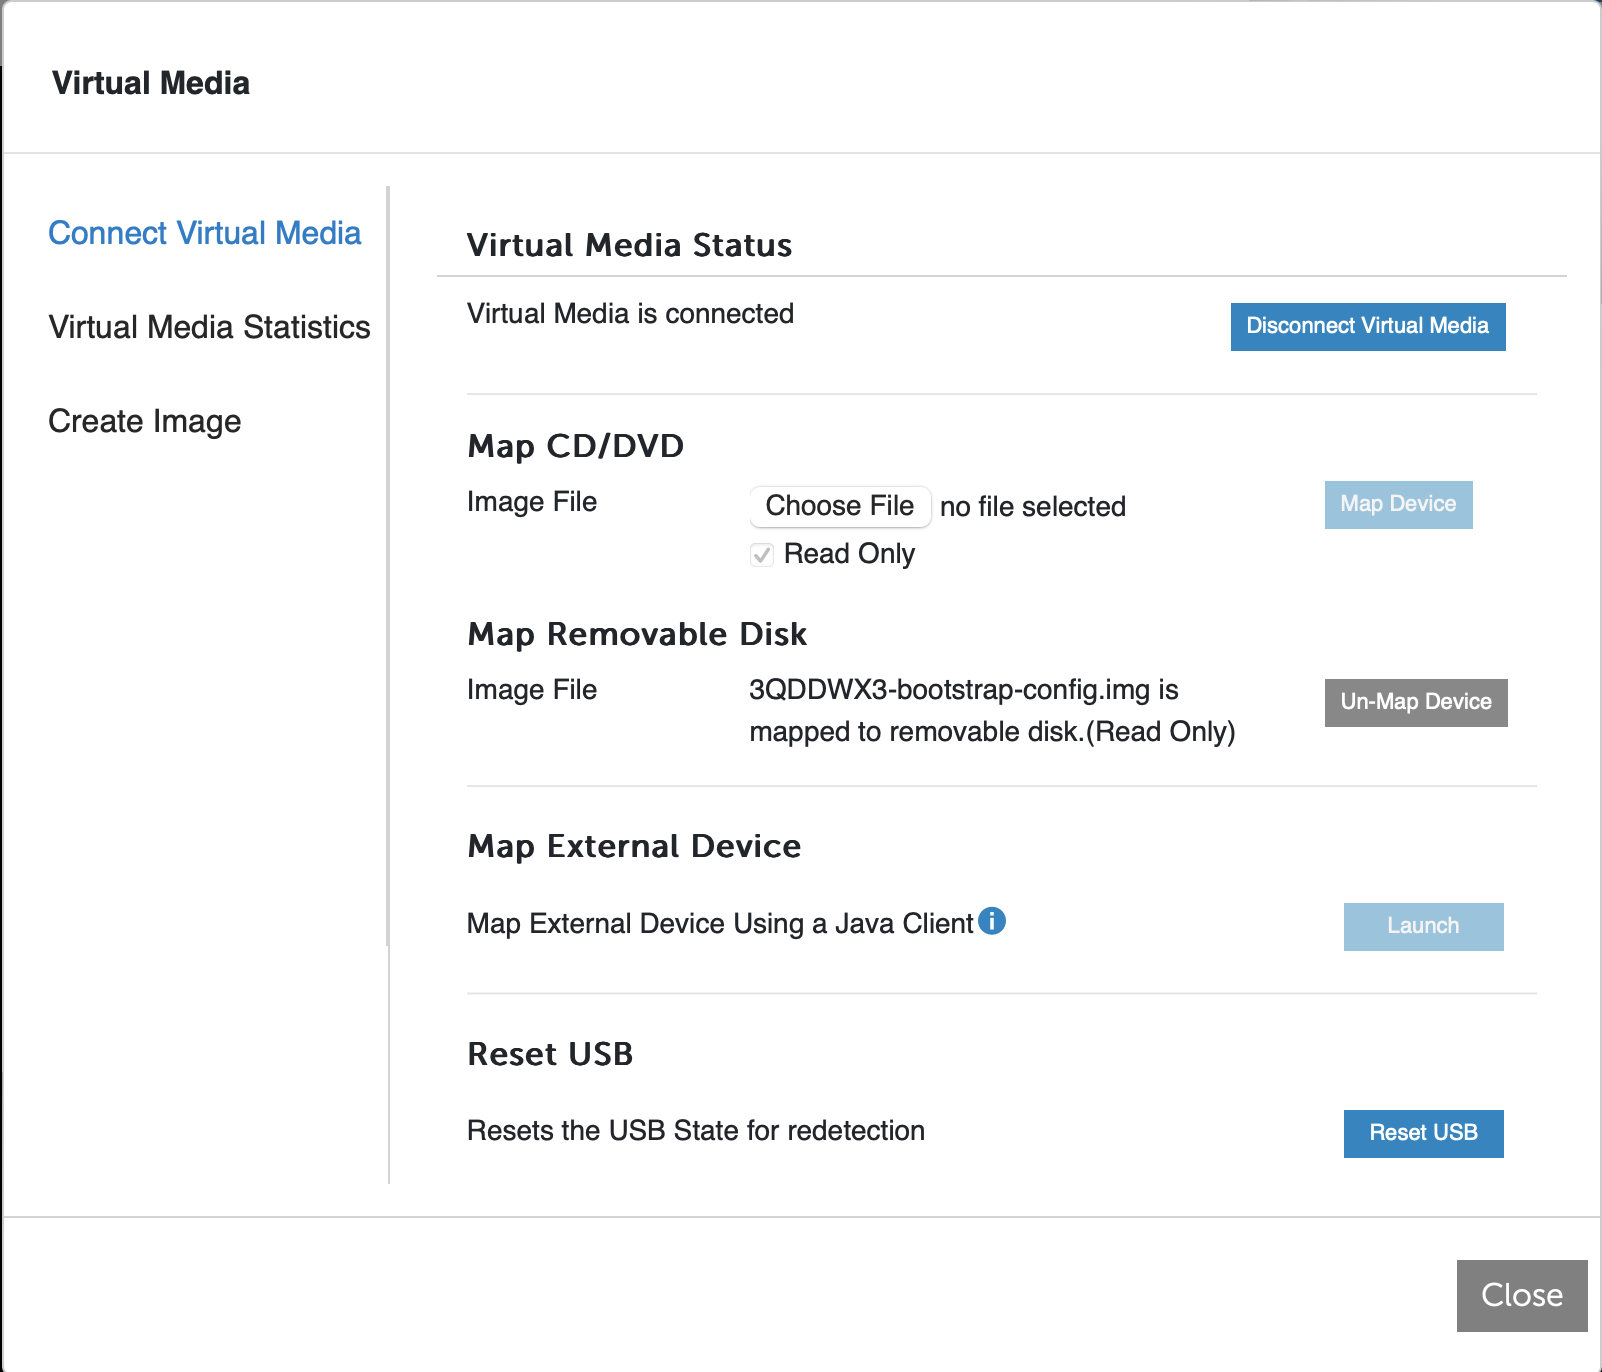
Under Map CD/DVD, choose the Edge OS ISO file and click Map Device. Under Map Removable Disk, select the bootstrap-config.img file and again click Map Device. The removable disk is a virtual USB.
If you selected DHCP for the device’s management interface, you do not need to map a file to the removable disk. You only need the Edge OS ISO file. Your virtual media dialog box should look like this:
Close this dialog box.
-
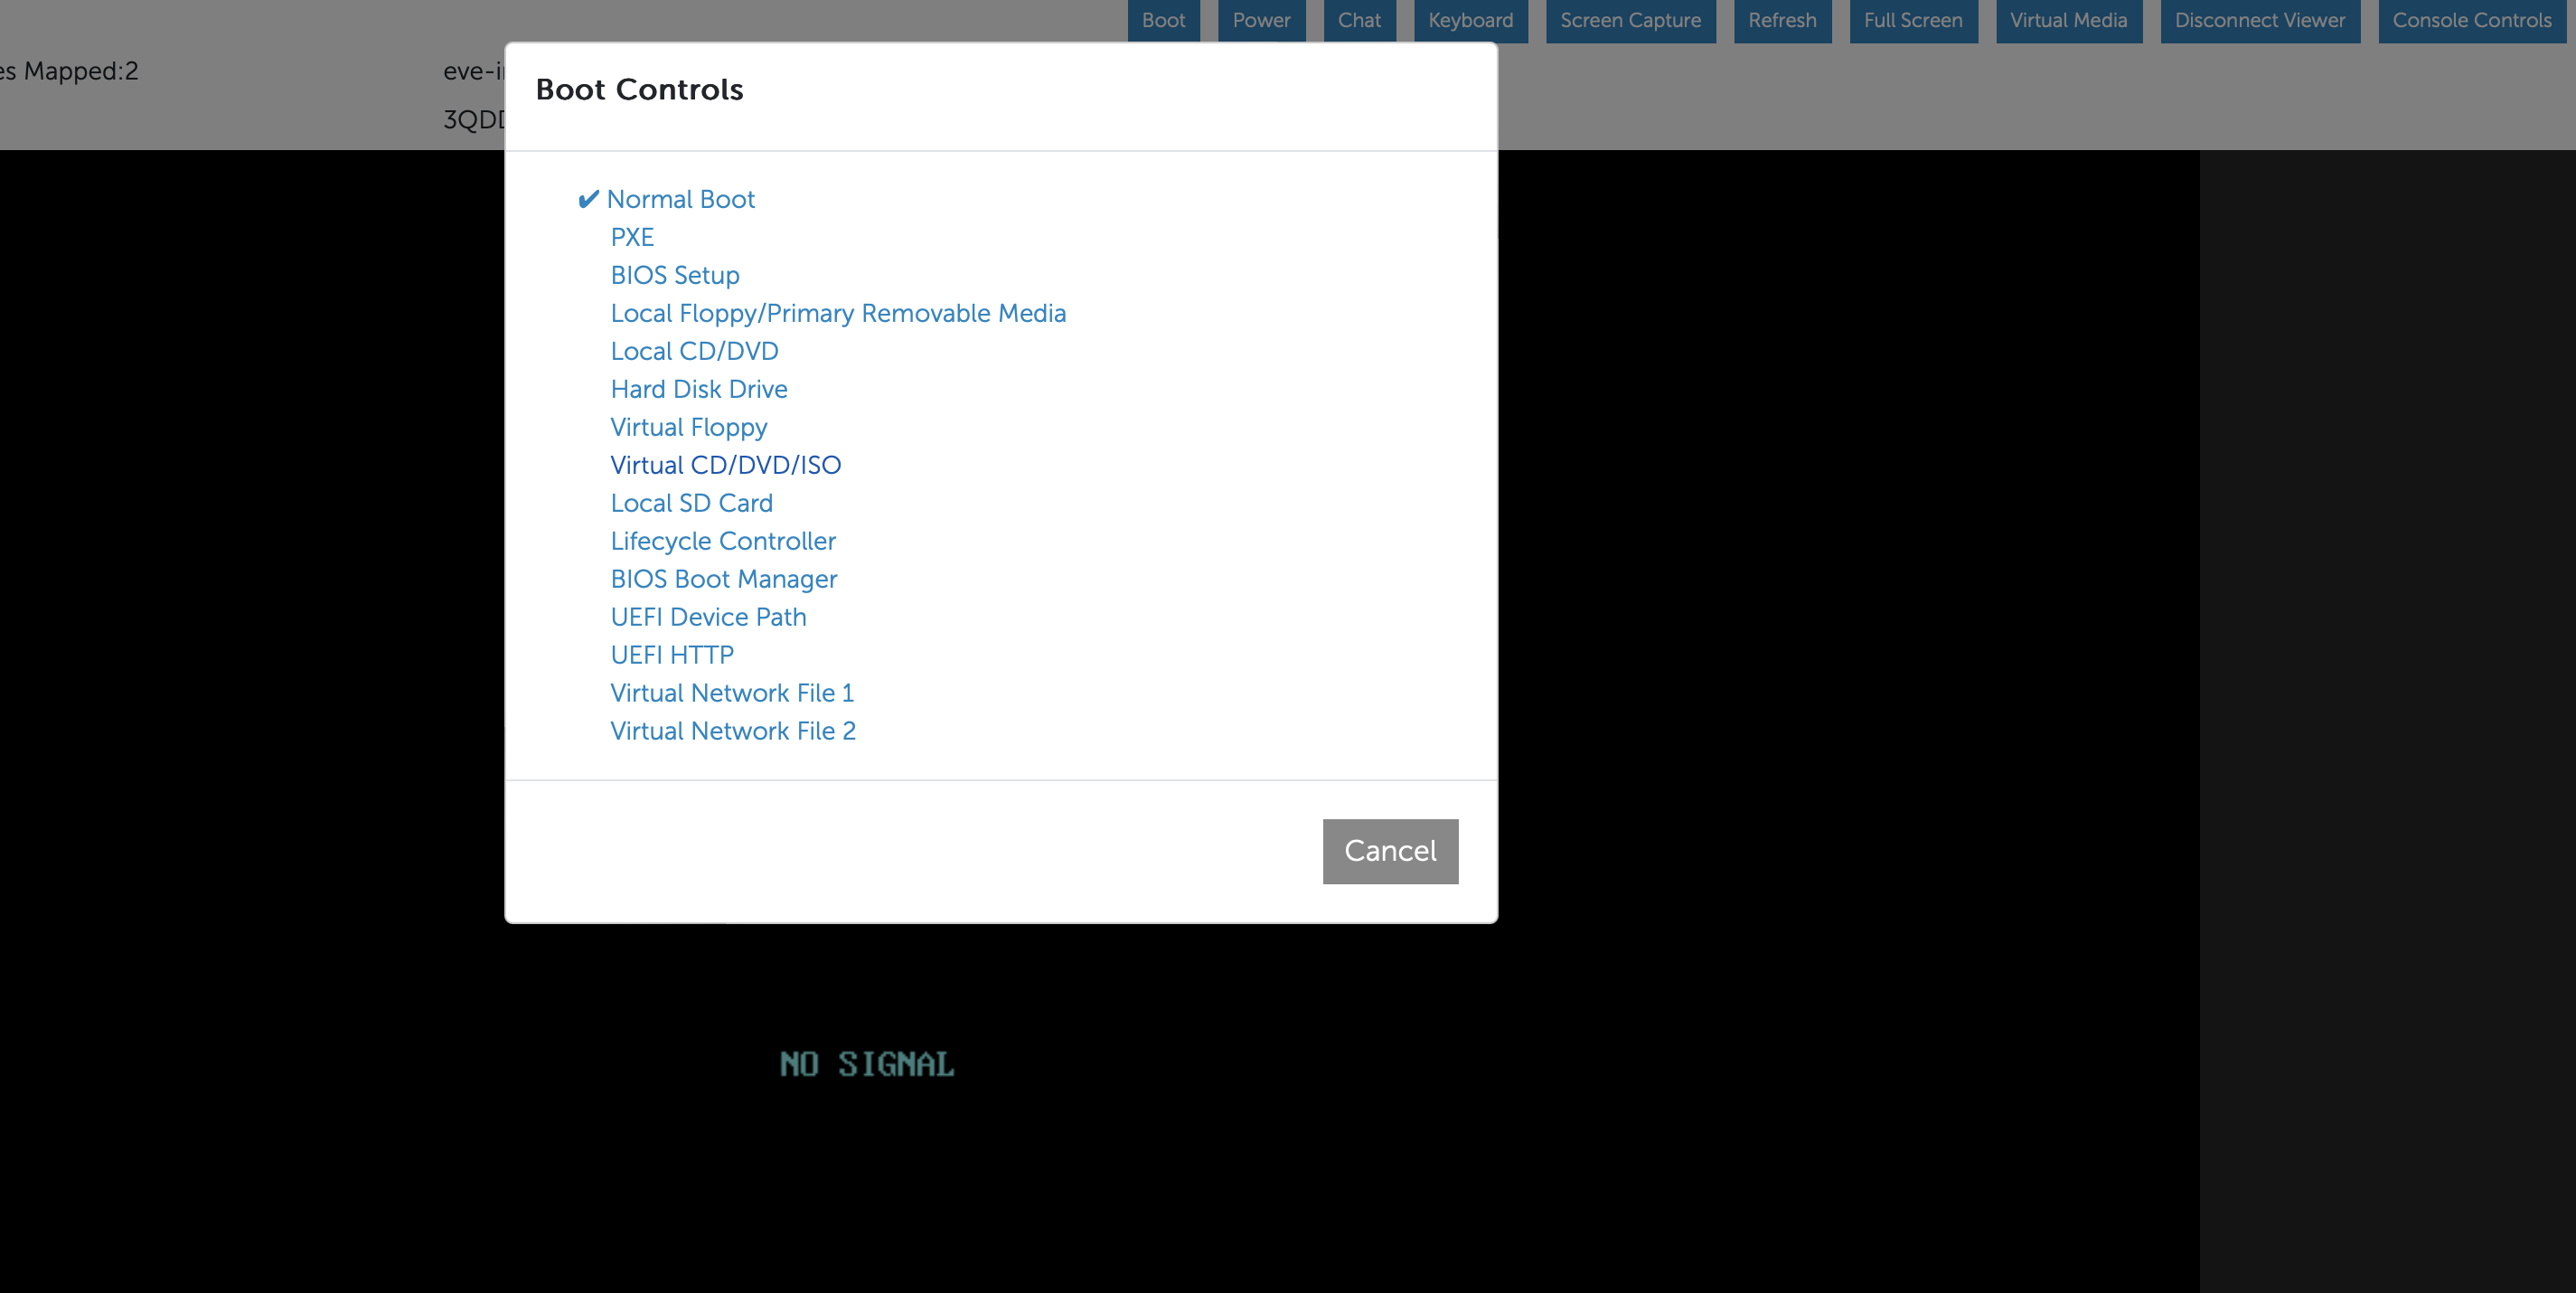
From the Virtual Console, click Boot and under Boot Controls, and select Virtual CD/DVD/ISO. A dialog box will open, asking you to confirm the boot action. Click Yes.
-
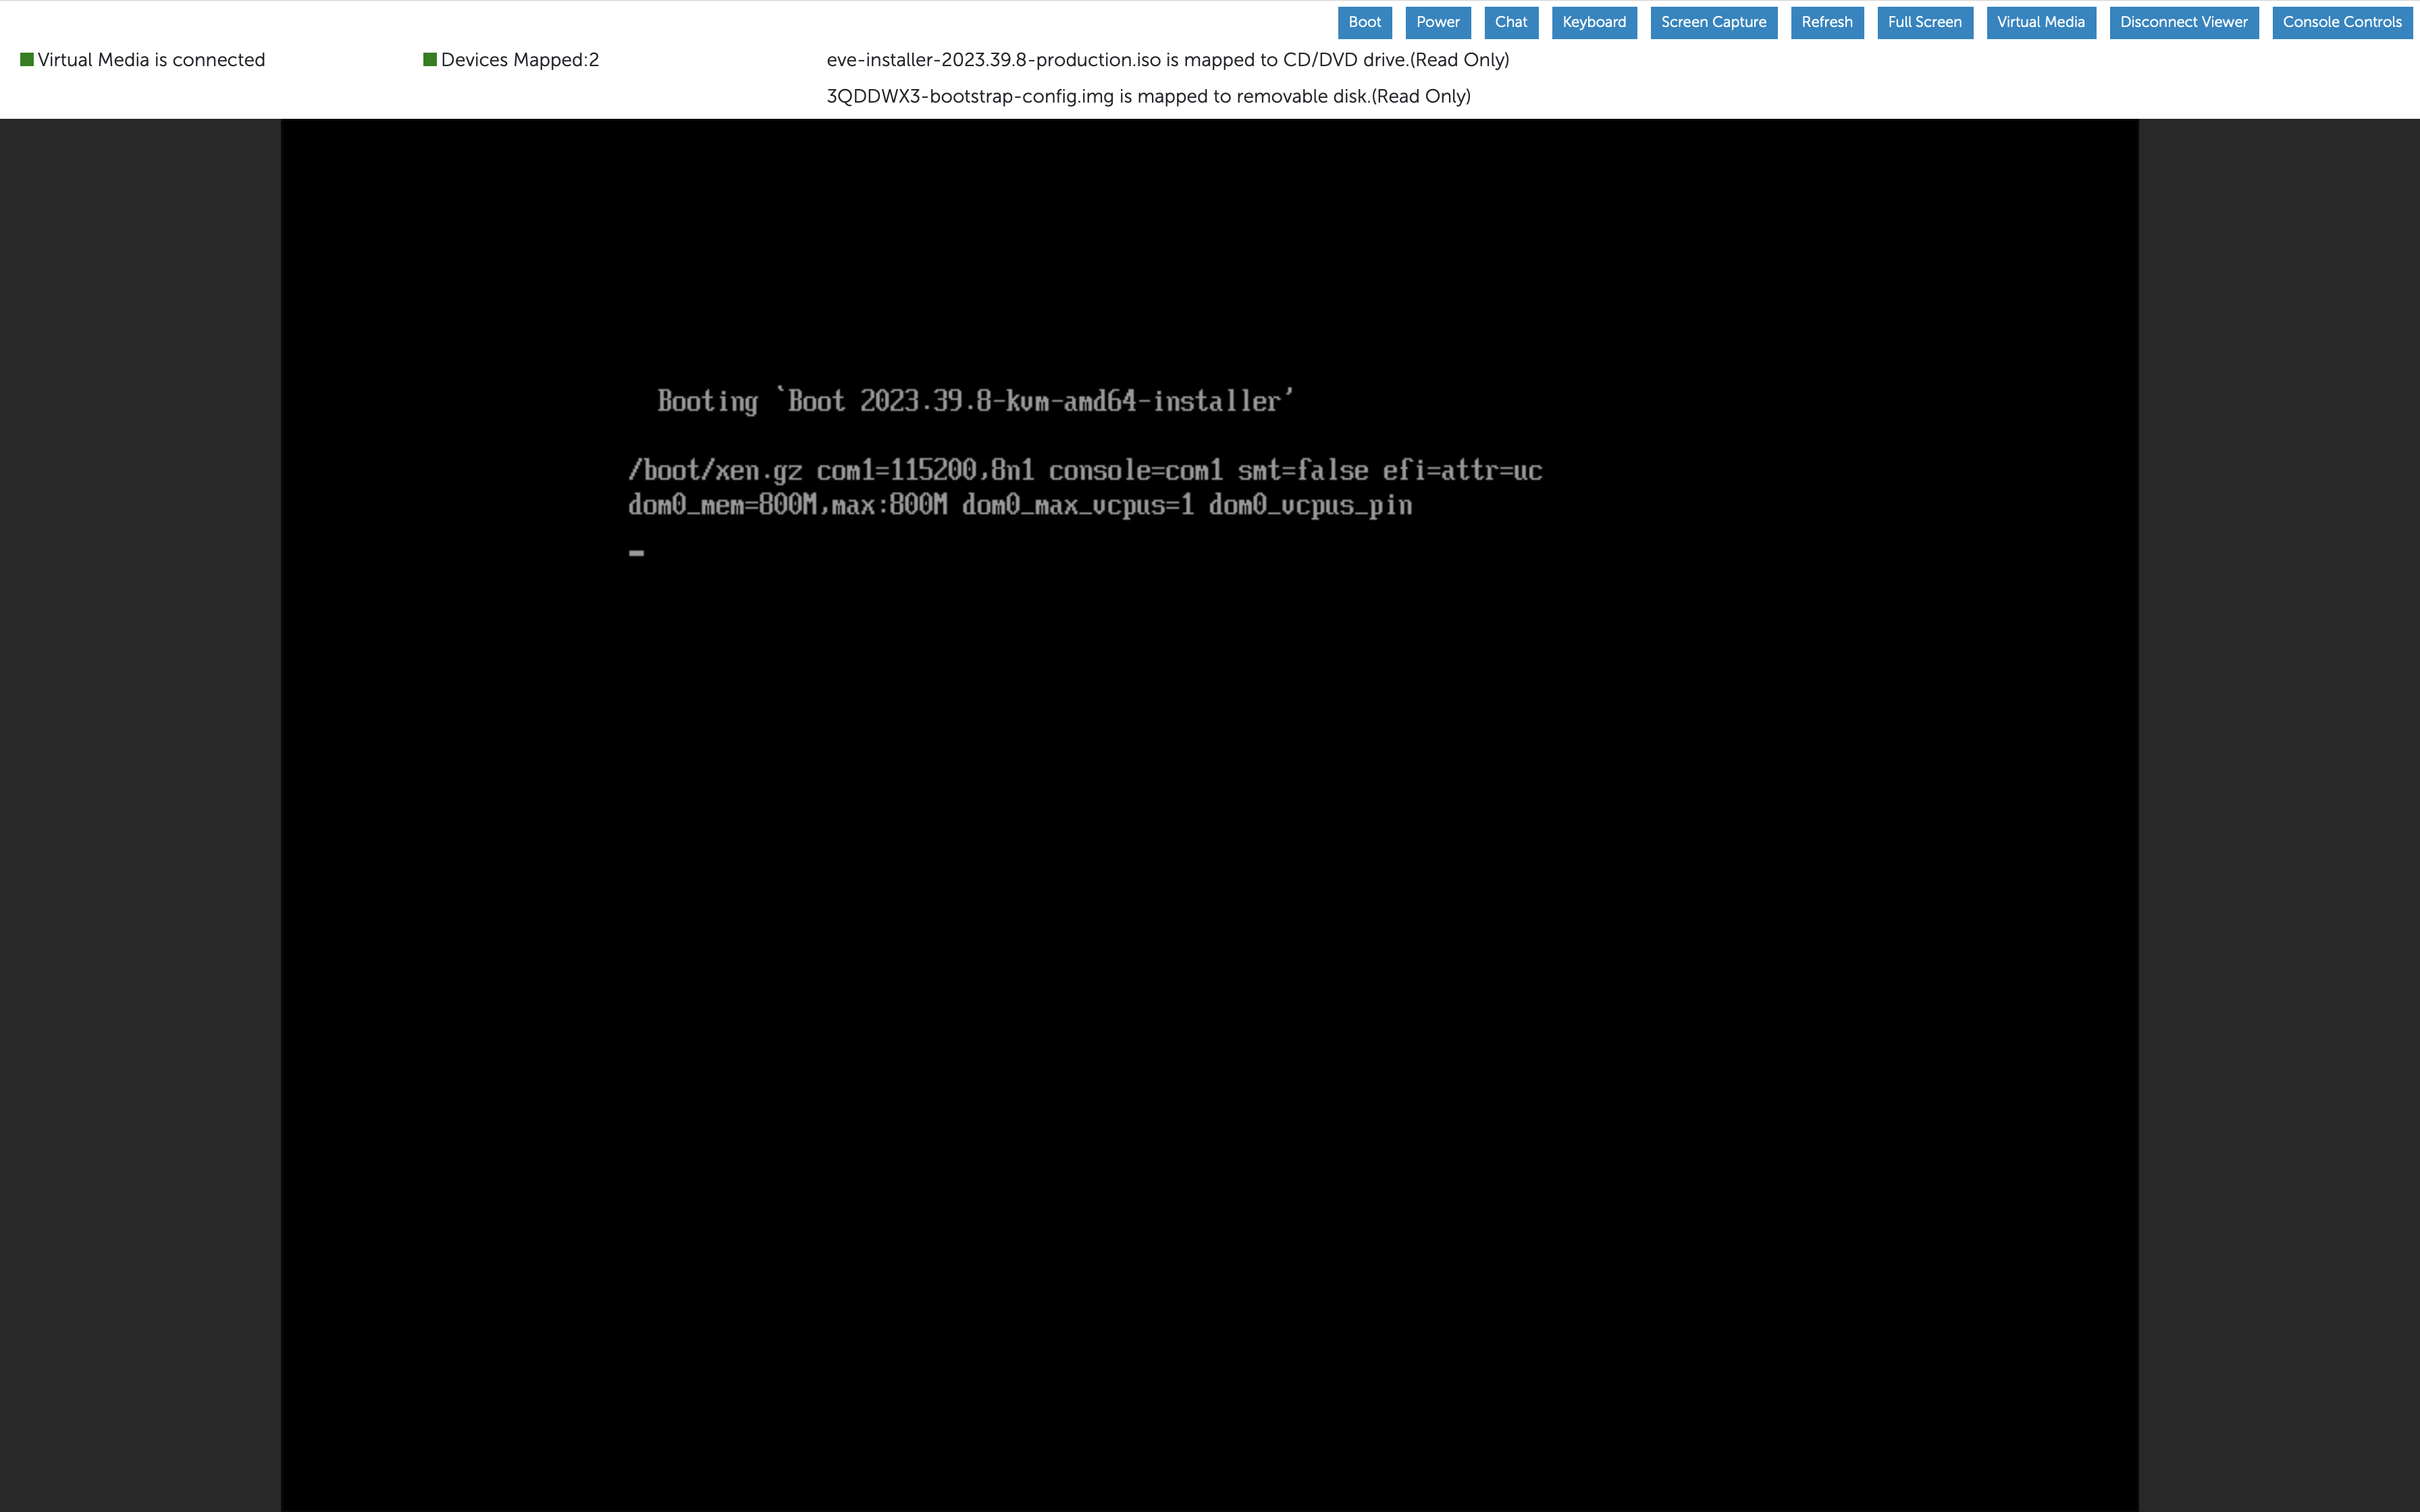
From the Virtual Console, click Power and select the Reset System (warm boot) option. This will start the installation of Aviatrix Edge OS (AEP EvE) on the server.
Do not close the Virtual console window. 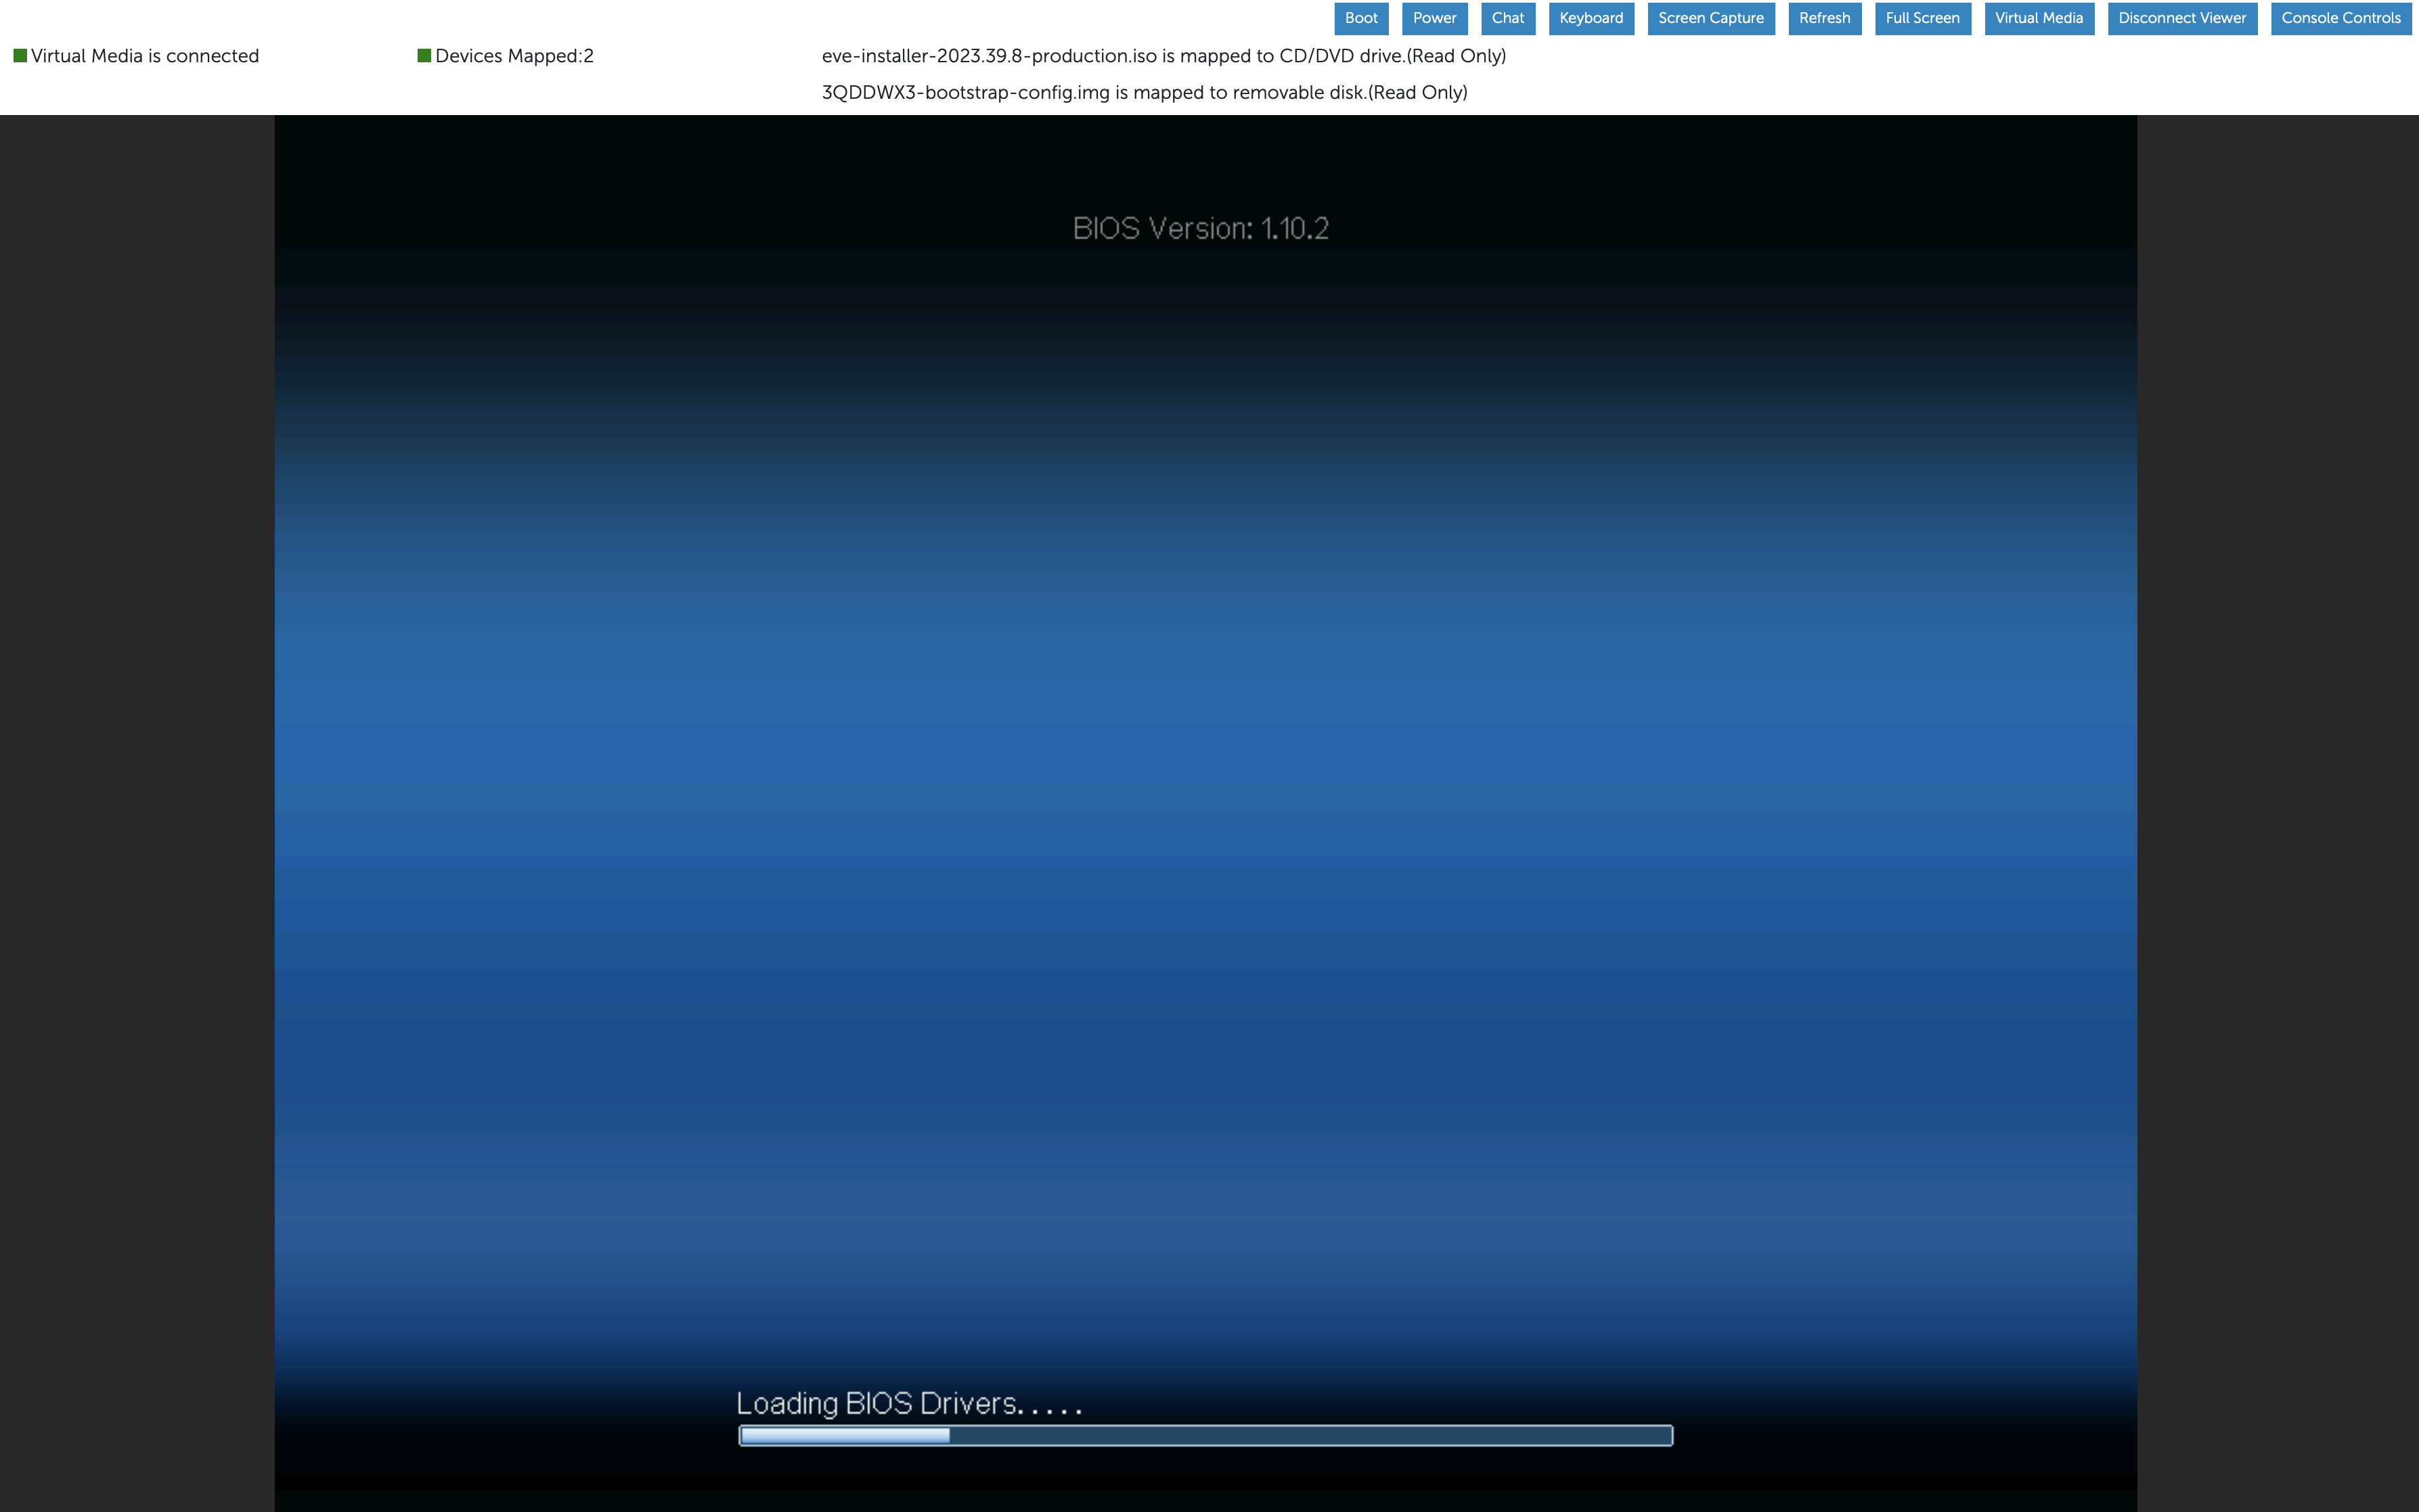
-
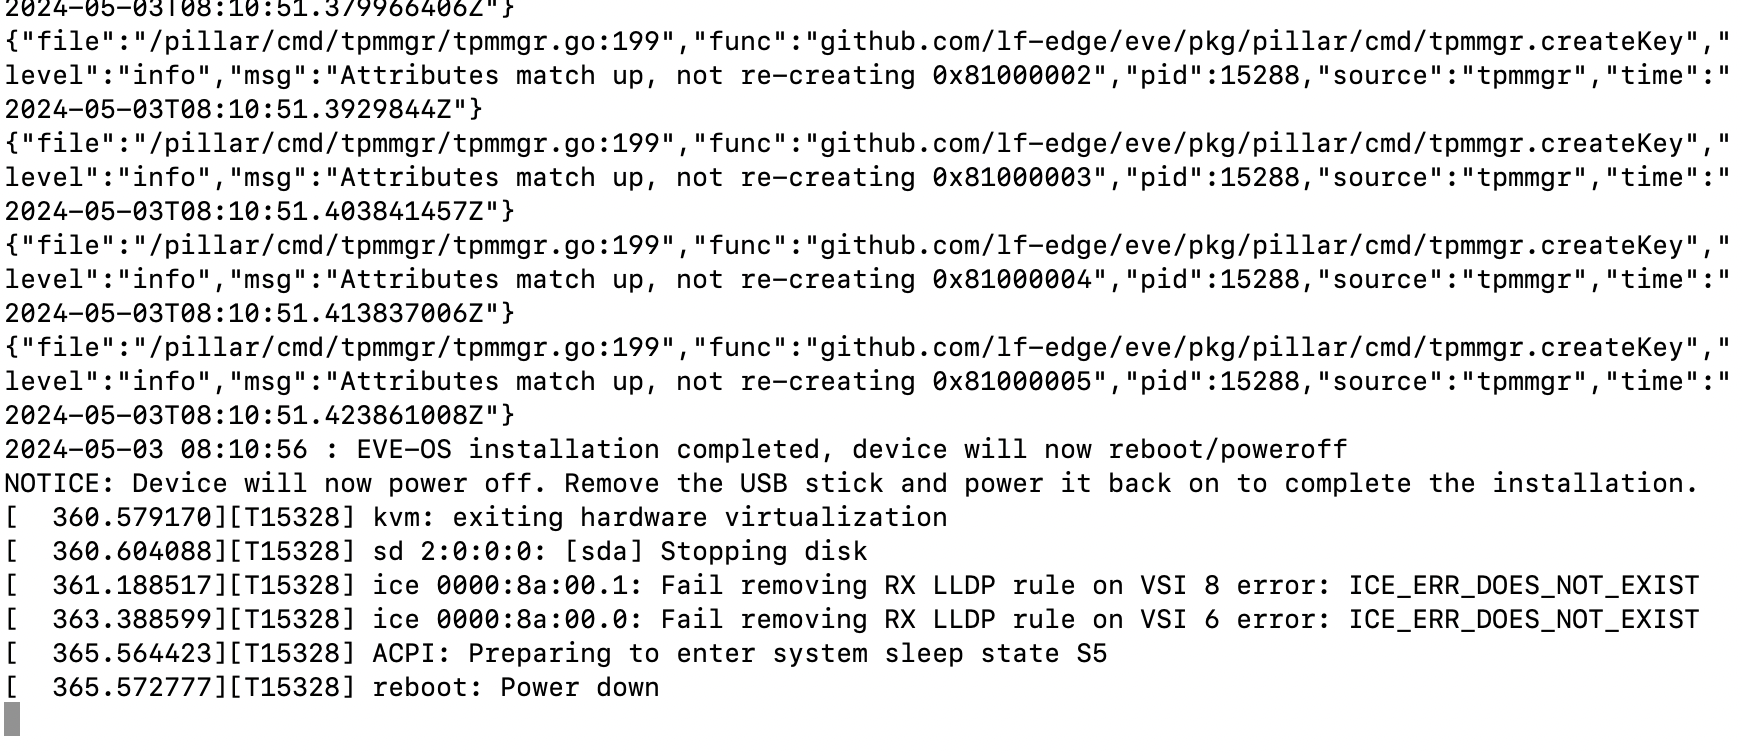
If you have SSH access to the iDRAC, you can SSH to it and type console com2. This will connect you to the serial console of the server and you will see the Aviatrix Edge OS (AEP EvE) installation logs.

-
The installation typically takes 10 to 15 minutes. It may vary depending on where the ISO file is being uploaded to the server via the Virtual Console. Once the installation is complete, the server will automatically power down. This can also be confirmed from the EvE installation logs in the serial console.
-
From the Virtual Console, go to Virtual Media and under Map CD/DVD, click Un-Map Device. Confirm the un-map action by clicking Yes. This will remove the ISO file from the Virtual Console.
If you had mapped a bootstrap-config.img file to the removable disk/virtual USB, keep it as is. We will configure the server’s management interface with the static IP information in this virtual USB.
Click Close to save the changes.
-
From the Virtual Console, go to Power. You will see only one option this time, Power On System. Confirm the power action by clicking on Yes.

-
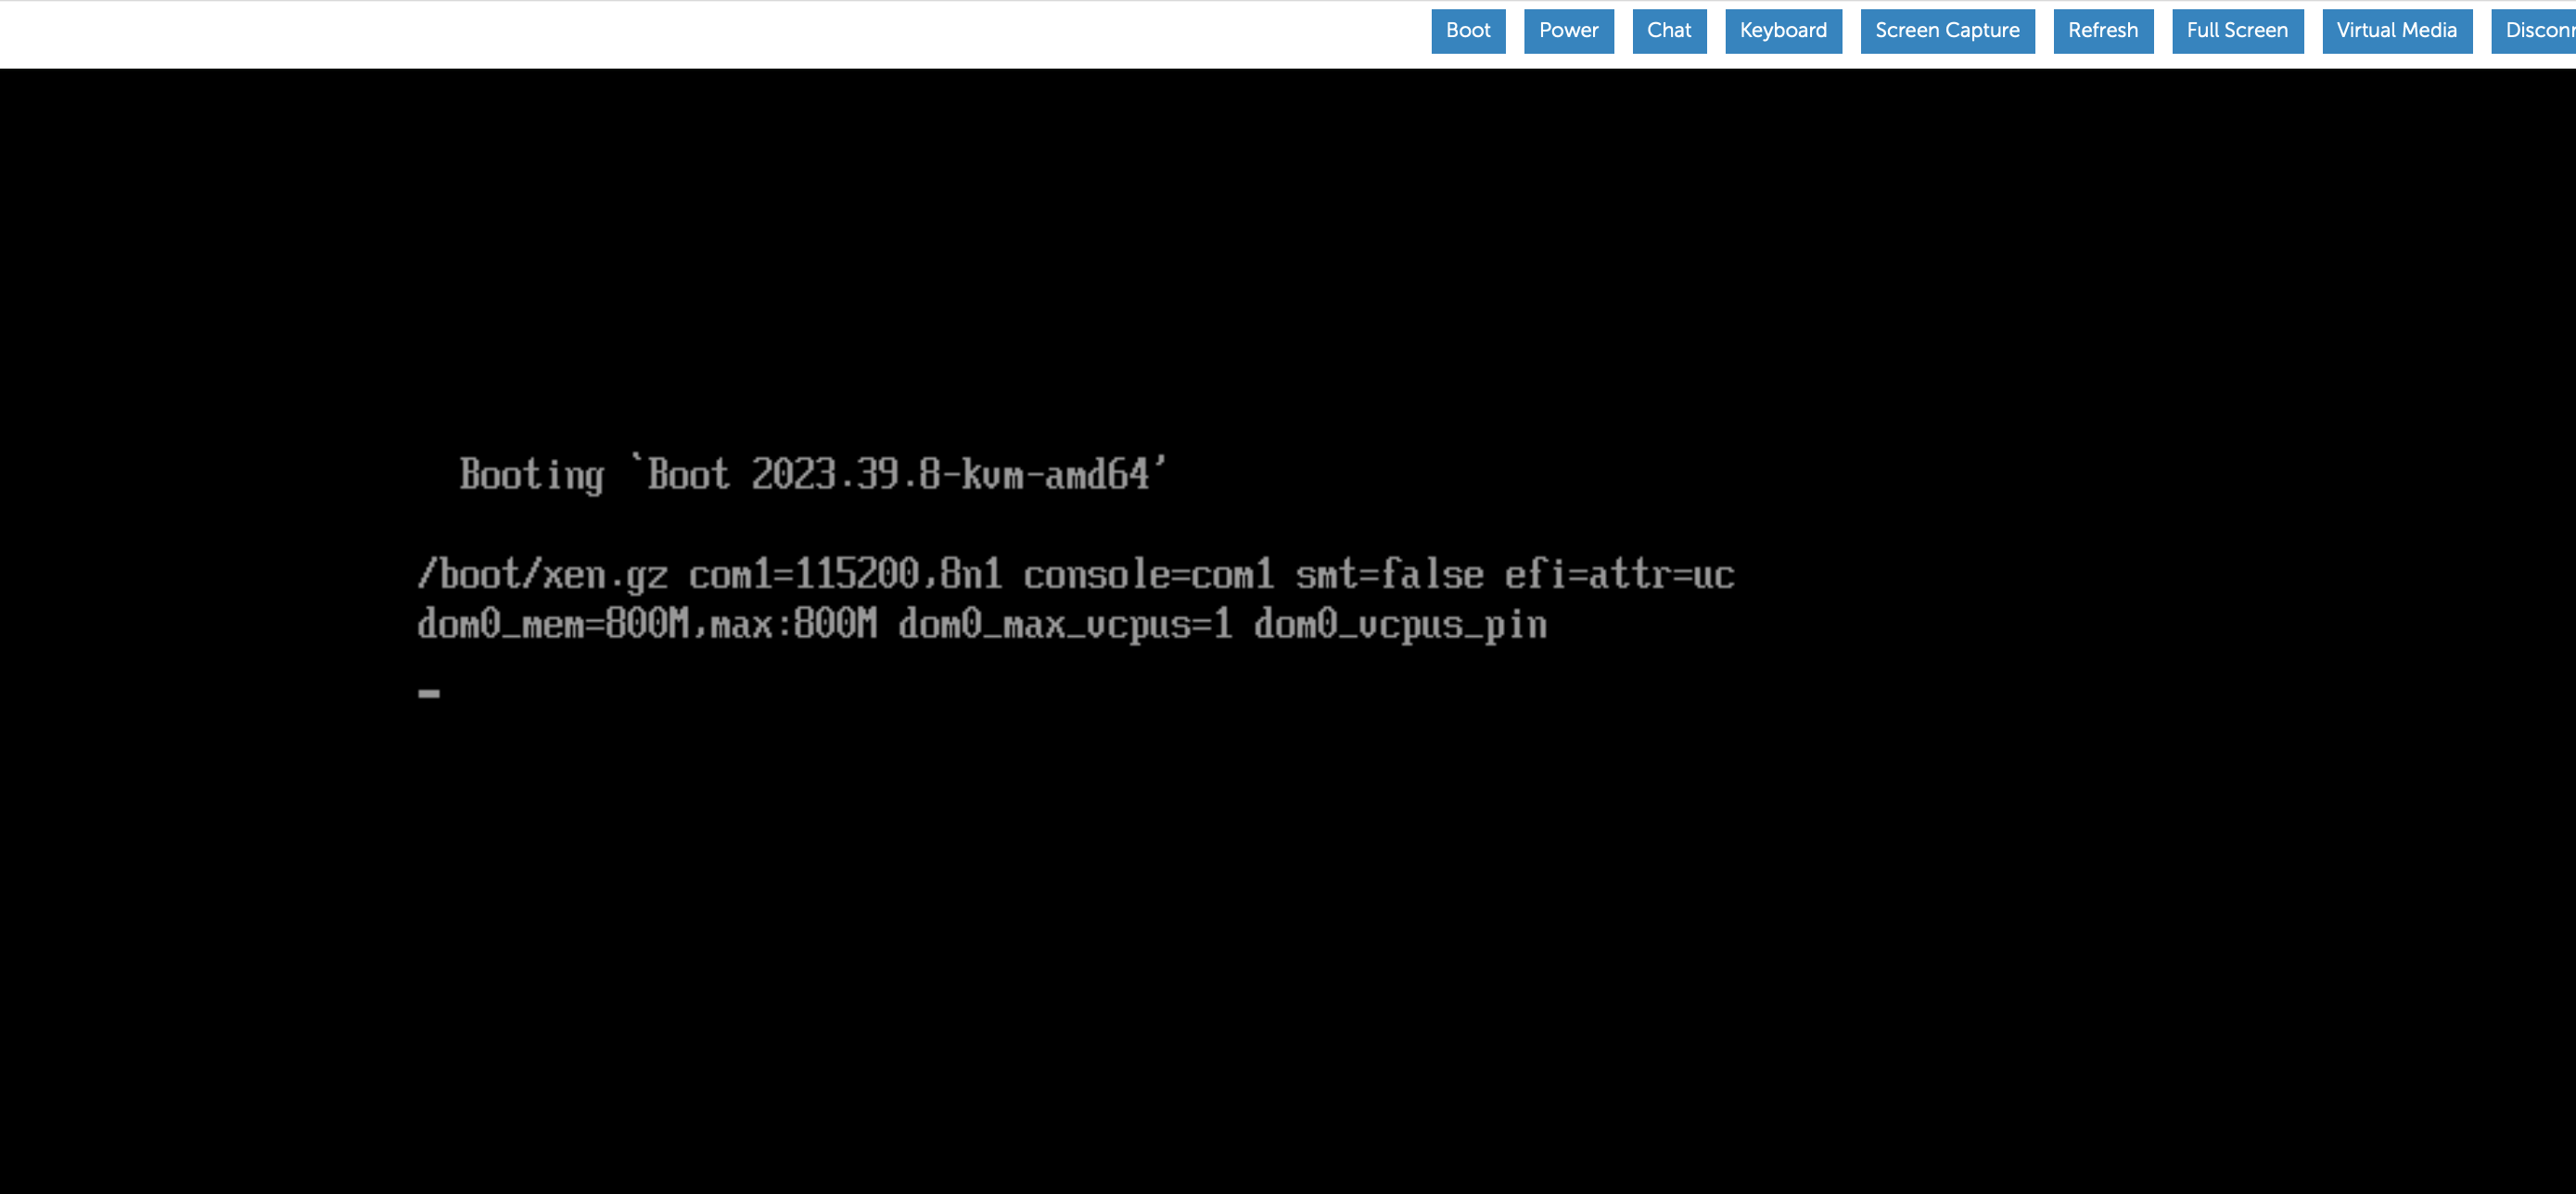
Allow the server to power on. It will boot AEP EvE.
-
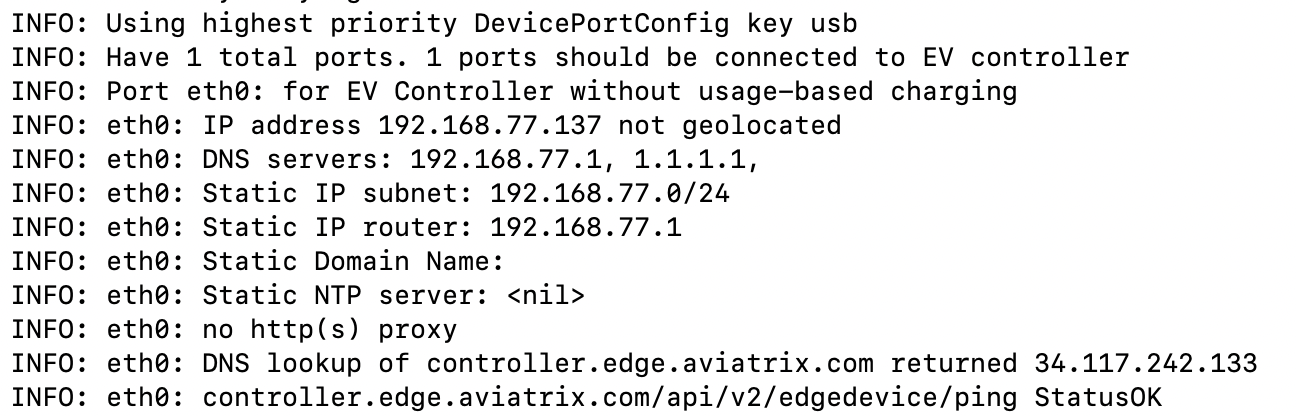
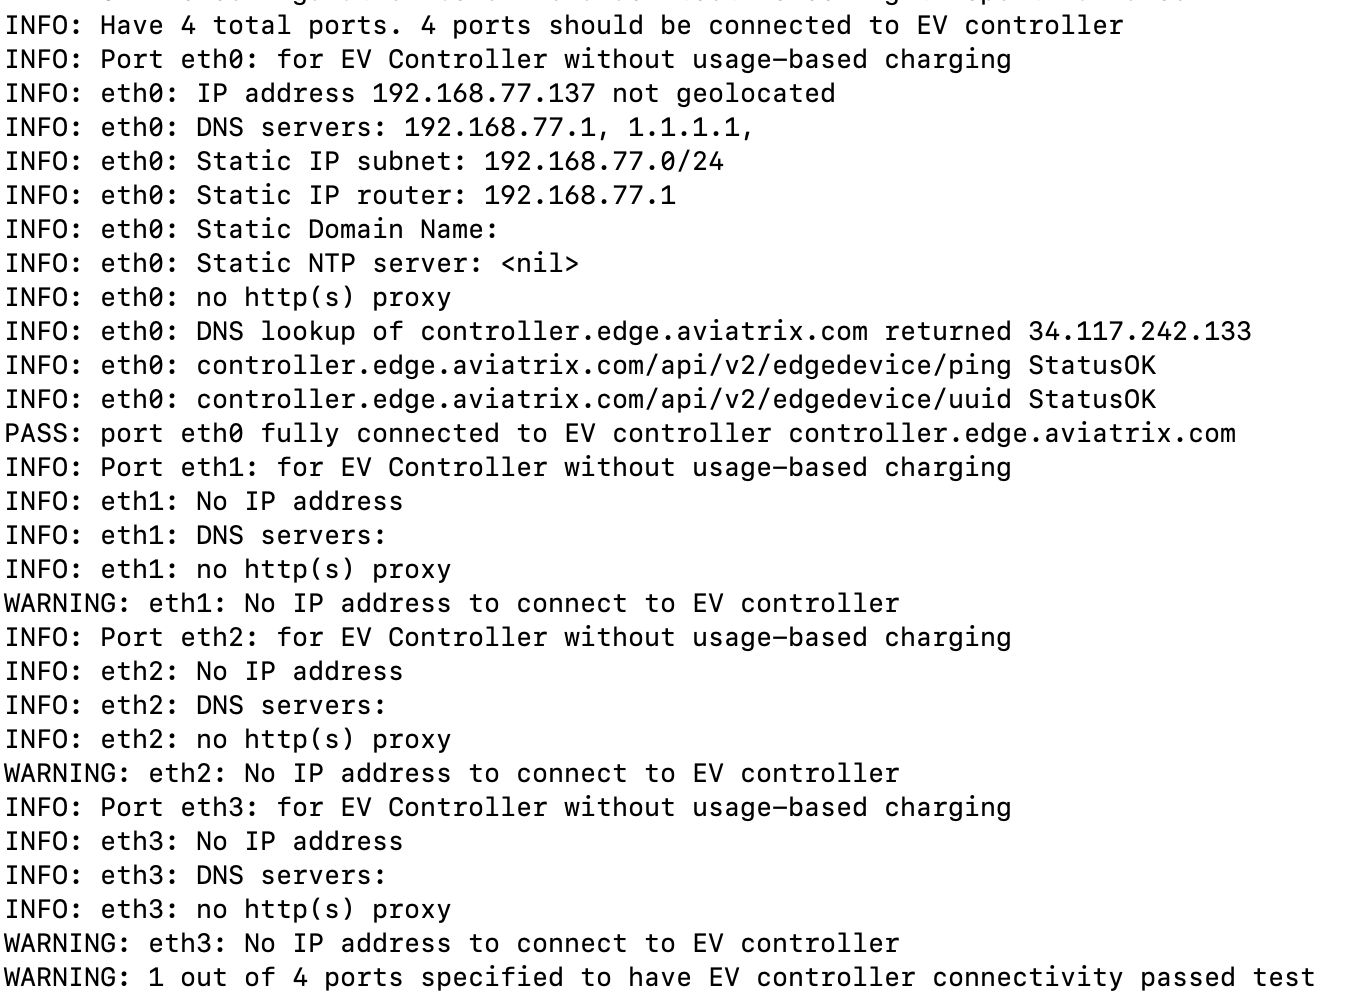
If you have access to the server’s serial console, you will see the boot logs. Aviatrix Edge OS will read the static IP configuration from the virtual USB and configure it on the server. The server will dial out to AEP (controller.edge.aviatrix.com) and connect to it. Look for logs (the actual log text may vary) with these entries: PASS: port eth0 fully connected to EV controller controller.edge.aviatrix.com and 1 out of 4 ports specified to have EV controller connectivity passed test.
-
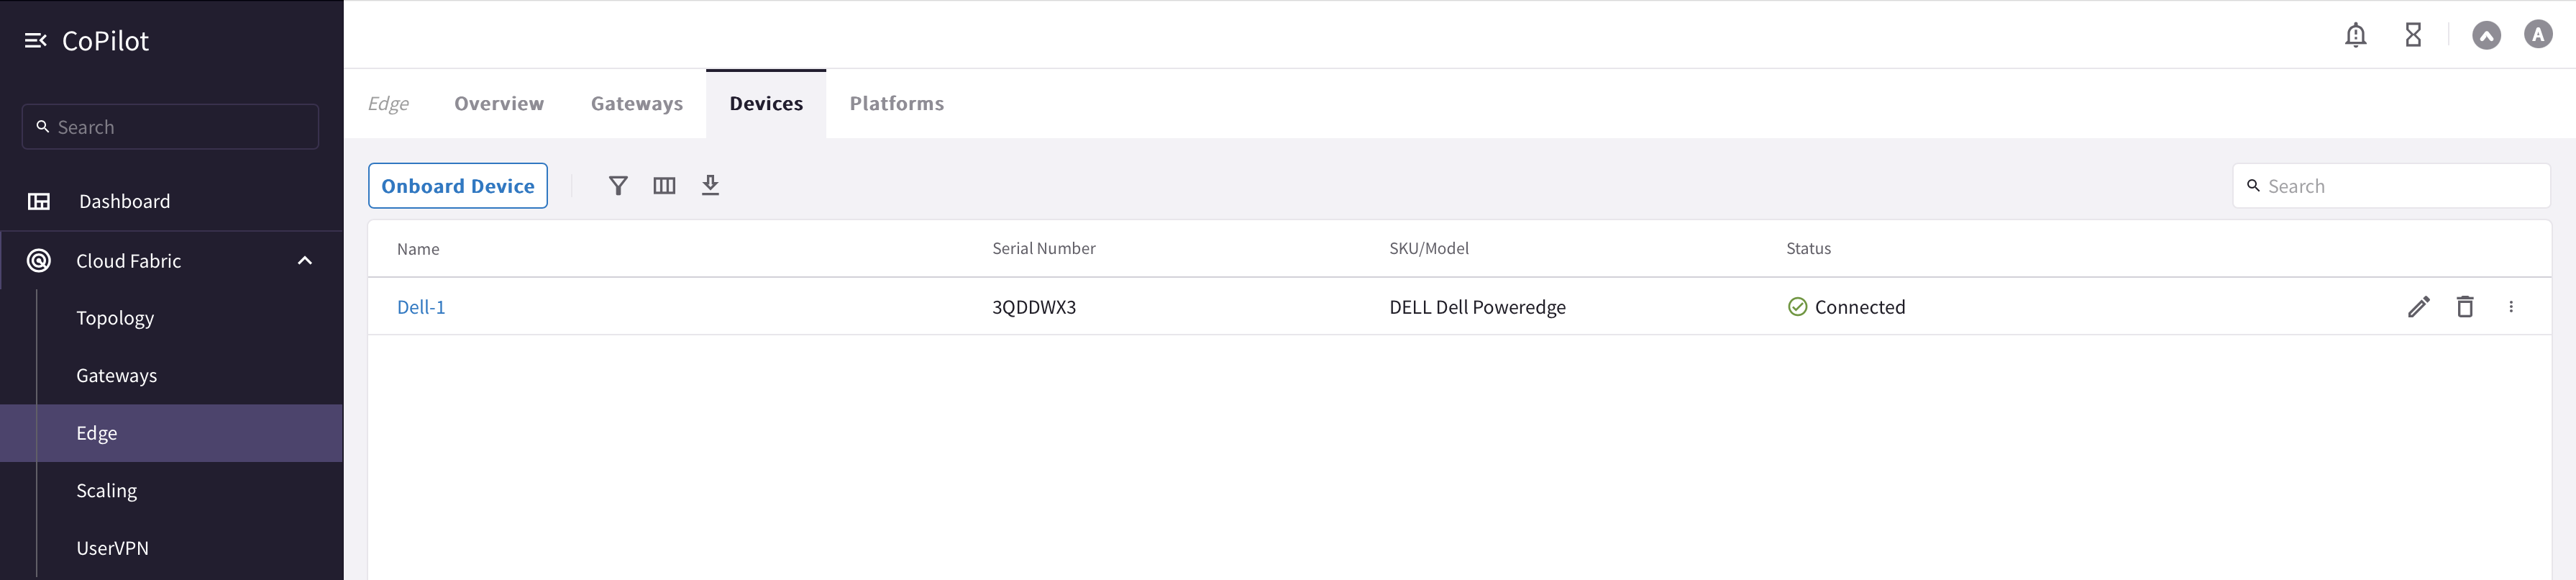
The Dell device will show up as Connected in Copilot (go to Cloud Fabric > Hybrid Cloud > Devices) and can now be used to launch an Edge gateway. For details on how to launch an Edge Transit or Edge Spoke Gateway, see Hybrid Cloud Connectivity.
-
Return to the Virtual Console, go to Virtual Media > Disconnect Virtual Media. Click Yes. This will unmap and disconnect all virtual media files. Close the virtual media box. You can now also close the Virtual Console.
AEP EvE installation is complete and it will persist across server reboots.