- VPC/VNets & Subnets
Purpose
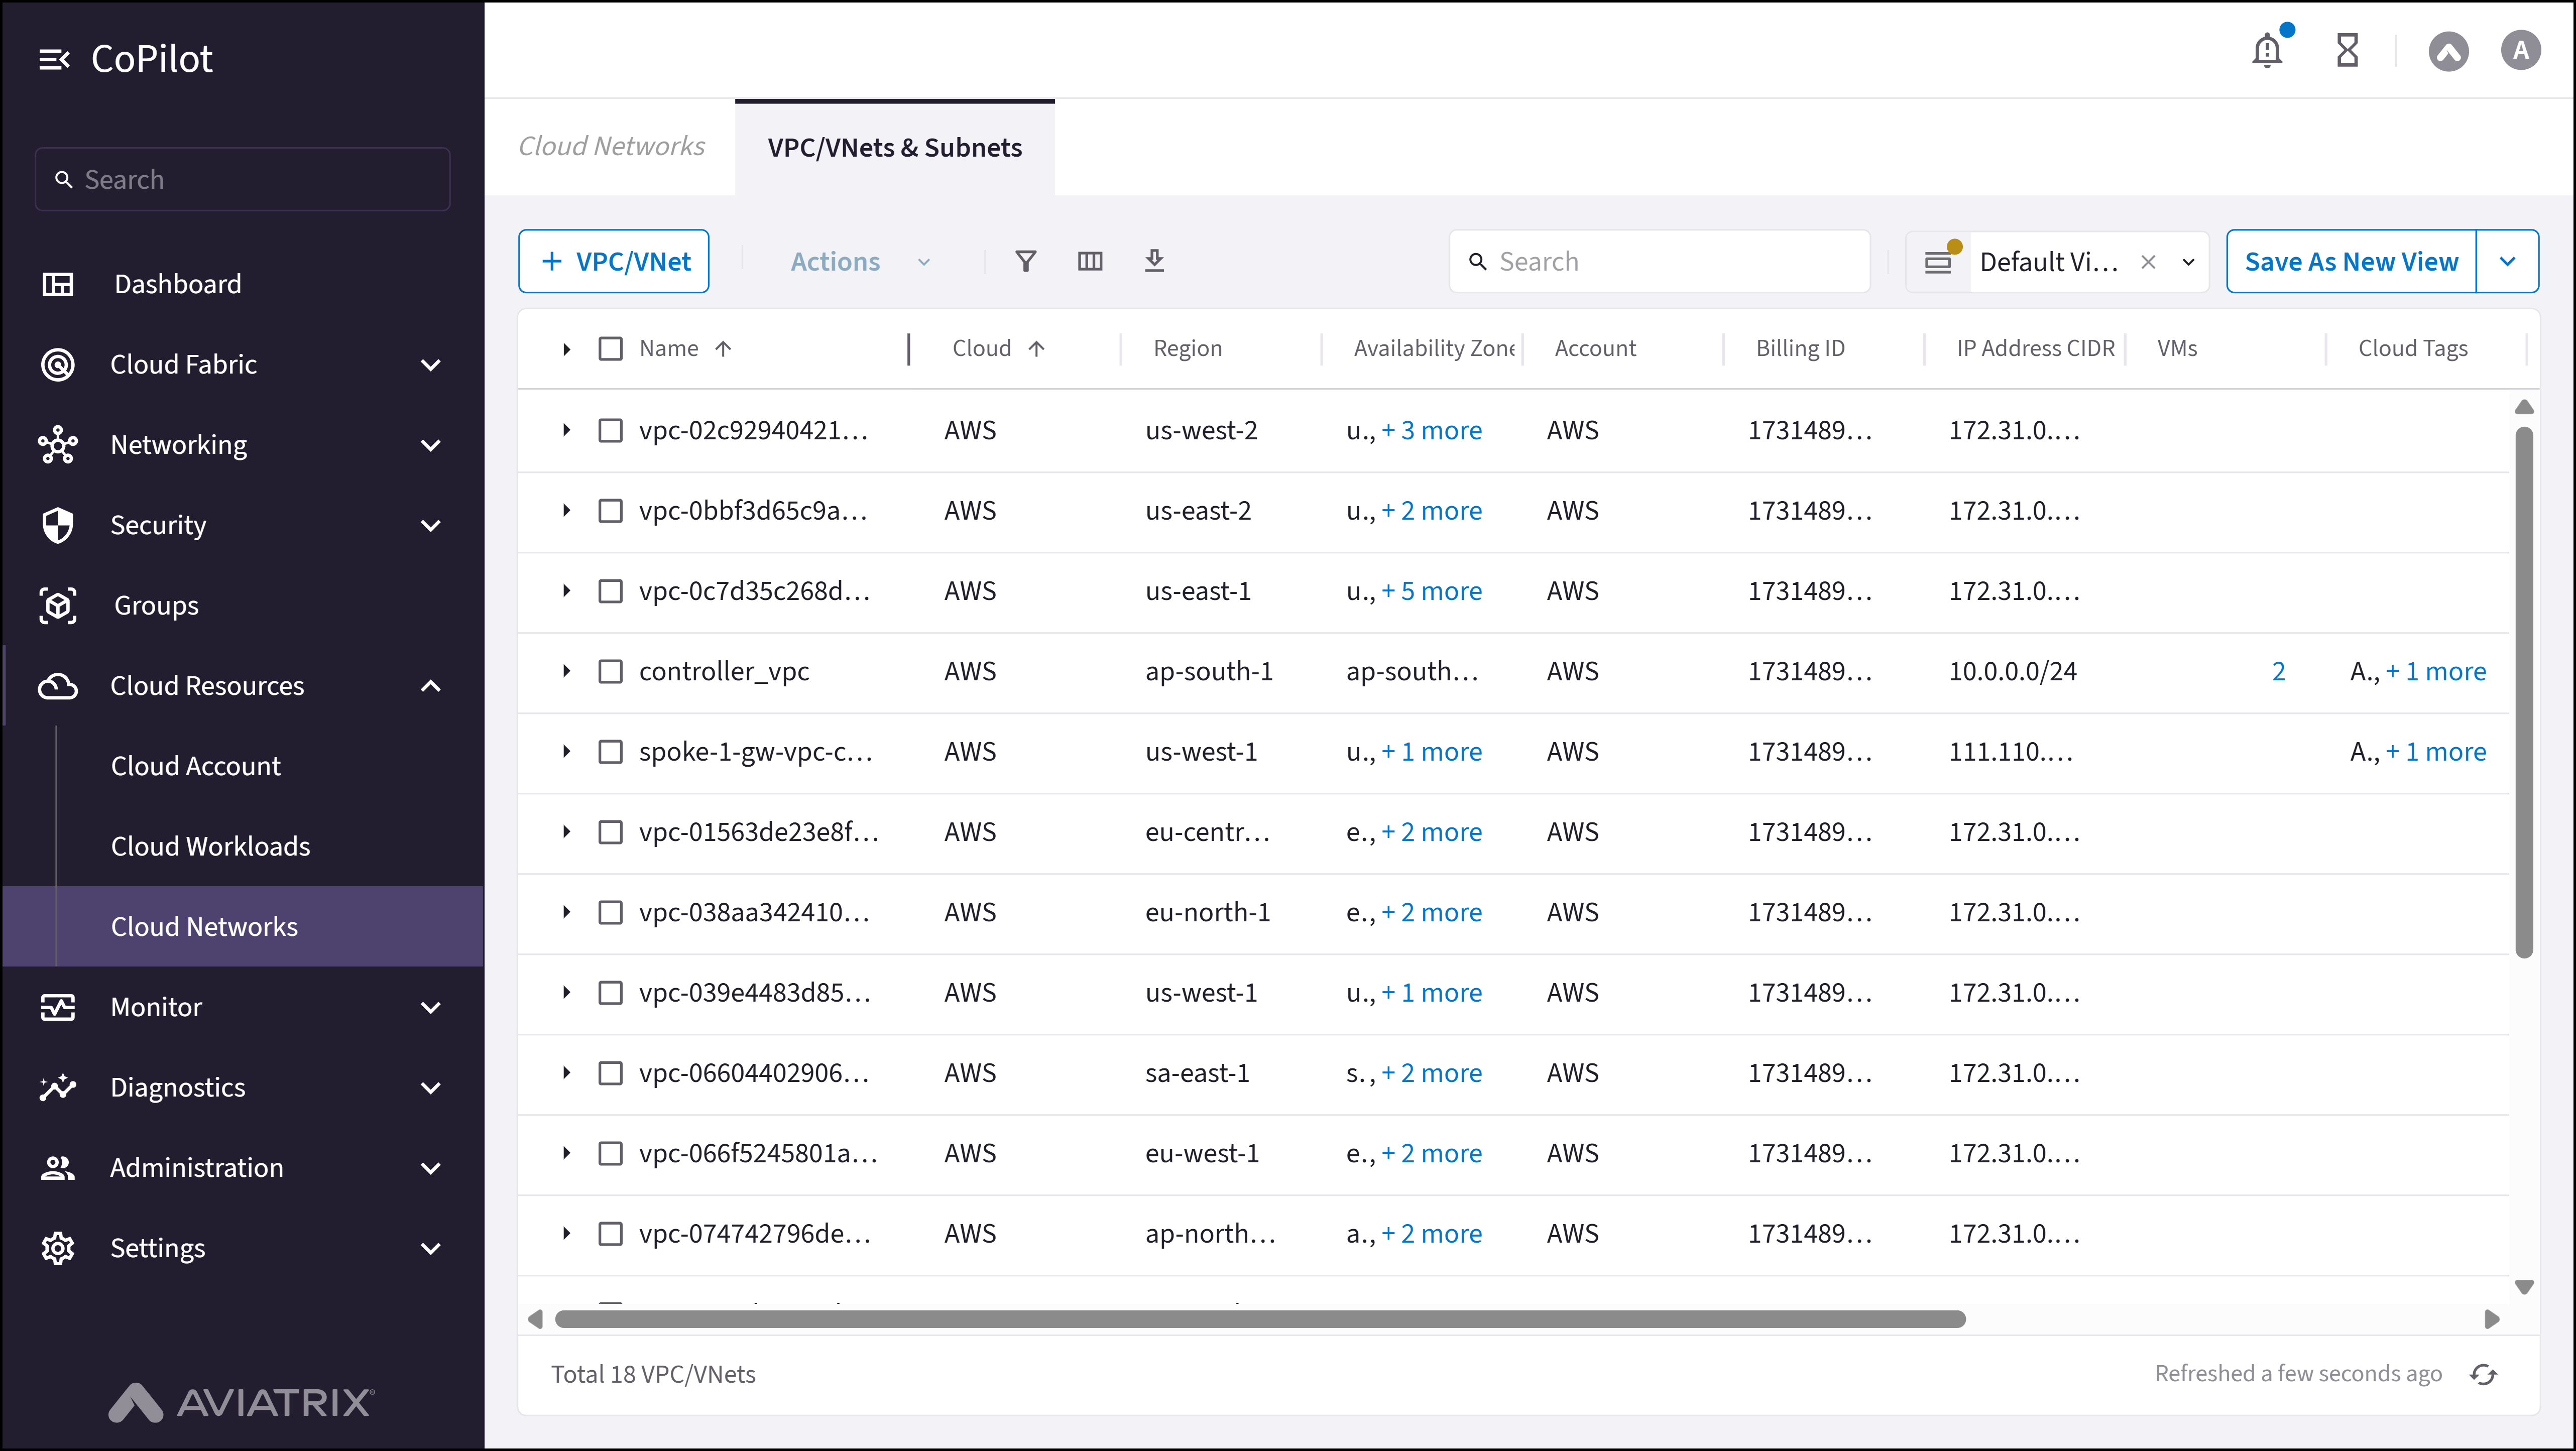
The VPC/VNets & Subnets page displays and manages all Virtual Private Clouds (VPCs) and Virtual Networks (VNets) across cloud providers, showing their configuration details, network information, associated subnets, and resources. You can create new VPCs/VNets from this page.Elements
- + VPC/VNet button: Opens the Create VPC/VNet dialog to create a new VPC/VNet.
- VPC/VNets & Subnets table: Shows a list of all VPC/VNet instances with their details including name, cloud provider, region, availability zones, account, billing ID, IP address CIDR, virtual machines count, and management status.
- Actions button: Button to perform bulk actions on selected VPC/VNets or subnets (disabled when no items are selected).
- Show filters button: Button to show or hide filter options for the table.
- Select columns button: Button to select which columns to display in the table.
- Export button: Button to export VPC/VNets & Subnets data.
- Search box: Search box for filtering VPC/VNets and subnets in the table.
- Default View dropdown: Dropdown to select or manage default view settings for the table.
- Clear button: Button to clear current view settings.
- Open button: Button to open a saved view.
- Save As New View button: Button to save the current view configuration as a new view.
- More Options button: Button to access additional view management options.
- Table row checkboxes: Checkboxes for selecting individual VPC/VNets or subnets.
- Table header checkbox: Checkbox in table header to select all VPC/VNets or subnets.
- Row actions menu: Menu with actions for individual table rows (accessed via ellipsis icon).
- Total count display: Text showing total number of VPC/VNets (e.g., “Total 18 VPC/VNets”).
- Refresh status: Text showing last refresh time with a refresh button.
Actions
View VPC/VNets and Subnets
View VPC/VNets and Subnets
To view VPC/VNets and subnets:
- Go to Cloud Resources > Cloud Networks.
- The VPC/VNets & Subnets page appears with the table listing all VPC/VNet instances.
- Optionally, use Search, Show filters, Select columns, or Default View to customize the view.
- Optionally, use Open, Save As New View, or Clear to manage view settings.
- Optionally, click Export to export data or use the refresh control to refresh the table.
- Select rows with Table row checkboxes or Table header checkbox to use Actions for bulk operations, or use the Row actions menu for a single row. Click VMs on a row to view associated virtual machines.
Parameter Details
| CoPilot Parameter Name | Description |
|---|---|
| Name | Shows the name of the VPC/VNet instance. |
| Cloud | Shows the cloud provider where the VPC/VNet runs (e.g., AWS, Azure, GCP, OCI). |
| Region | Shows the cloud region where the VPC/VNet is located. |
| Availability Zones | Shows the availability zones where the VPC/VNet is deployed. |
| Account | Shows the cloud account name under which the VPC/VNet runs. |
| Billing ID | Shows the billing account ID associated with the VPC/VNet. |
| IP Address CIDR | Shows the IP address CIDR block assigned to the VPC/VNet. |
| VMs | Shows the number of virtual machines associated with the VPC/VNet (clickable link to view details). |
| Cloud Tags | Shows the cloud tags or labels associated with the VPC/VNet. |
| SmartGroups | Shows the SmartGroups that the VPC/VNet belongs to. |
| Aviatrix Managed | Indicates whether the VPC/VNet is managed by Aviatrix (Yes/No). |
Create VPC/VNet
Create VPC/VNet
To create a new VPC/VNet:
- Go to Cloud Resources > Cloud Networks.
- Click + VPC/VNet to open the Create VPC/VNet dialog.
- Enter Name (must begin with a letter; letters, numbers, underscores, and dashes only; max 30 characters).
- Select Cloud (AWS, Azure, GCP, OCI, or Alibaba), Account, and Region.
- Specify VPC/VNet IPv4 CIDR and, if applicable, IPv6 Allocation (AWS and Azure only).
- Select VPC Function (Default or Transit + FireNet).
- Optionally, configure Advanced Settings (Subnet Size, Number of Subnet Pair(s)).
- Save the configuration to create the VPC/VNet.
Parameter Details
| CoPilot Parameter Name | Description |
|---|---|
| Name | Enter a name for the VPC/VNet. Must begin with a letter; only letters, numbers, underscores, and dashes; max 30 characters. |
| Cloud | Select the cloud provider: AWS, Azure, GCP, OCI, or Alibaba. |
| Account | Select the cloud account under which the VPC/VNet will be created. |
| Region | Select the cloud region in which to create the VPC/VNet. |
| VPC/VNet IPv4 CIDR | Specify the IPv4 VPC or VNet CIDR block. |
| IPv6 Allocation | Select the IPv6 allocation method (AWS and Azure only): None or Manual Assignment. |
| VPC Function | Select the VPC function: Default or Transit + FireNet. |
| Advanced Settings | Optional: Subnet Size and Number of Subnet Pair(s). |