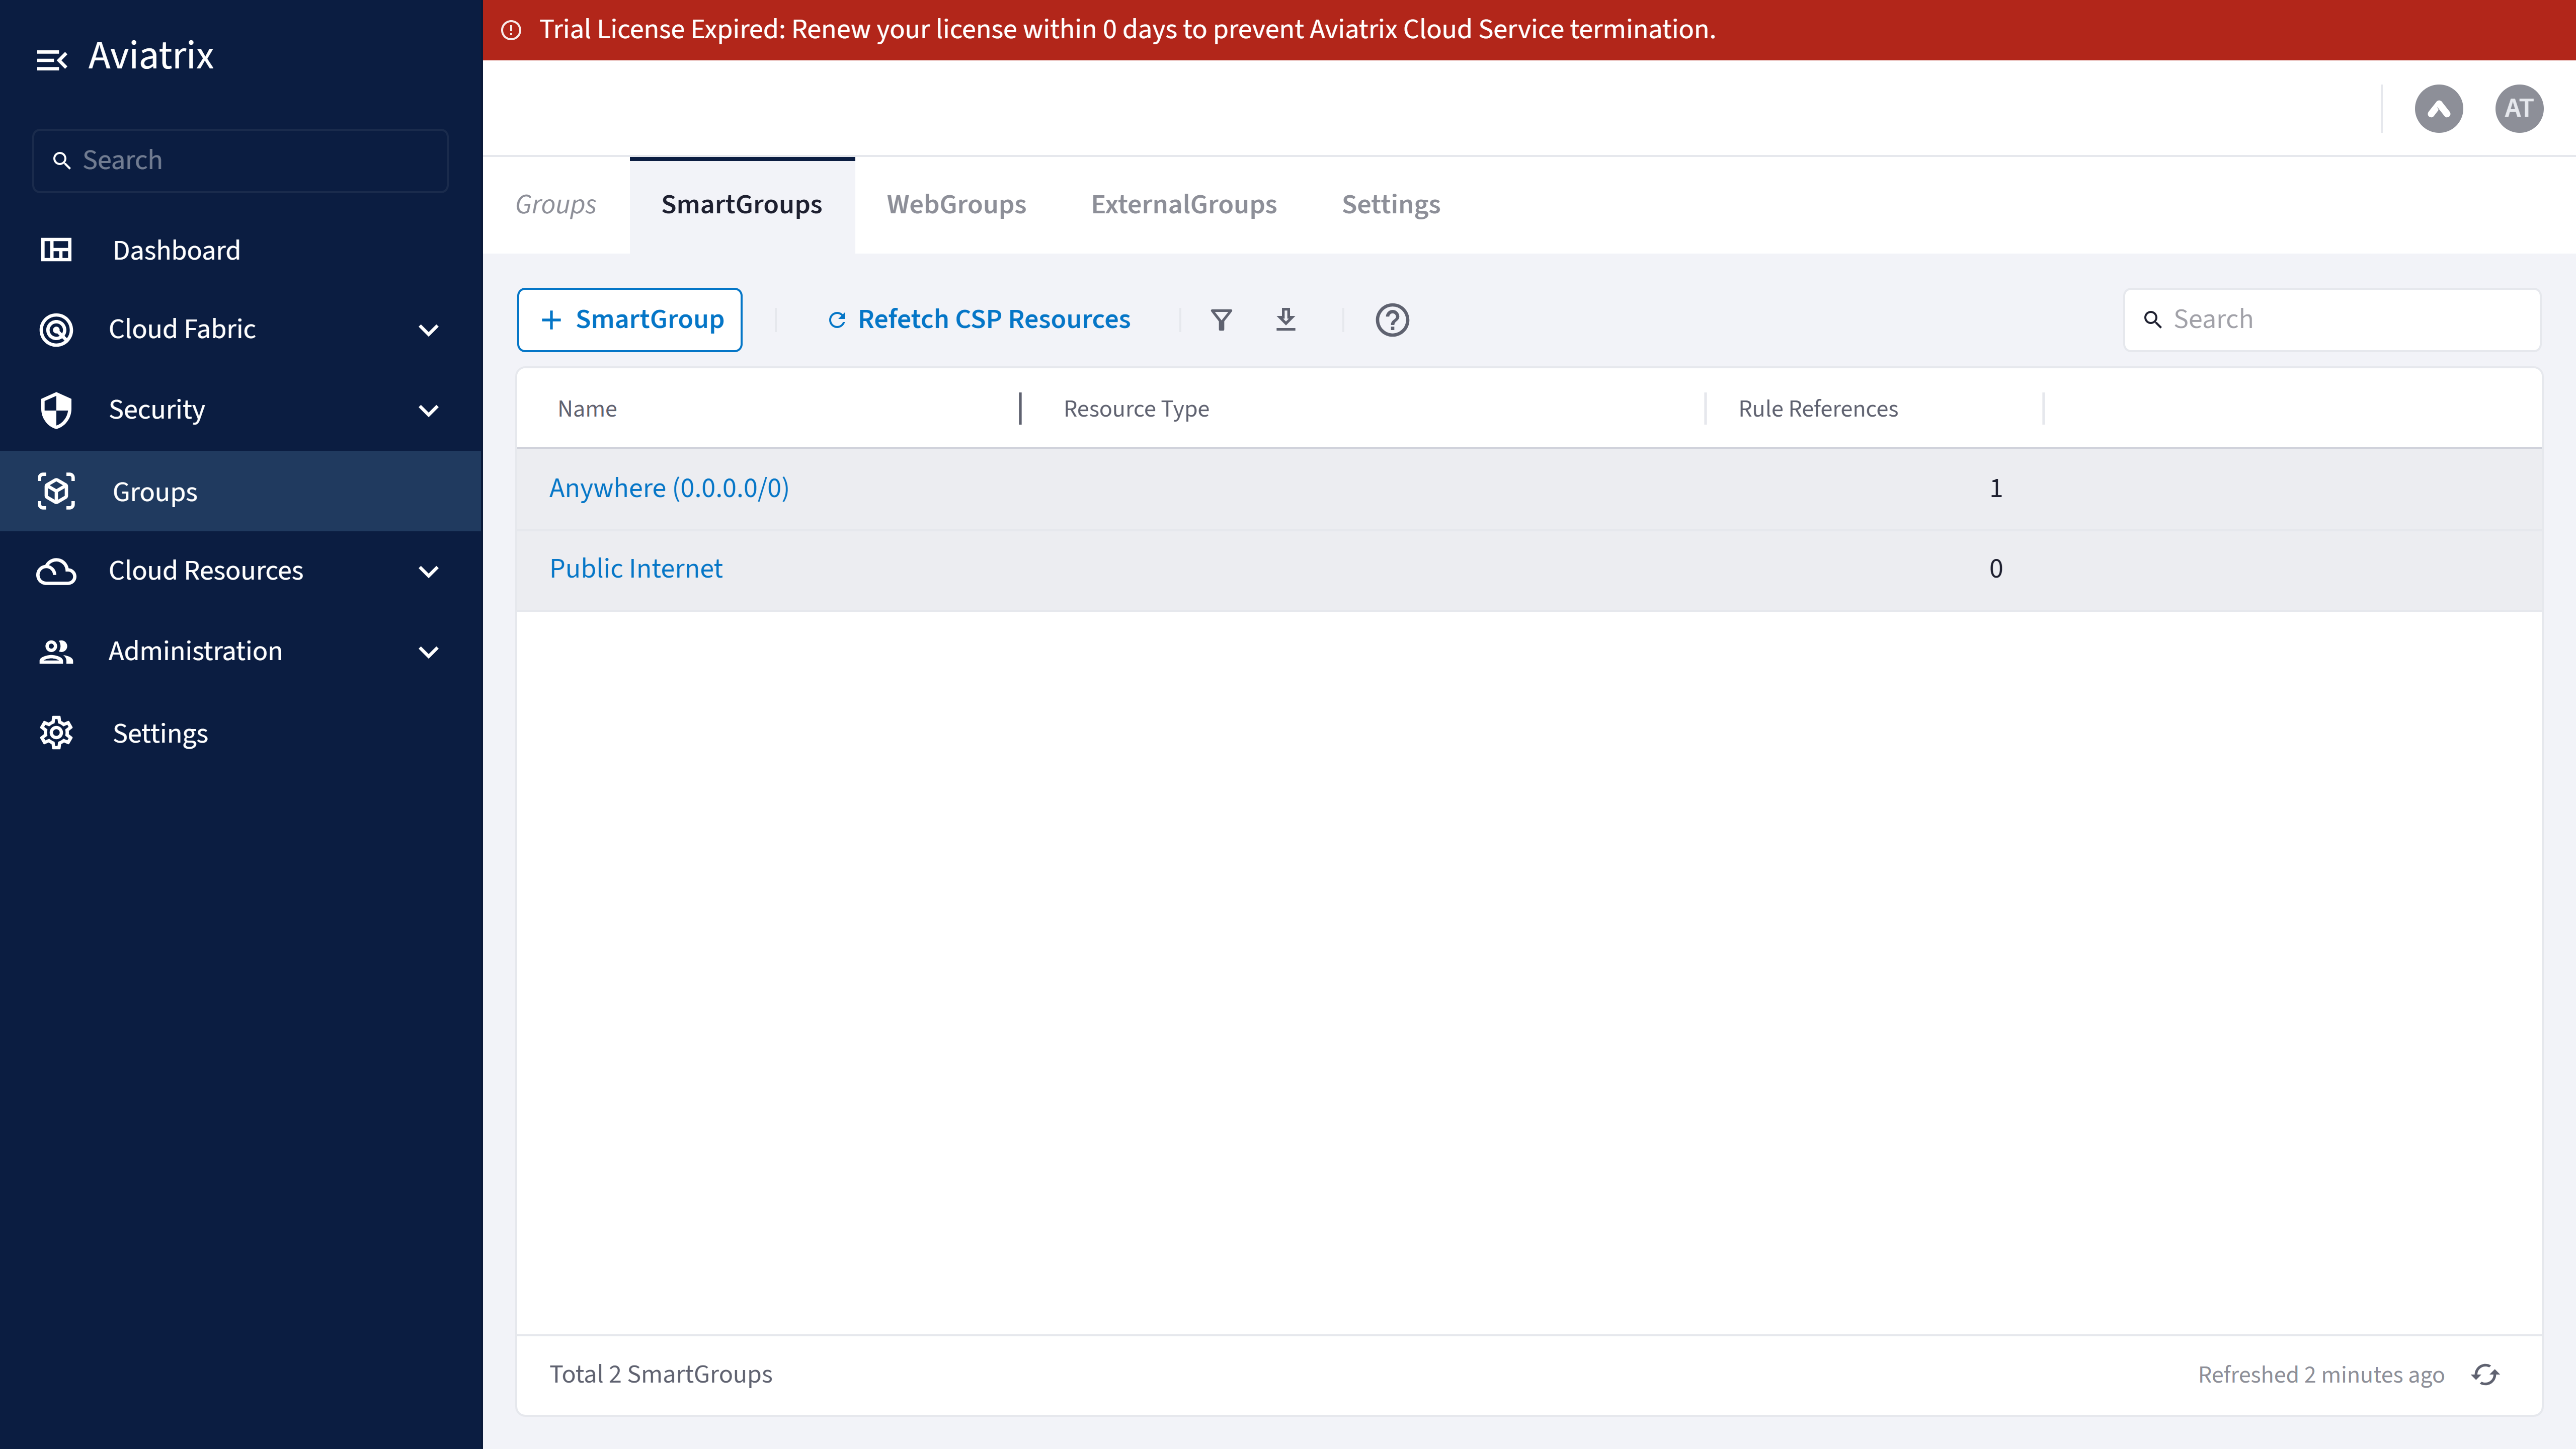
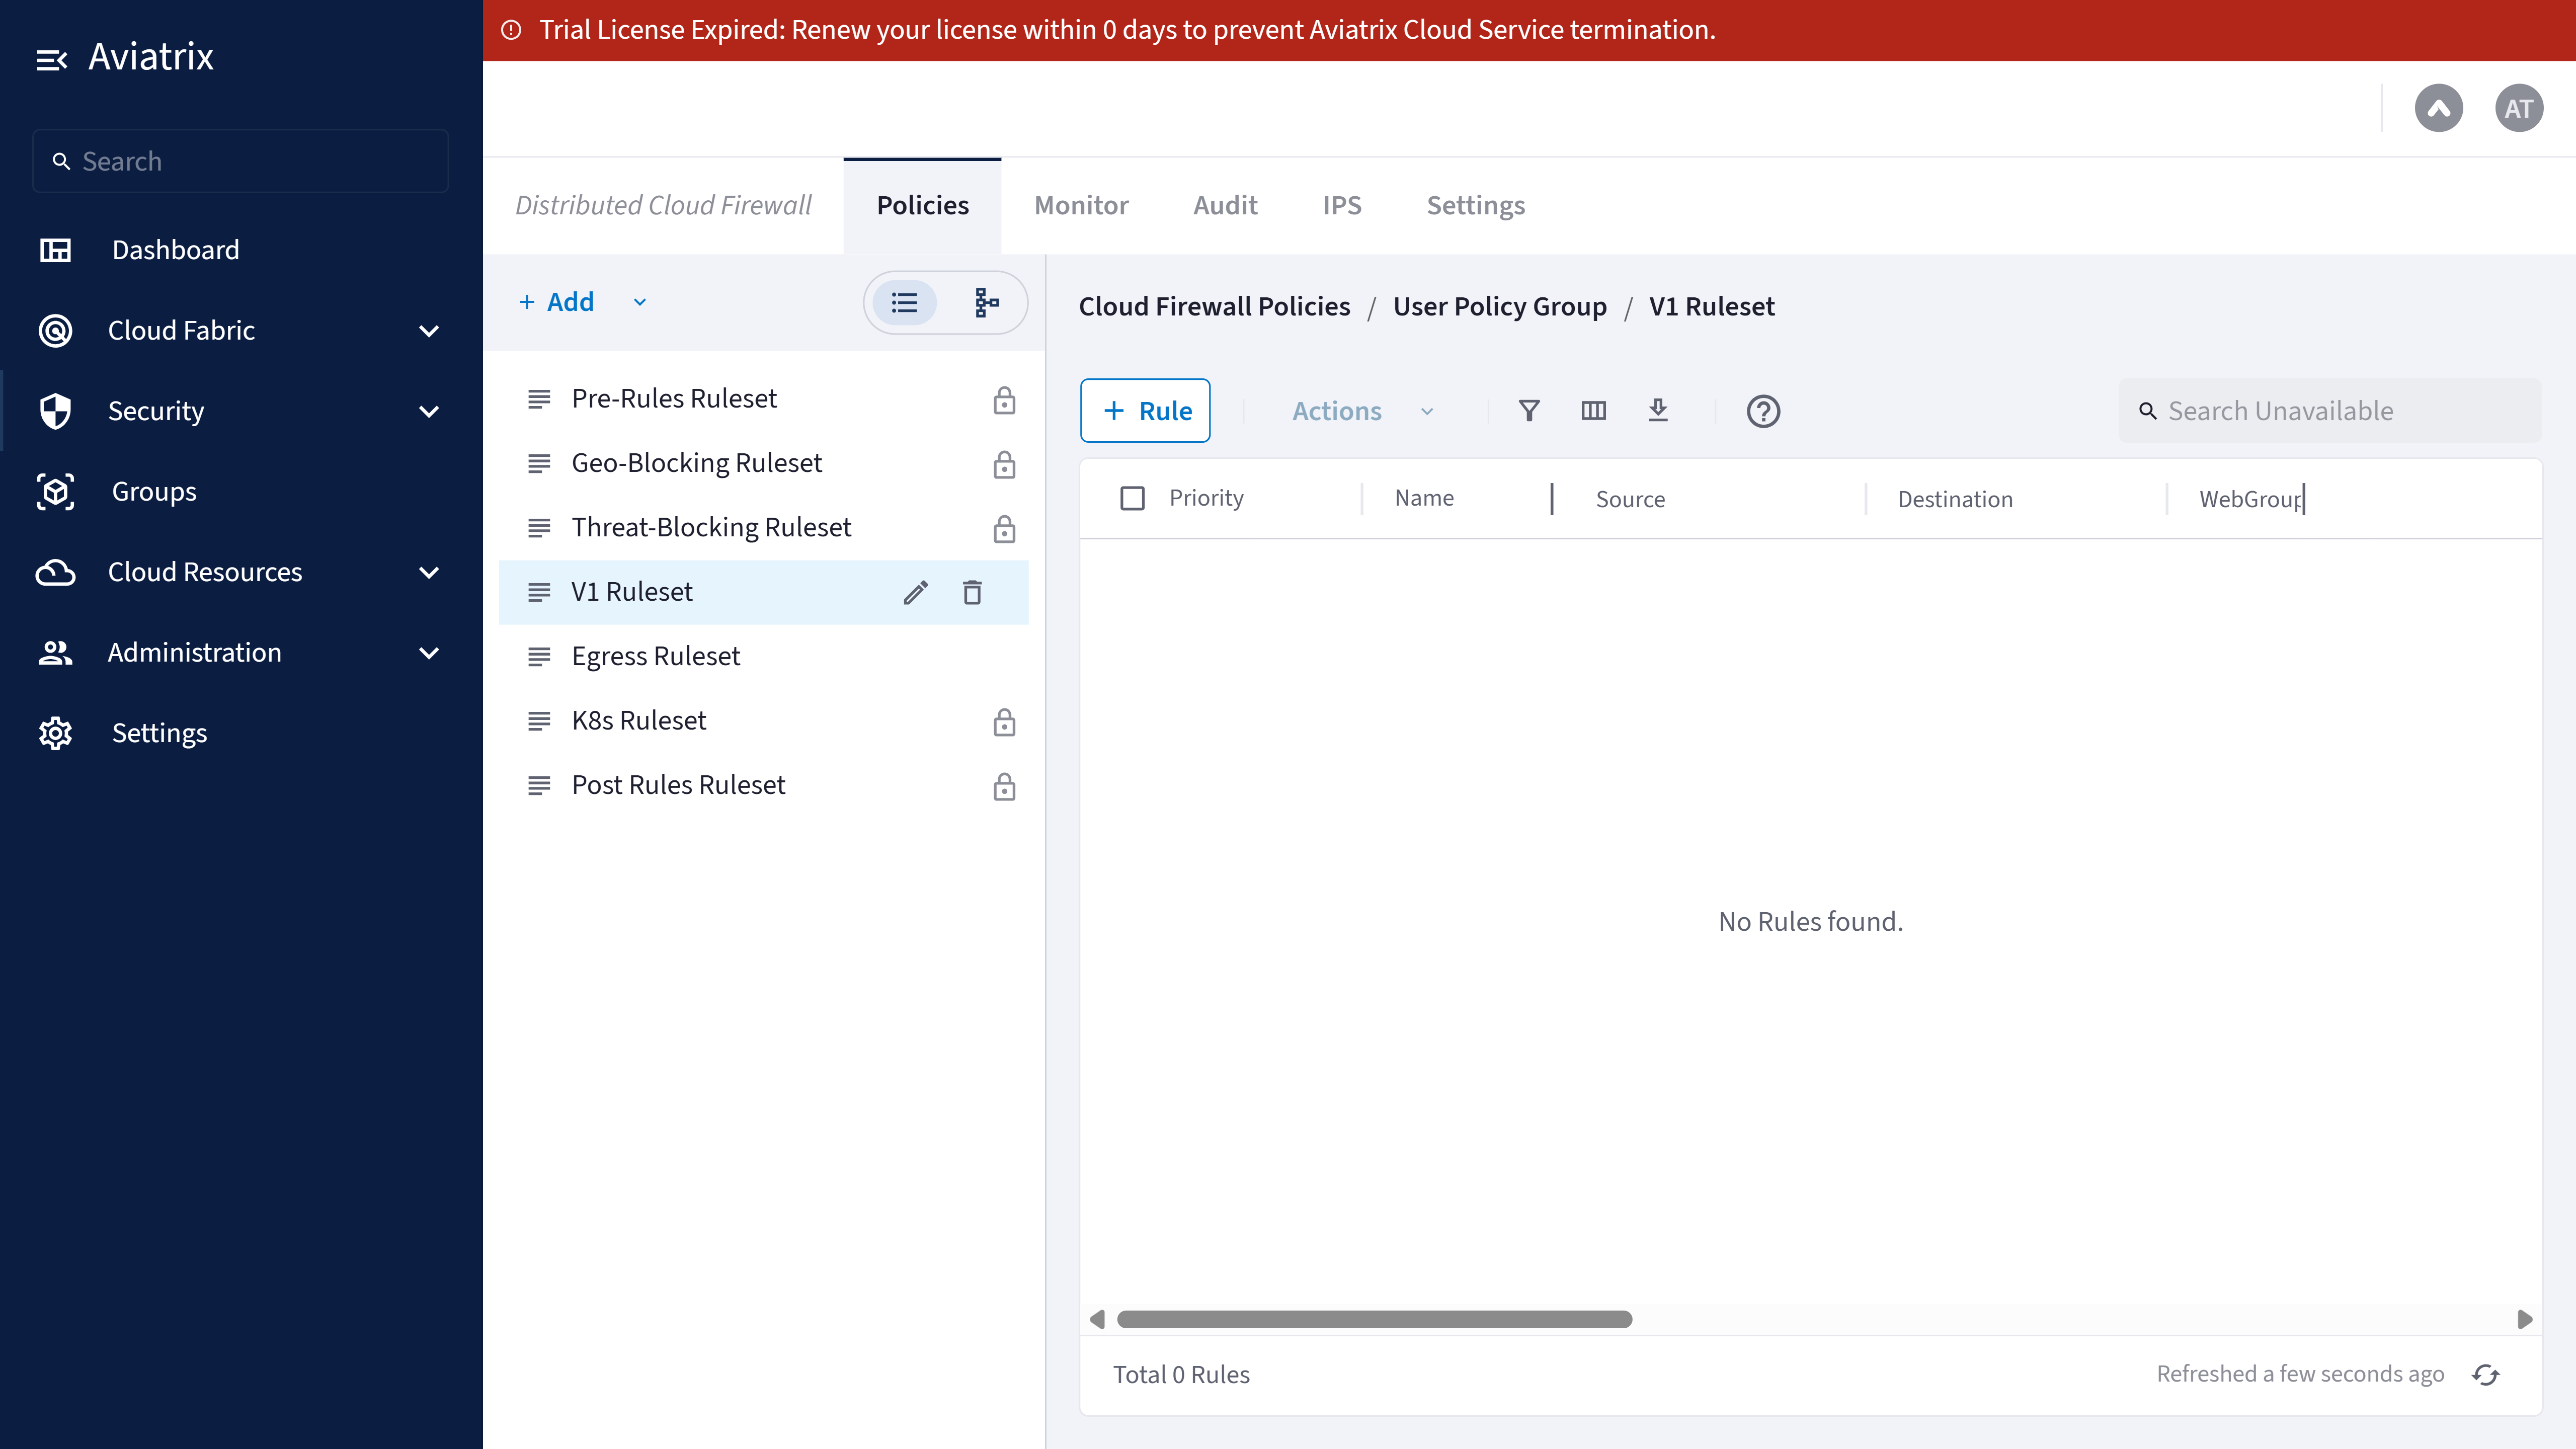
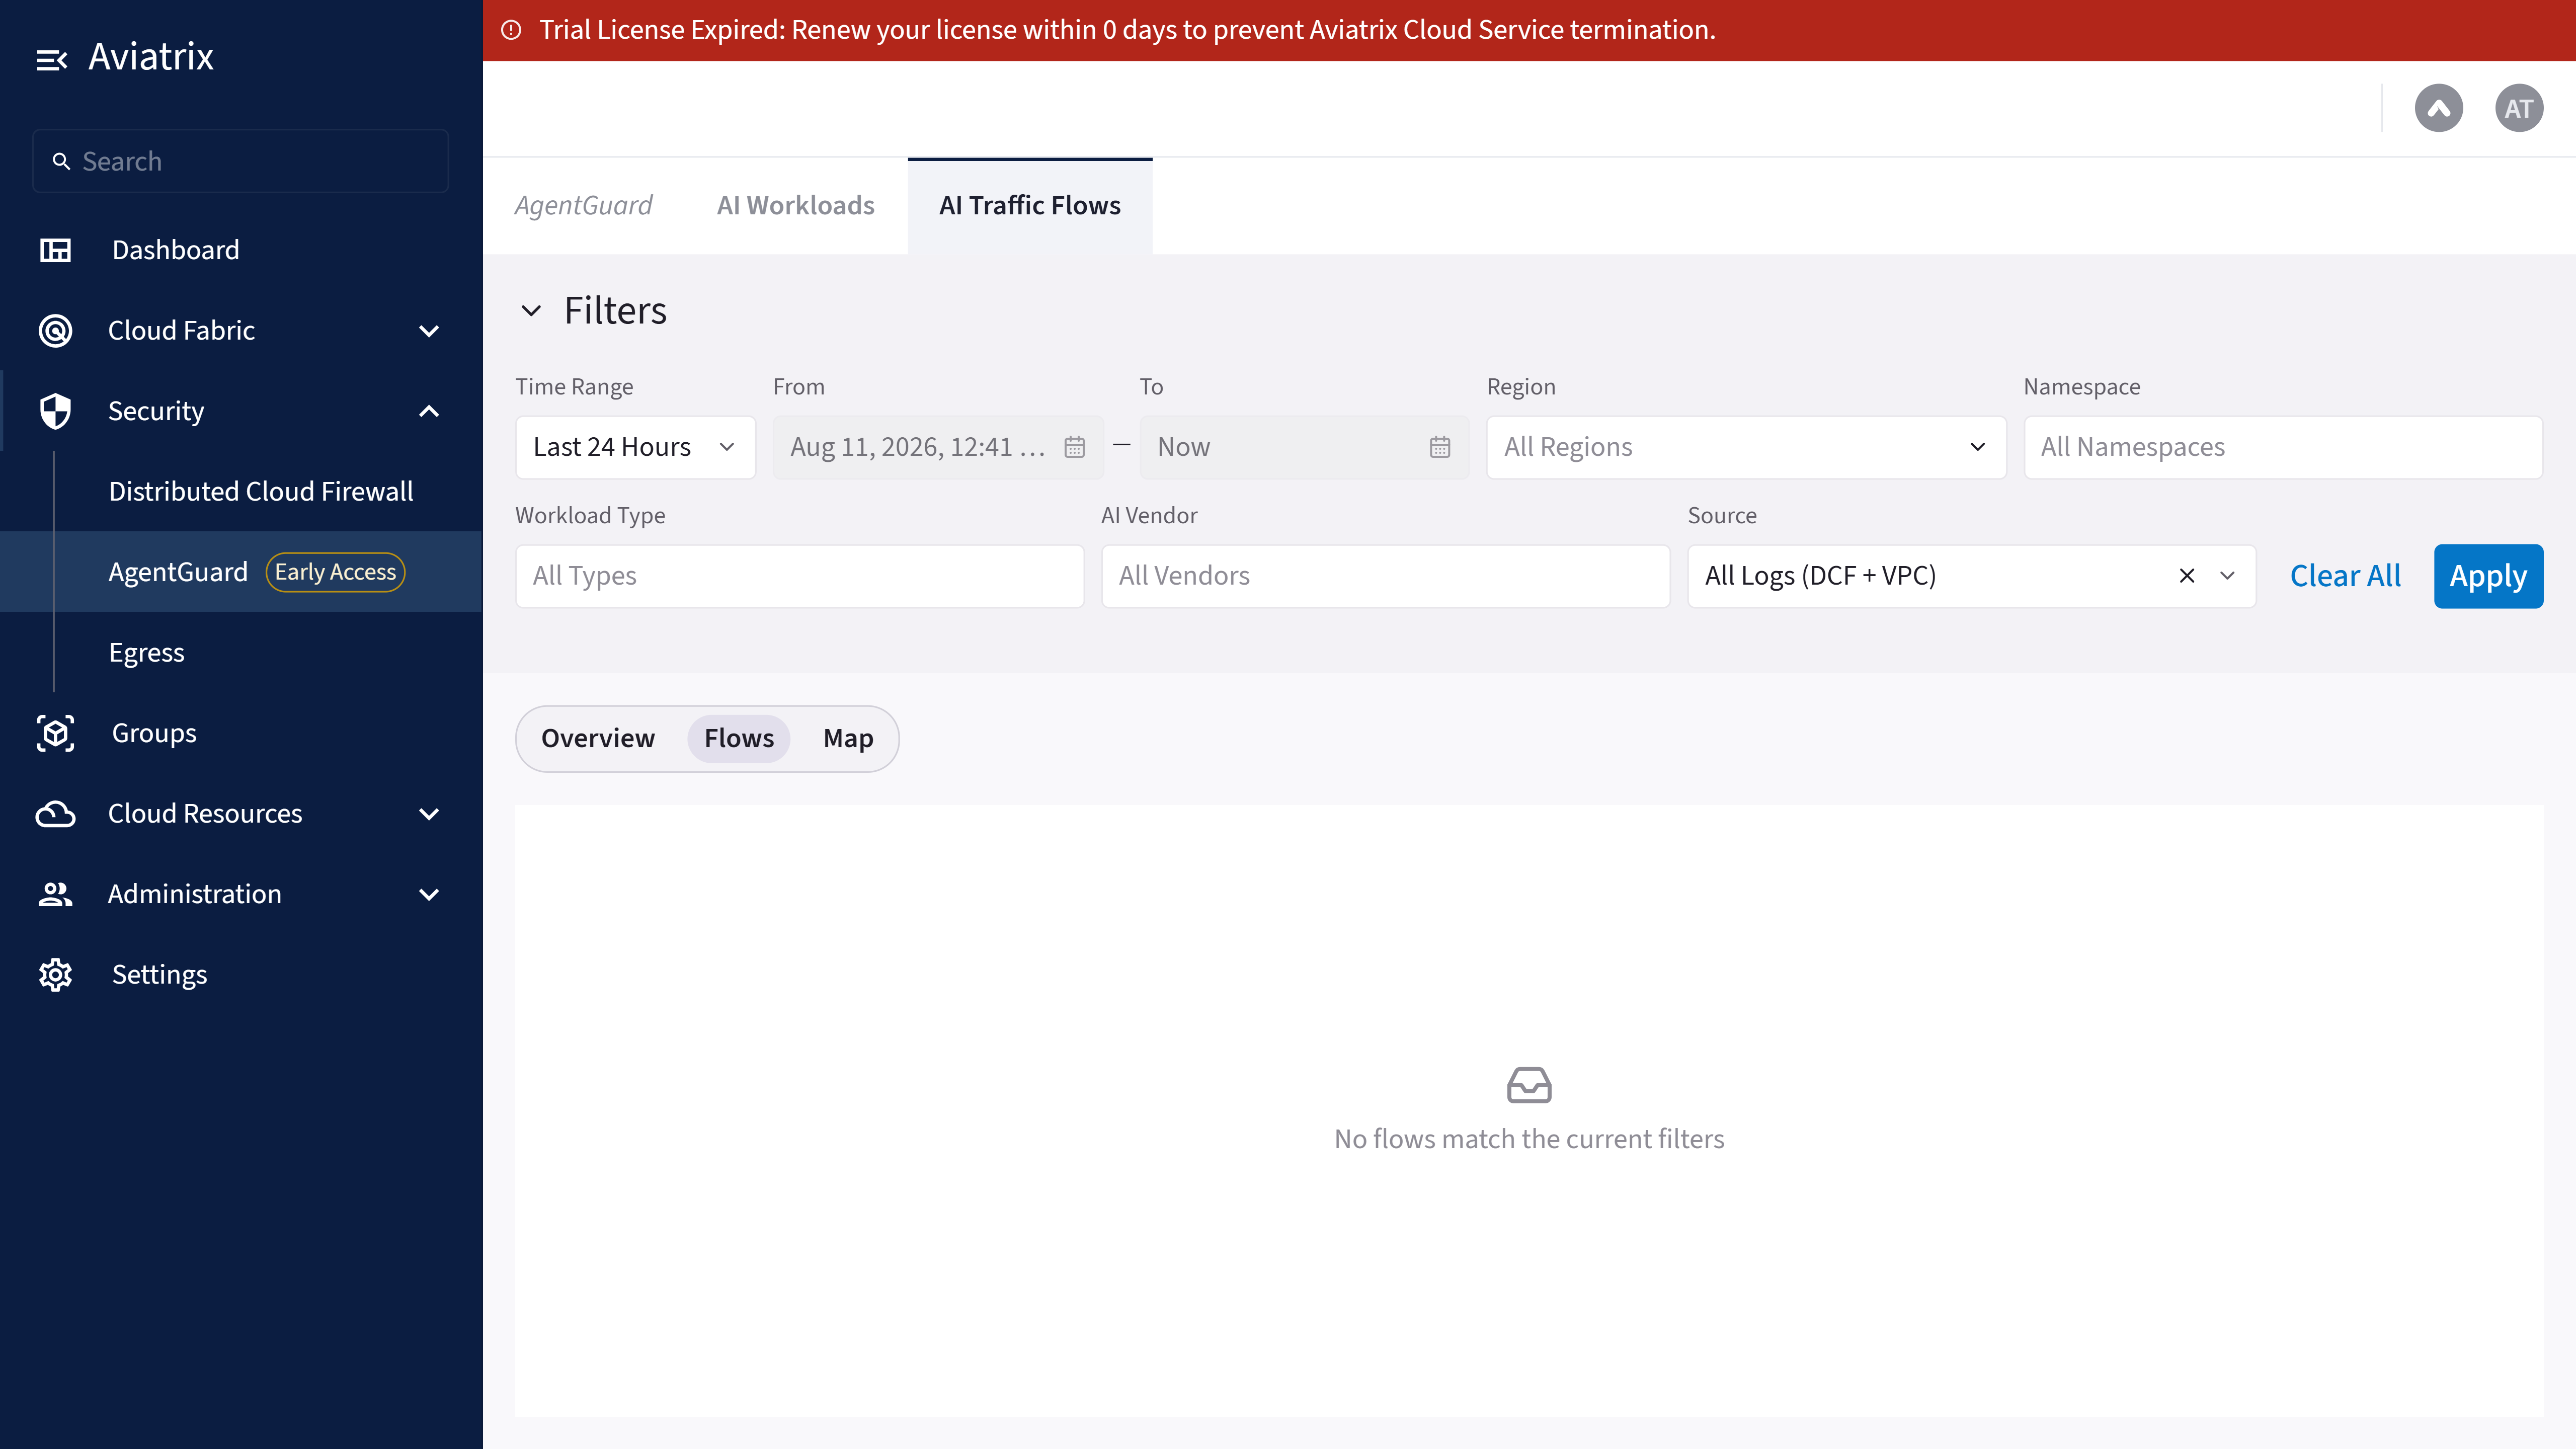
This guide covers onboarding the VPC, enabling egress, creating groups and a policy, trusting the Aviatrix certificate, and reviewing the resulting AI traffic. Add a gateway when you require more than basic visibility. A gateway provides full-detail AI traffic analysis and rule enforcement, in addition to the workload inventory and risk levels available in basic visibility.

Requirements for Deep Visibility and Enforcement

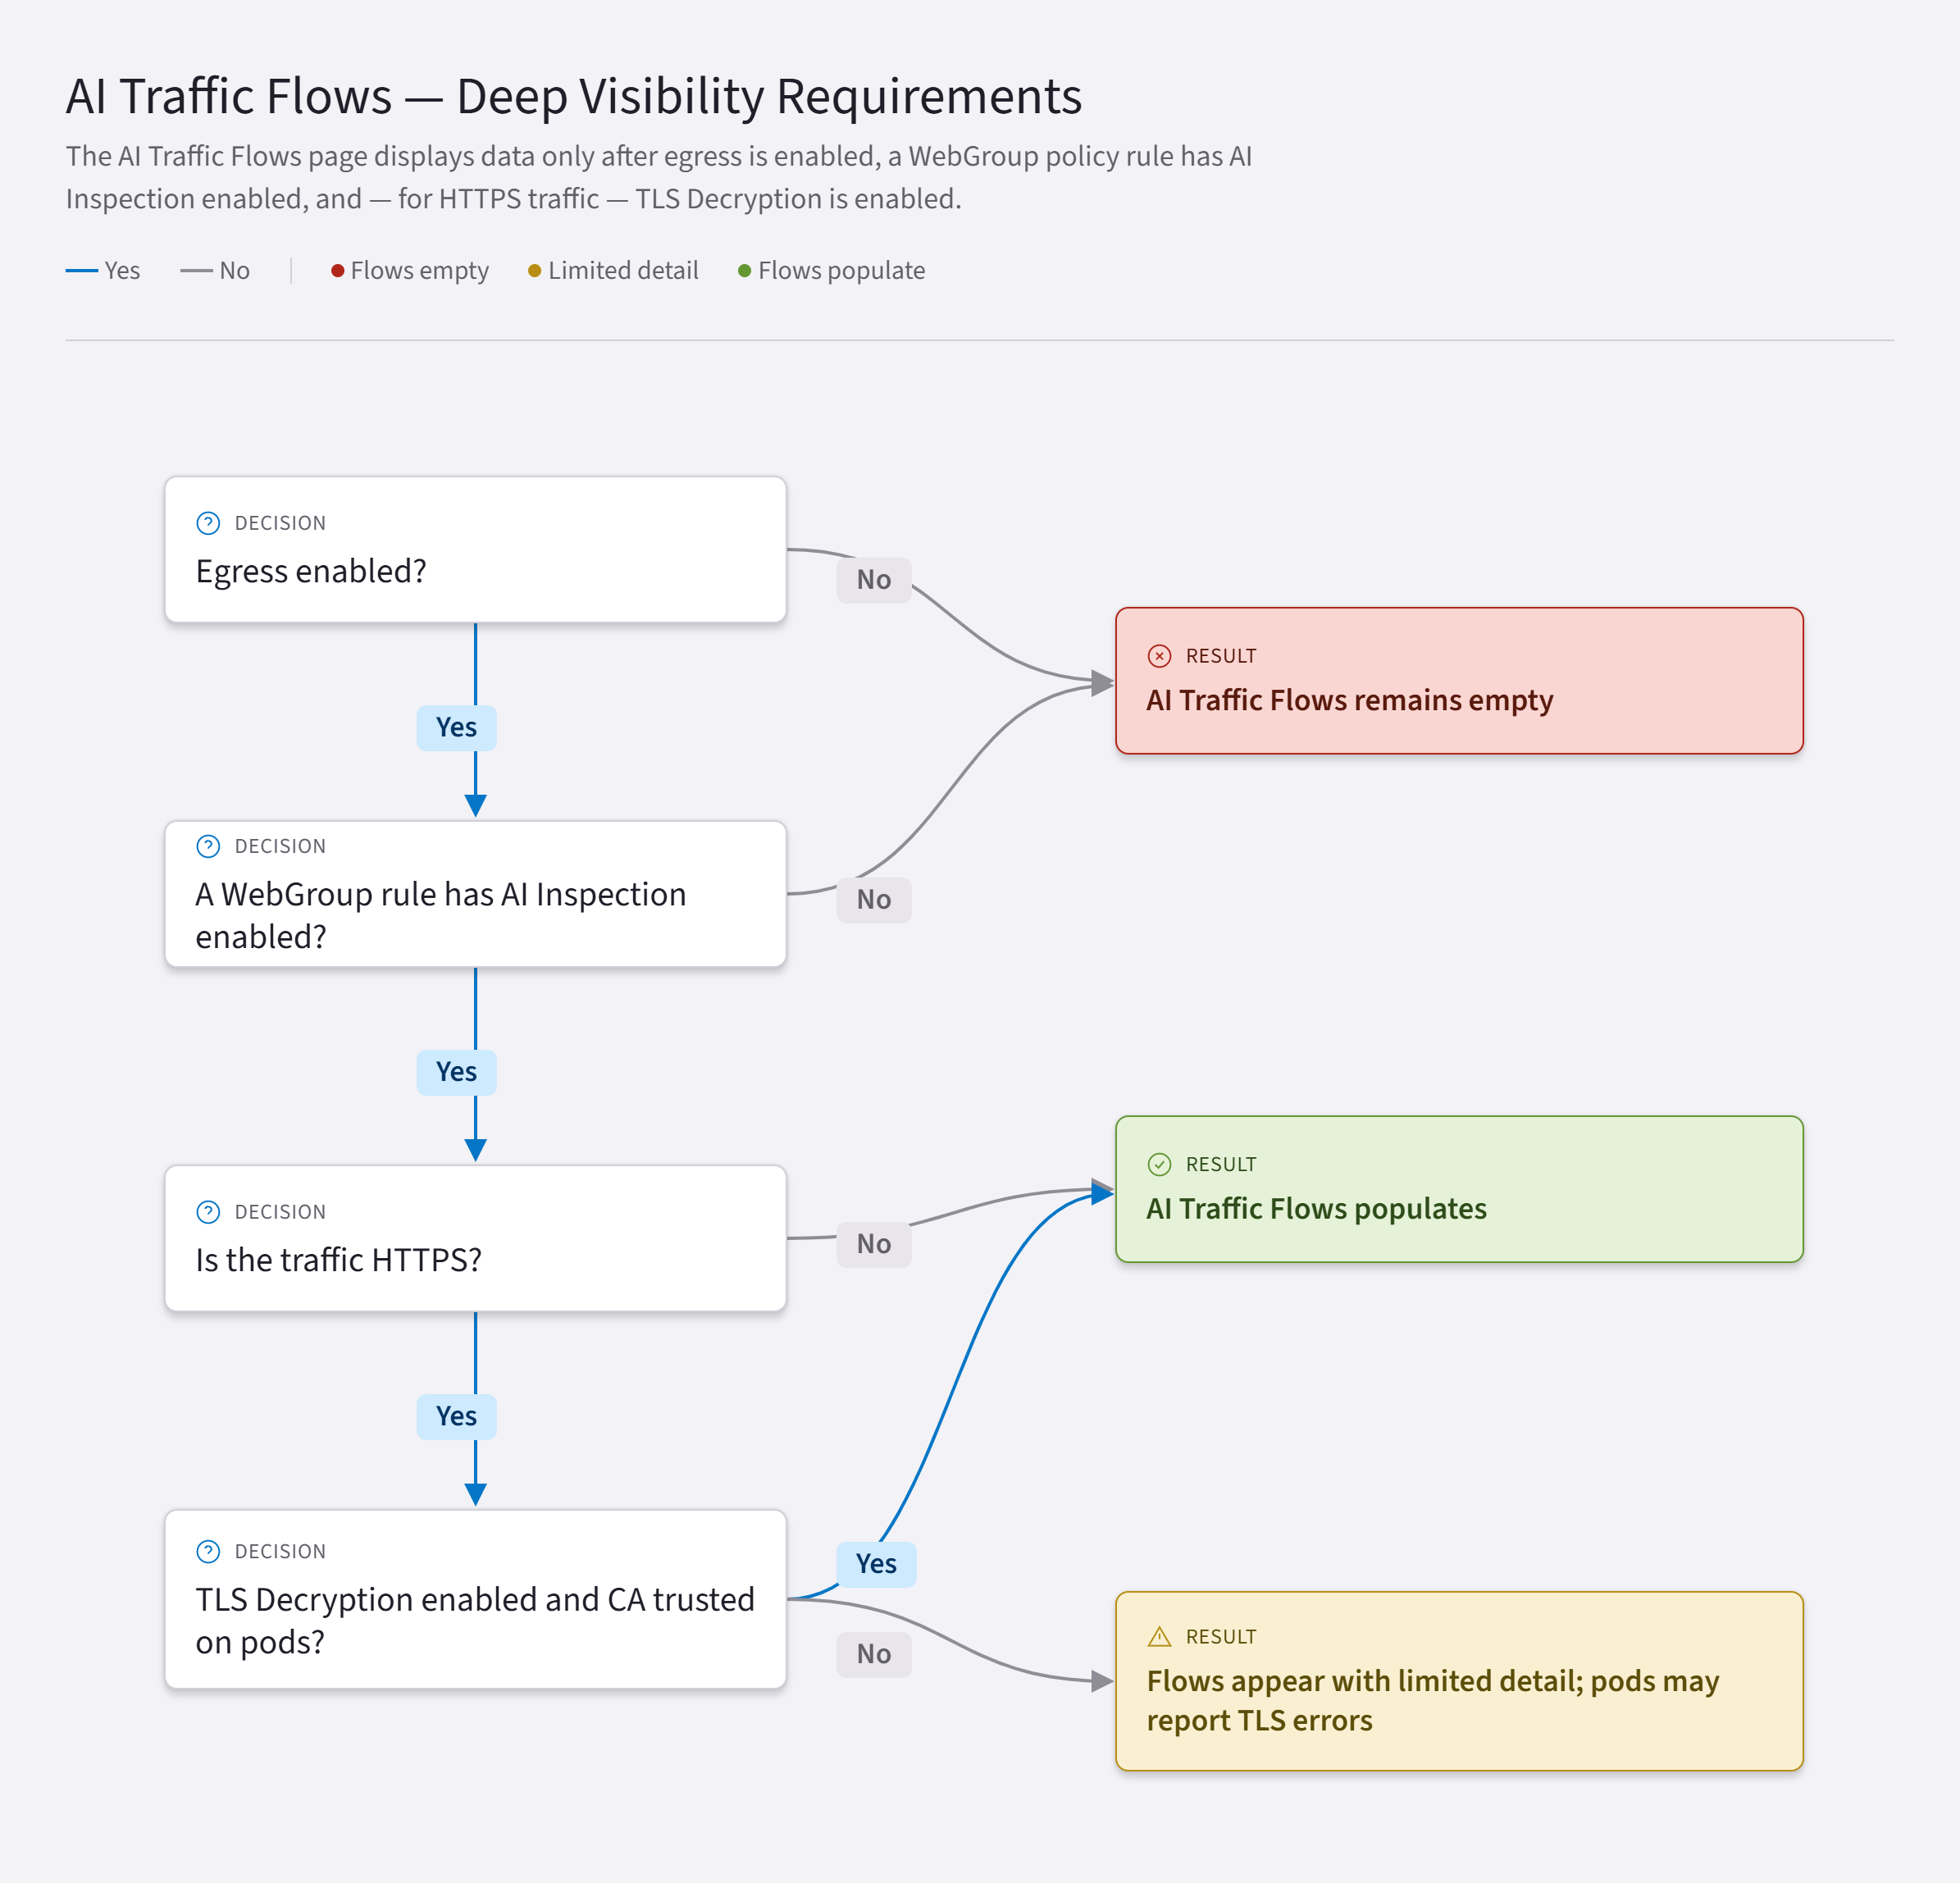
The Security > AgentGuard > AI Traffic Flows page displays data only after all of the following conditions are met:
  1. Egress is enabled.
  2. A WebGroup policy rule has AI Inspection enabled.
  3. For HTTPS traffic, TLS Decryption is also enabled.
AI Traffic Flows

Prerequisites

  • AgentGuard setup is complete: your AWS account shows Status = UP and your workloads appear under Cloud Resources > Cloud Assets.

Step 1: Onboard Your VPC

Onboarding a VPC enables Aviatrix to inspect the VPC and your Kubernetes workloads, and to resolve workloads to names rather than IP addresses. Onboarding a VPC automatically creates a High-Availability (HA) gateway pair.
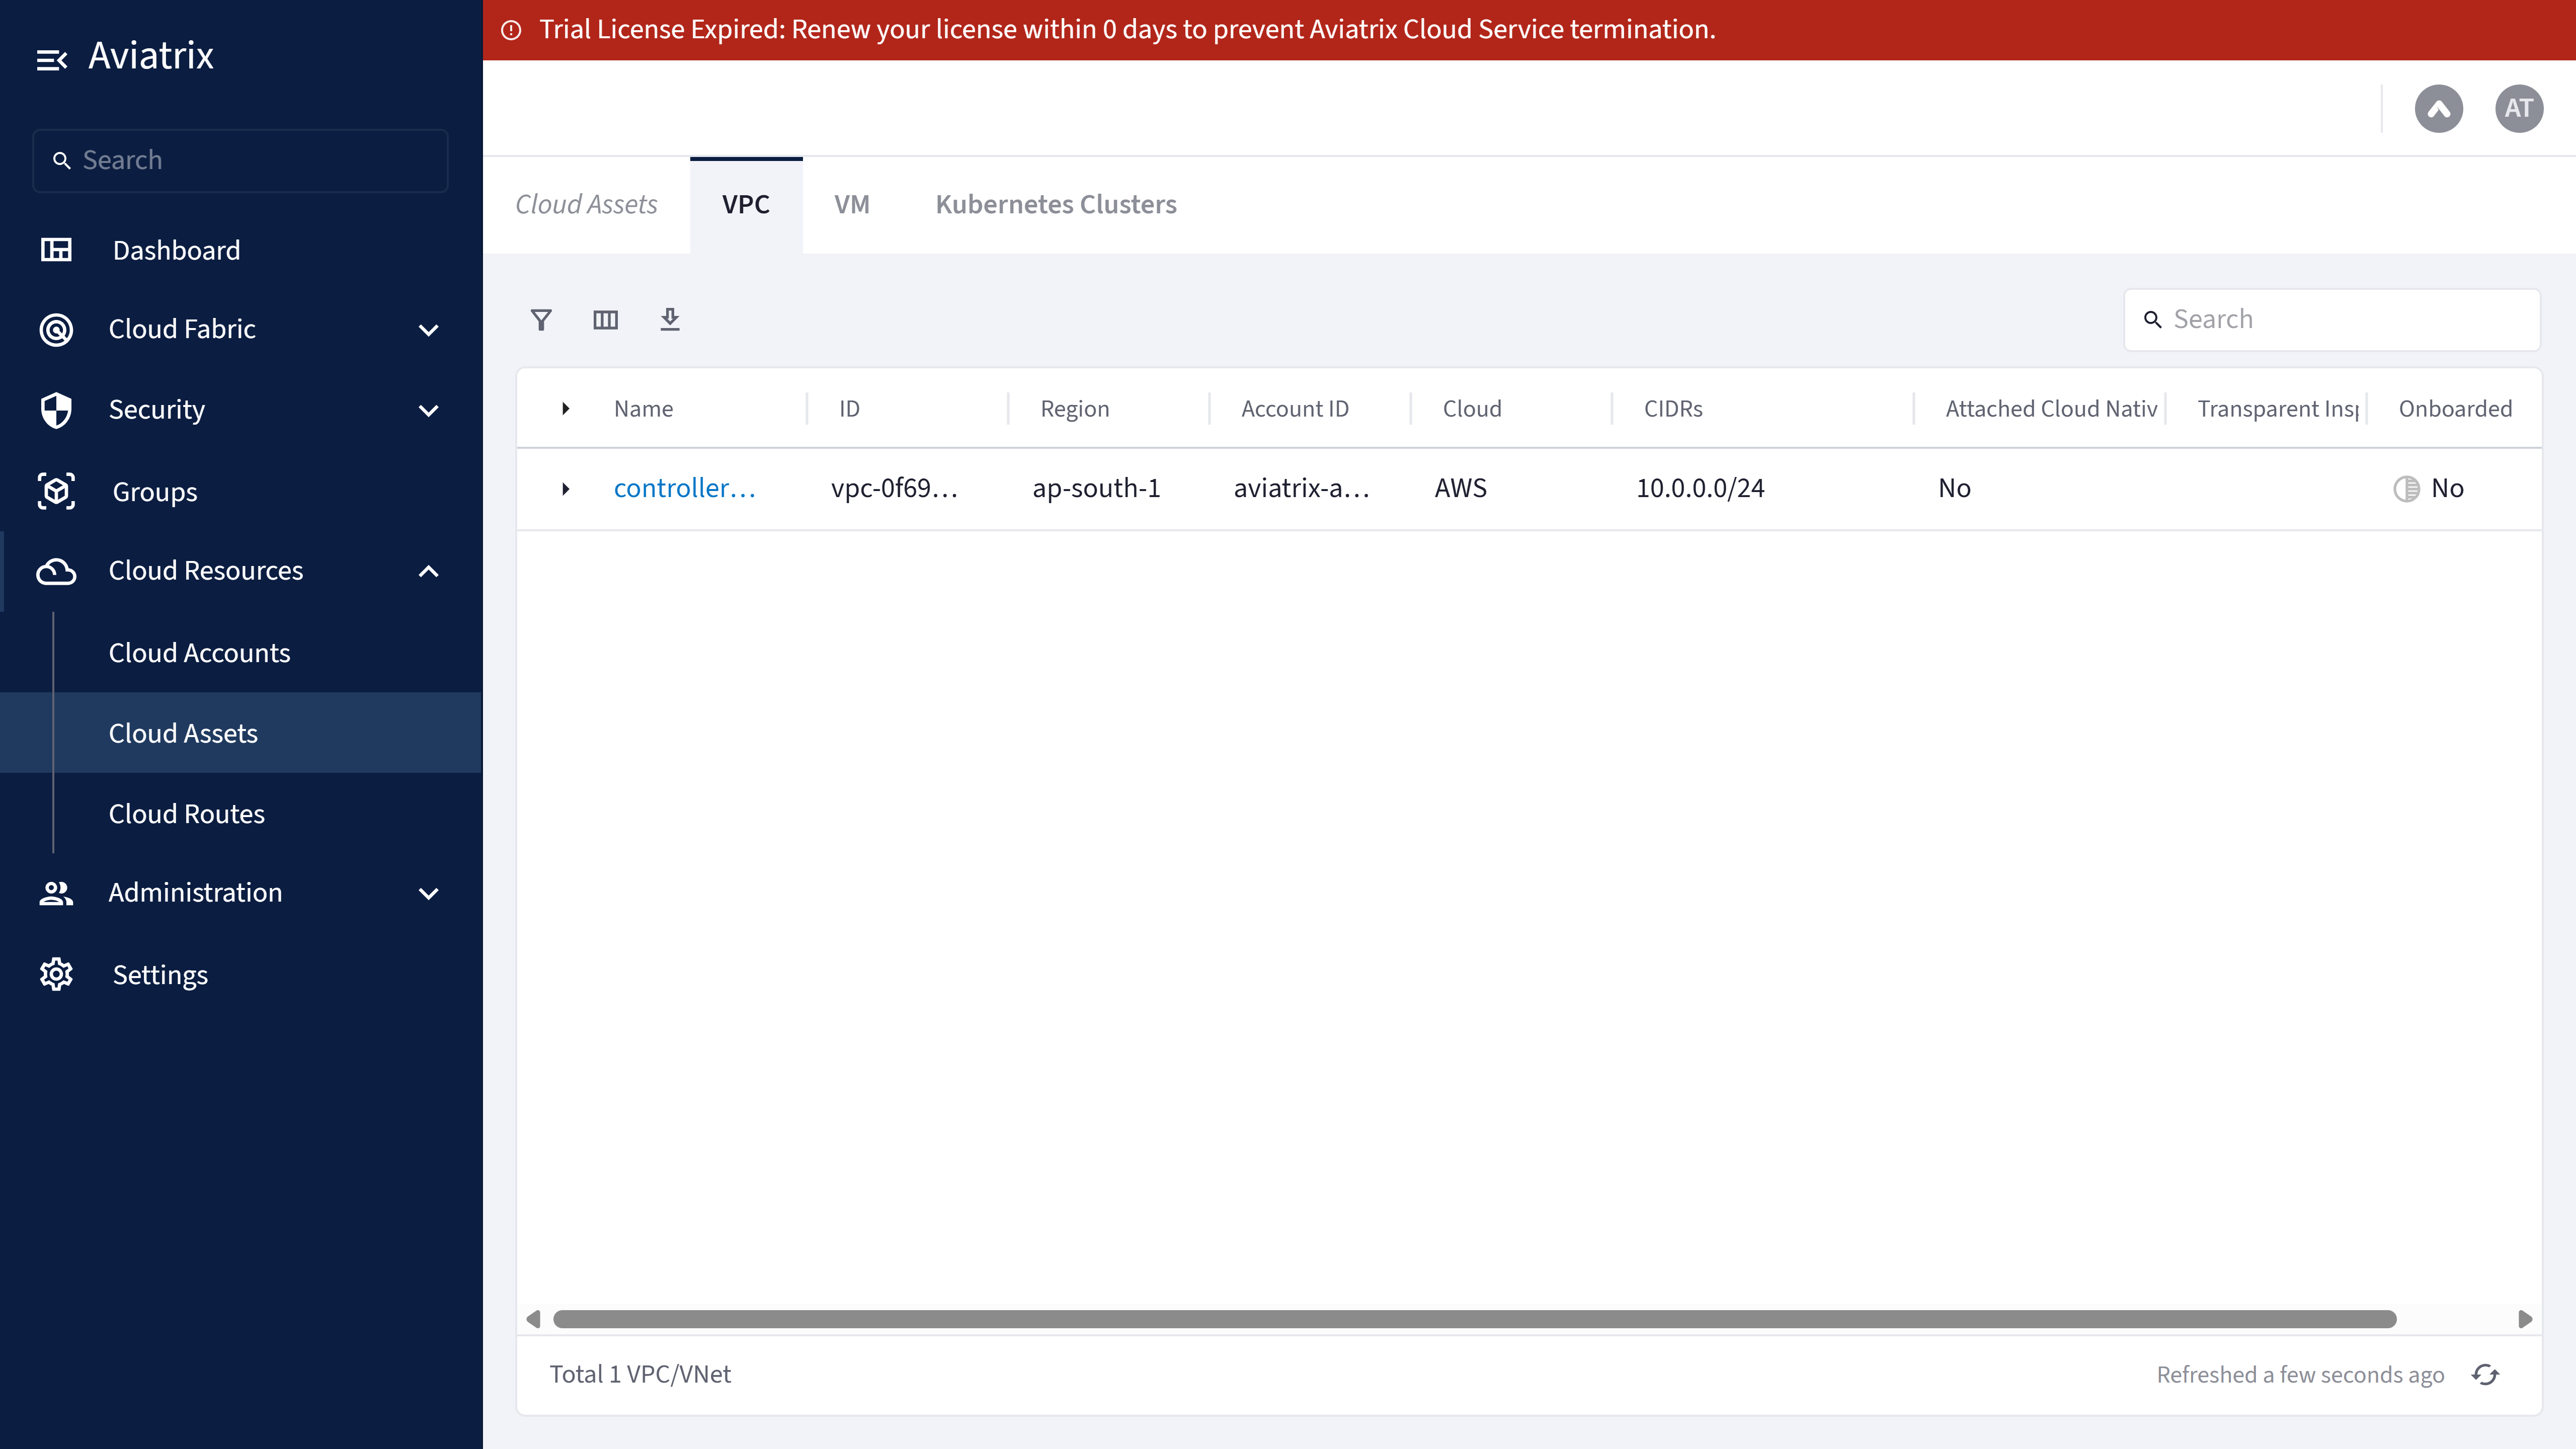
Onboard Your VPC
1

Open the VPCs list

From the Aviatrix Cloud Console, navigate to Cloud Resources > Cloud Assets > VPCs.
2

Confirm that the VPCs are discovered

Confirm that each VPC shows Status = Discovered, with the VPC ID, CIDR, and region populated.
3

Onboard the VPC

For the complete procedure, see Onboard a VPC/VNet. Confirm that VPC Status = Onboarded and, if you run Kubernetes, that cluster shows Onboarded = Yes. A gateway is created automatically and shows Status = UP.
The gateway is fully managed by Aviatrix. You cannot create, delete, or log in to it. Kubernetes pods appear only after the cluster is onboarded.

Step 2: Enable Egress

Egress routes the VPC’s outbound traffic through the Aviatrix gateway.
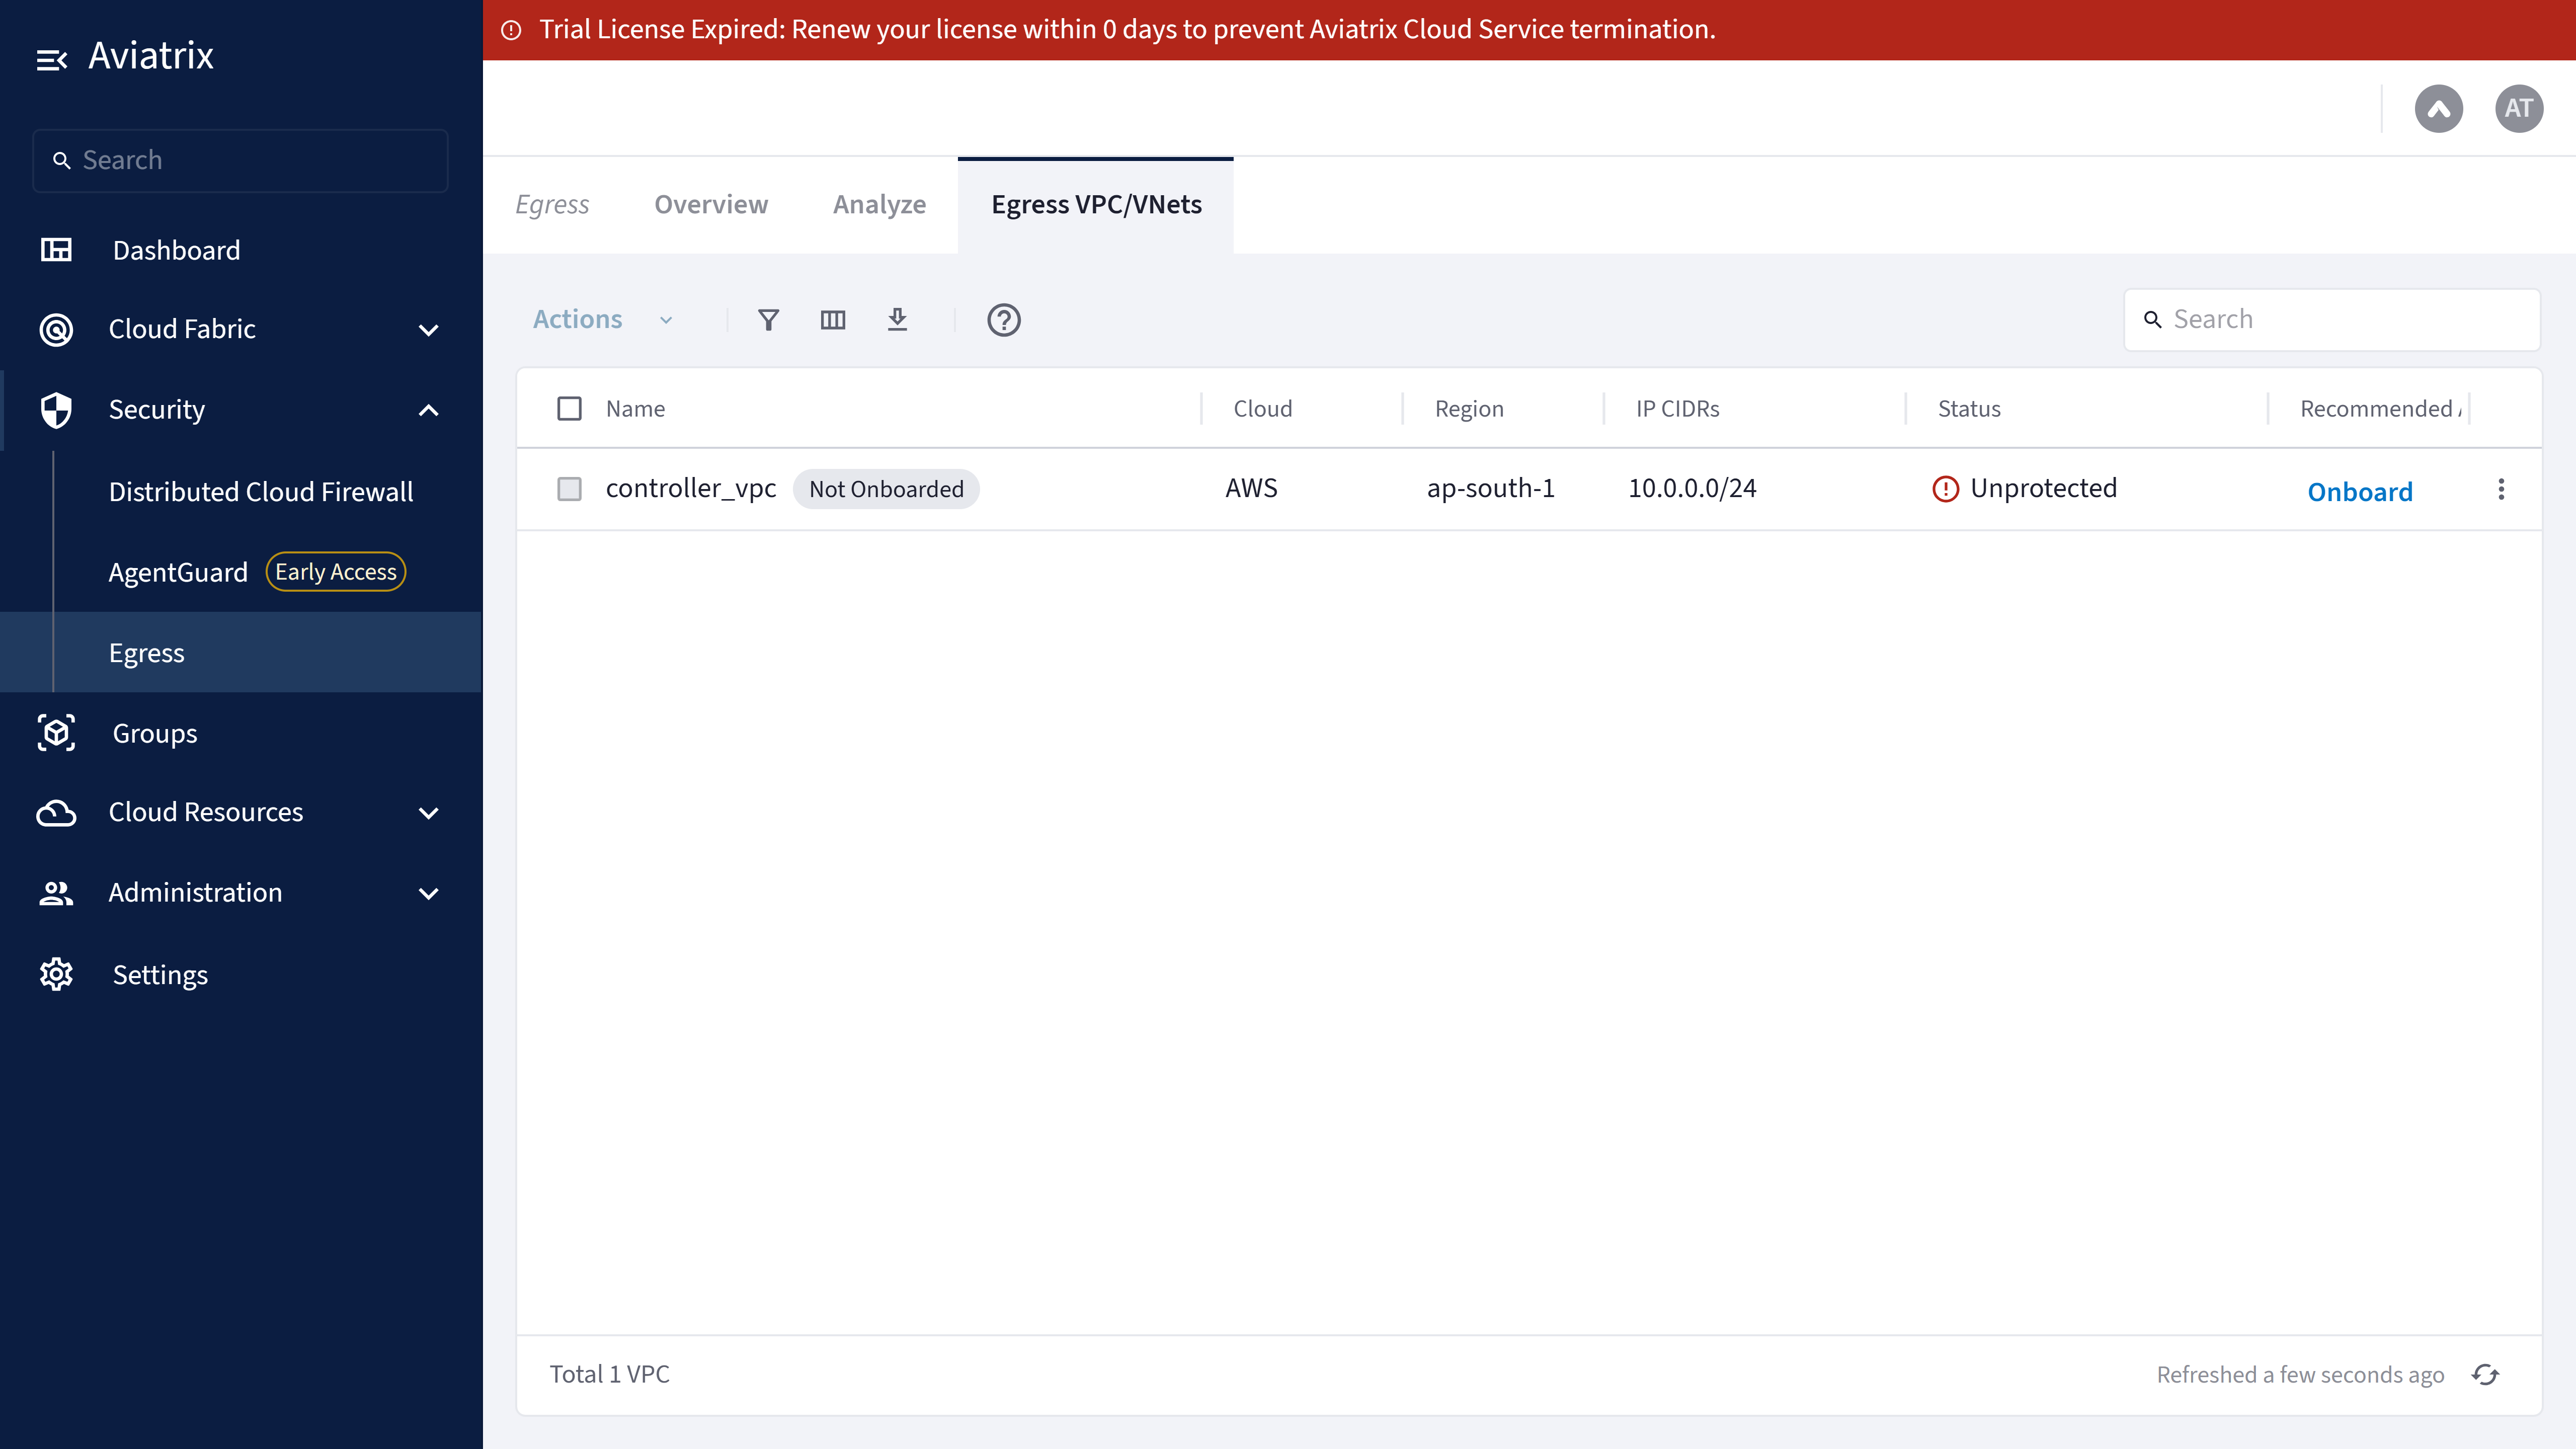
Enable Egress
1

Enable egress for the VPC

From the Aviatrix Cloud Console, navigate to Security > Egress > Egress VPCs, select your VPC, and set Egress = ON.
2

Wait for egress to be enabled

Wait for Egress Status = Enabled. The gateway and its network settings are configured automatically.
3

Send a test call

From an AI pod, send a test call — for example, to api.anthropic.com — and confirm that it returns HTTP 200. Pod settings do not change.
Enabling egress alone does not populate the AI Traffic Flows page. You must also add a rule with AI Inspection enabled, as described in Step 4: Create the Policy below.
Egress routing and address translation are configured automatically; no manual configuration is required.

Step 3: Create Your Groups

SmartGroups Creation
1

Create a SmartGroup for your agents

From the Aviatrix Cloud Console, navigate to Groups > Smart Groups > + SmartGroups. Assign a name, such as Agents, and match the label ai-type=llm-client. Matching pods join the group automatically. For the complete procedure, see Create SmartGroups.
2

Use the built-in WebGroups for AI providers

For destinations, use the built-in avx-ai-* WebGroups (for OpenAI, Anthropic, AWS, Google, and others). These WebGroups require no additional configuration.
3

Create WebGroups for your own destinations

Create a WebGroup for internal or restricted destinations. For the complete procedure, see Create WebGroups.

Step 4: Create the Policy

Create the Policy
1

Create the block rule

From the Aviatrix Cloud Console, navigate to Security > DCF > Policies > + Rule and create Rule 0 — Block-Untrusted, using the values in the table.
2

Create the monitor rule

Create Rule 1 — Monitor-AI-to-DB. Enable IPS only if you require PII detection on database queries.
3

Create the allow-and-inspect rule

Create Rule 2 — Agent-Guardrails with Action = PERMIT. Click Edit, set TLS Decryption = DECRYPT_ALLOWED, and set AI Inspection = ON. Click Save. For the TLS configuration procedure, see Configure TLS Decryption.
4

Create the east-west rule

Create the E/W rule to permit private-to-private traffic. This rule covers agent-to-MCP-server traffic across VPCs.
5

Verify the policy order

Confirm that the policy list shows the rules in priority order — 0, 1, 2, 6, then DefaultDenyAll — and that Rule 2 shows the AI Inspection = ON indicator.
Rule 0 is a DENY rule at the highest priority, and a lower-priority PERMIT rule cannot override it. Confirm that your intended destinations are not matched by the block rule.

Step 5: Trust the Certificate

TLS inspection decrypts HTTPS calls of your pods, so the pods must trust the Aviatrix certificate authority (CA). Without the CA, pods report TLS certificate errors after AI Inspection is enabled.
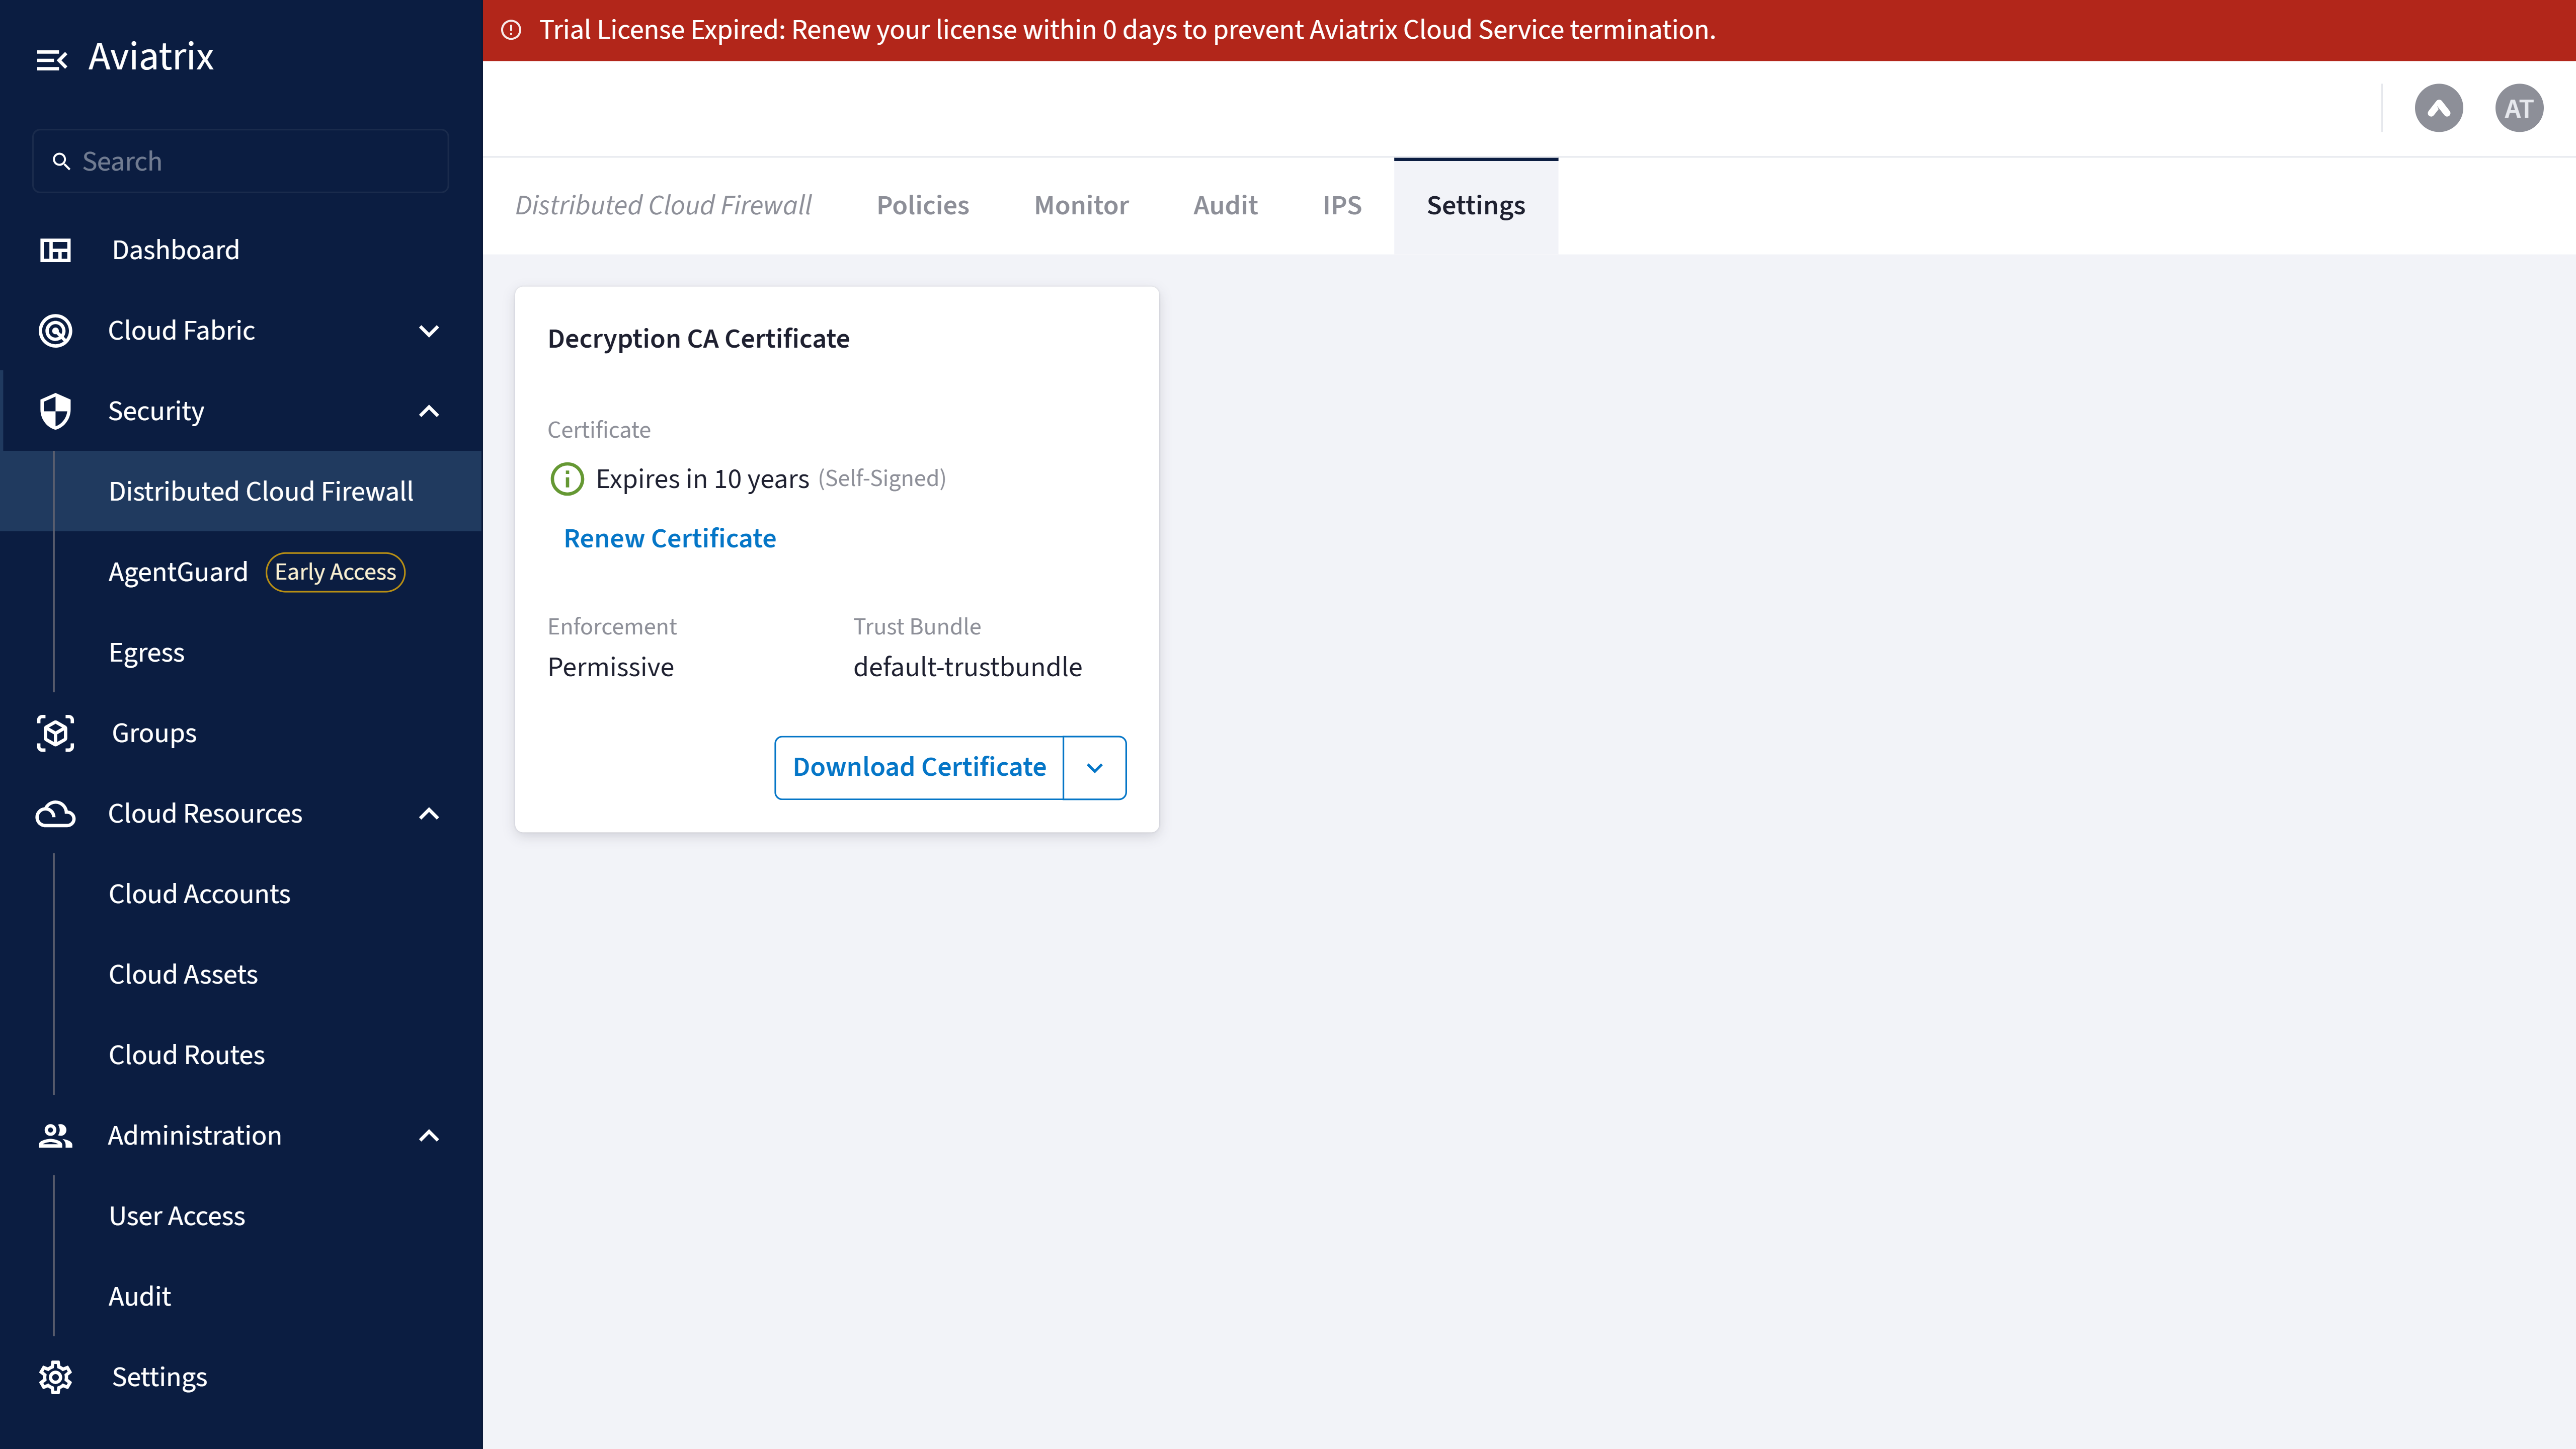
Trust the Certificate
1

Download the CA bundle

From the Aviatrix Cloud Console, navigate to Security > DCF > Settings and download the Aviatrix CA bundle. See Download the Decryption CA Certificate.
2

Create a Kubernetes secret

Create a secret from the CA file:
3

Mount the secret in your pods

Mount the secret as a volume in the agent pod deployment spec so that the pods trust the CA.
4

Test a call from a pod

From a pod, confirm that curl https://api.anthropic.com returns HTTP 200 with no TLS errors.

Step 6: Review the Traffic

Review the Traffic
1

Open the Flows list

From the Aviatrix Cloud Console, navigate to Security > AgentGuard > AI Traffic Flows > Flows. Confirm that the Source column shows workload names rather than IP addresses. Internal IP addresses resolve to workload names after they are enriched with cloud resource inventory data.
2

Review both directions of traffic

Review both types of traffic: agent to internal MCP server (east-west) and agent to external provider (north-south). Check the Vendor and Action columns.
3

Open the Map

Open the Map tab. The diagram has three columns: your workloads on the left, internal services in the center, and external providers on the right. Internal servers appear in the center column, not the right.
4

Open the Overview dashboard

Open the Overview tab. Review the summary cards, the vendor donut chart, and the graphs. Apply a filter, such as Vendor = Anthropic, and confirm that it carries across the tabs.

Troubleshooting

Confirm that Egress Status = Enabled and that the gateway shows Status = UP. Egress routing is applied automatically after egress is enabled.
Confirm that the VPC shows Status = Onboarded. The HA gateway pair is created automatically during VPC onboarding.
Check the requirements in order: Egress Status = Enabled, then at least one DCF rule with AI Inspection = ON, then at least one matching AI call. Policy changes take effect in under a minute, but the first matching flow can take a couple of minutes to appear after the call is made.
This is expected for a short time after a VPC or Kubernetes cluster is onboarded — internal IP addresses resolve to workload names once they are enriched with cloud resource inventory data. If names do not appear after a few minutes, confirm that the VPC shows Status = Onboarded and, for Kubernetes workloads, that the cluster shows Onboarded = Yes.
Confirm that the Aviatrix CA secret is created and mounted in the pod, and that the rule has TLS Decryption = DECRYPT_ALLOWED. If pods report unable to get local issuer certificate even with the CA installed, re-download the current CA bundle from Security > DCF > Settings rather than reusing a previously saved certificate file — an outdated or incomplete certificate produces this exact error.
URL path, HTTP method, and model detail require AI Inspection and TLS Decryption together on the matching rule, plus a trusted CA on the pod. A flow with only one of these enabled shows limited detail instead of the full breakdown.
Confirm that Rule 0 (Block-Untrusted) does not match the destination. Rule 0 runs at the highest priority, and a lower-priority PERMIT rule cannot override a higher-priority DENY rule.