- SmartGroups
- ExternalGroups
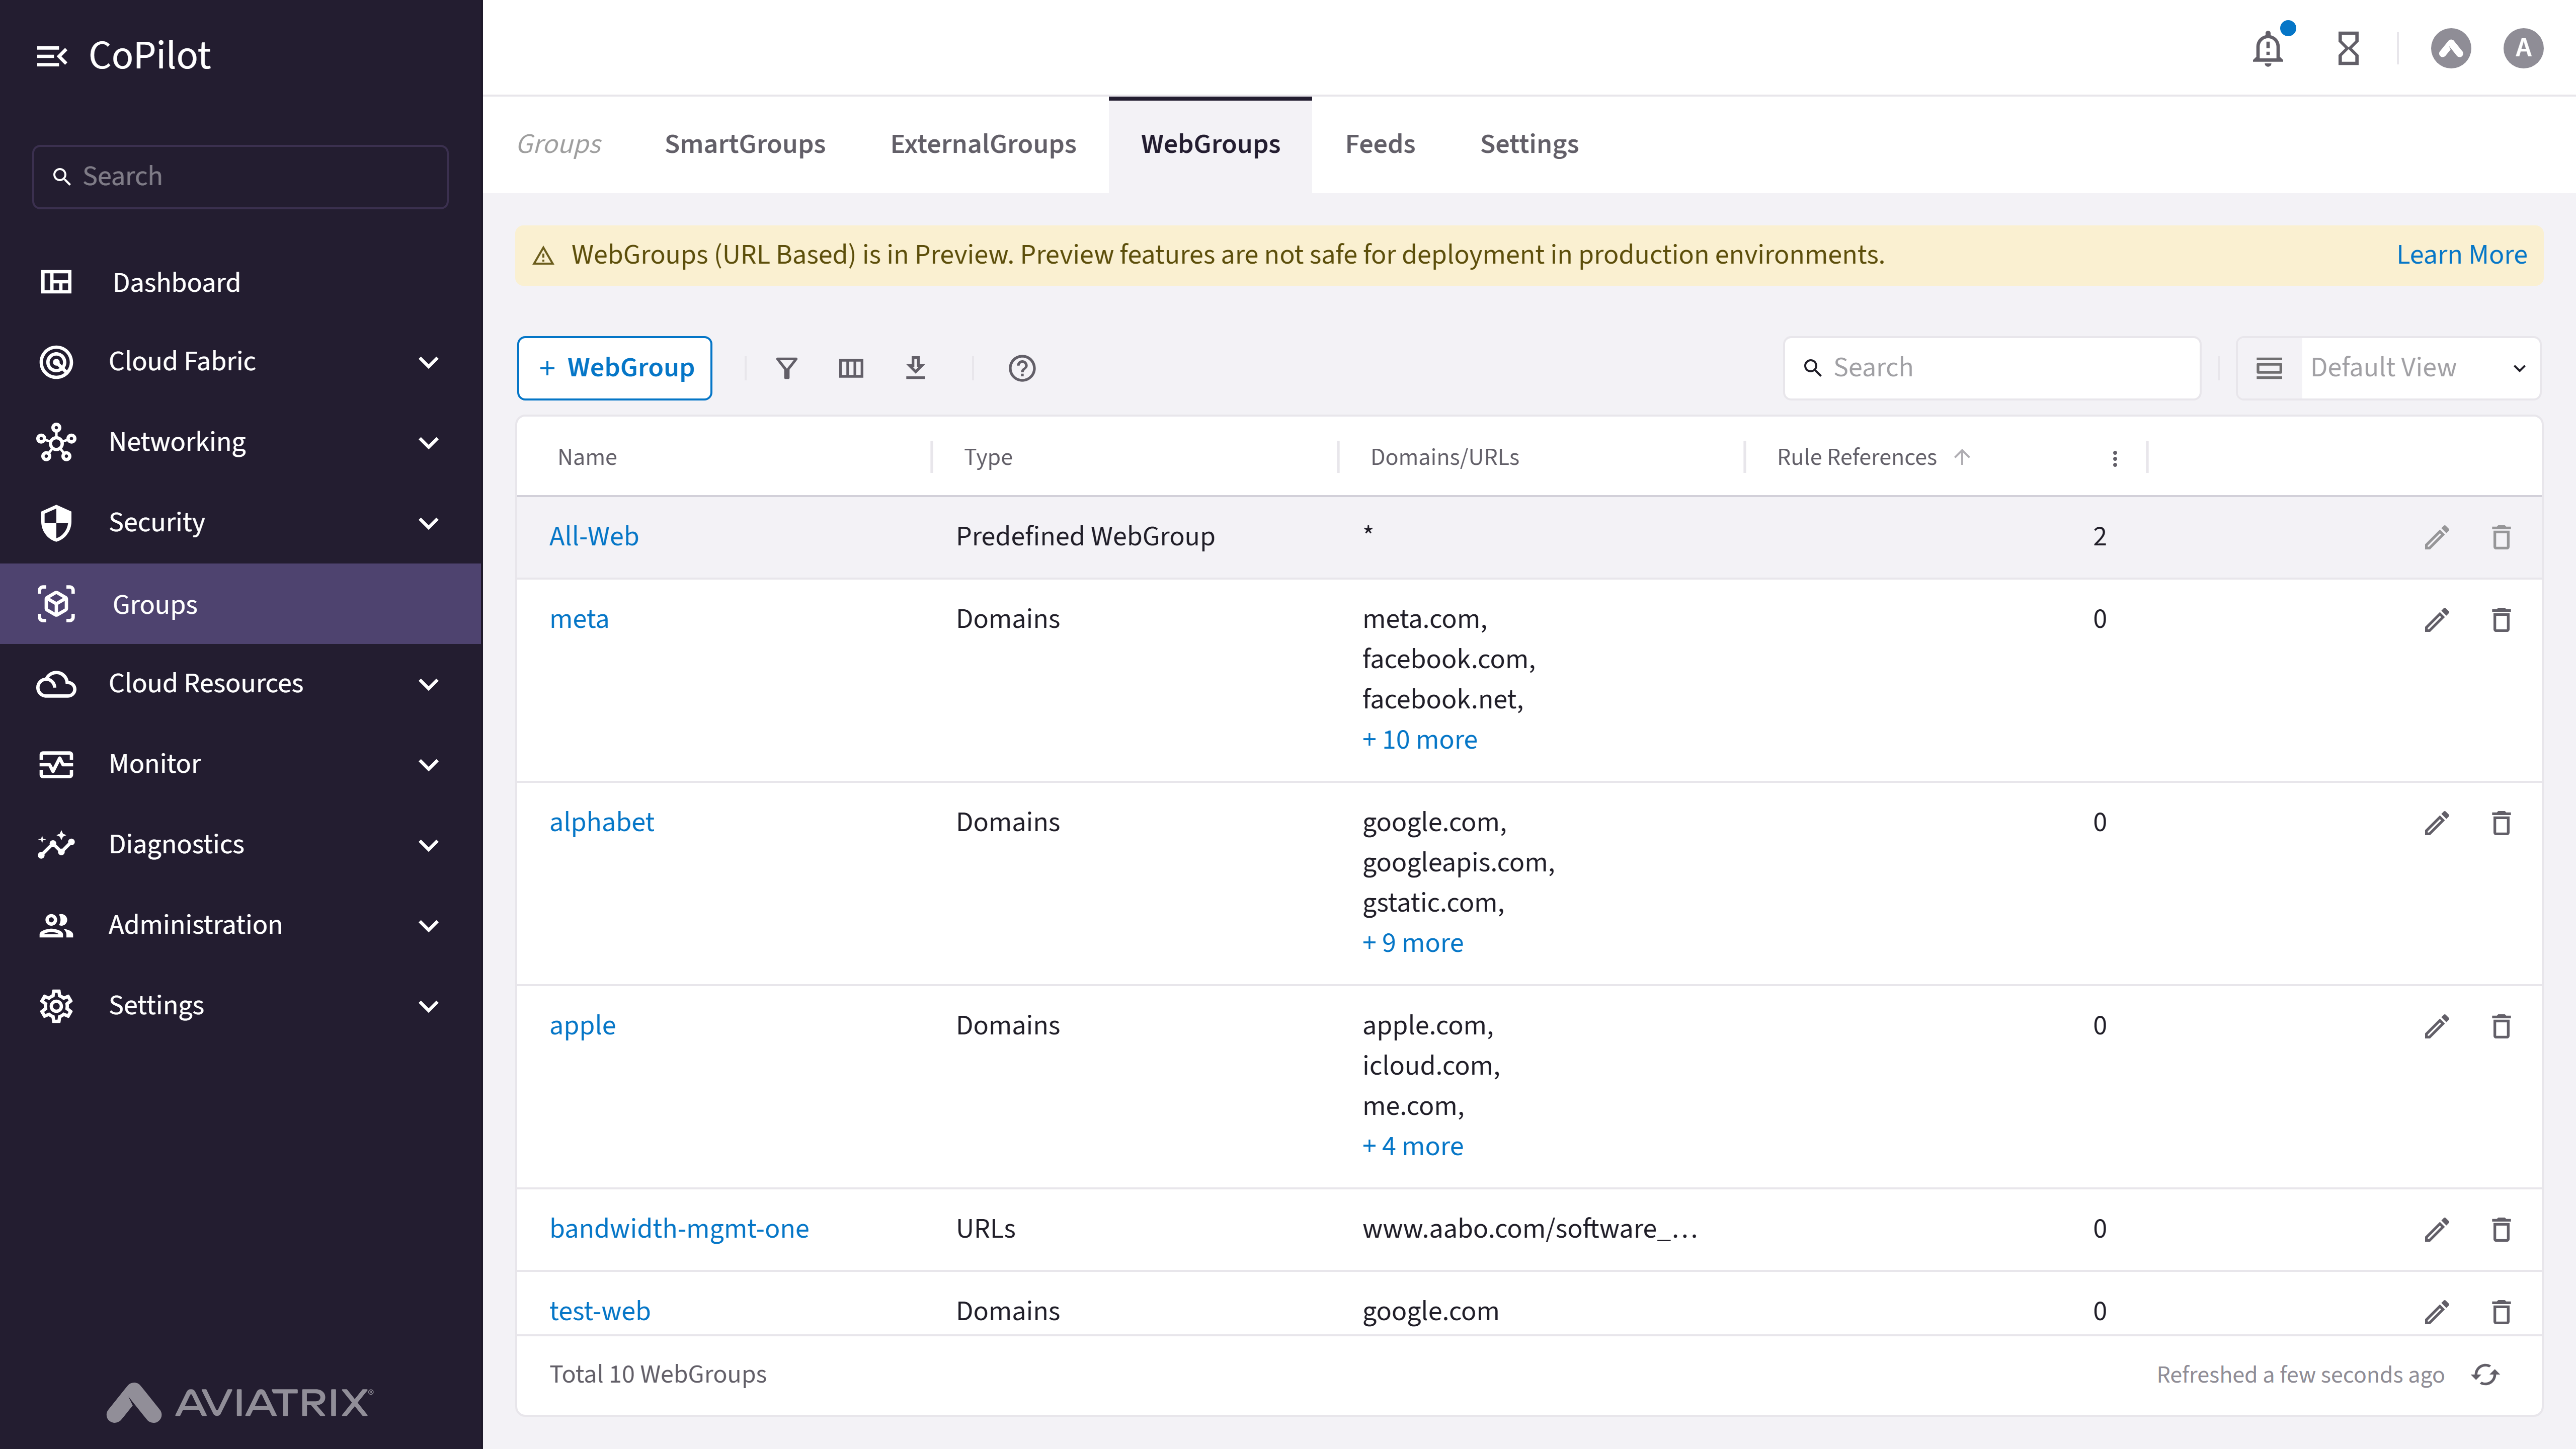
- WebGroups
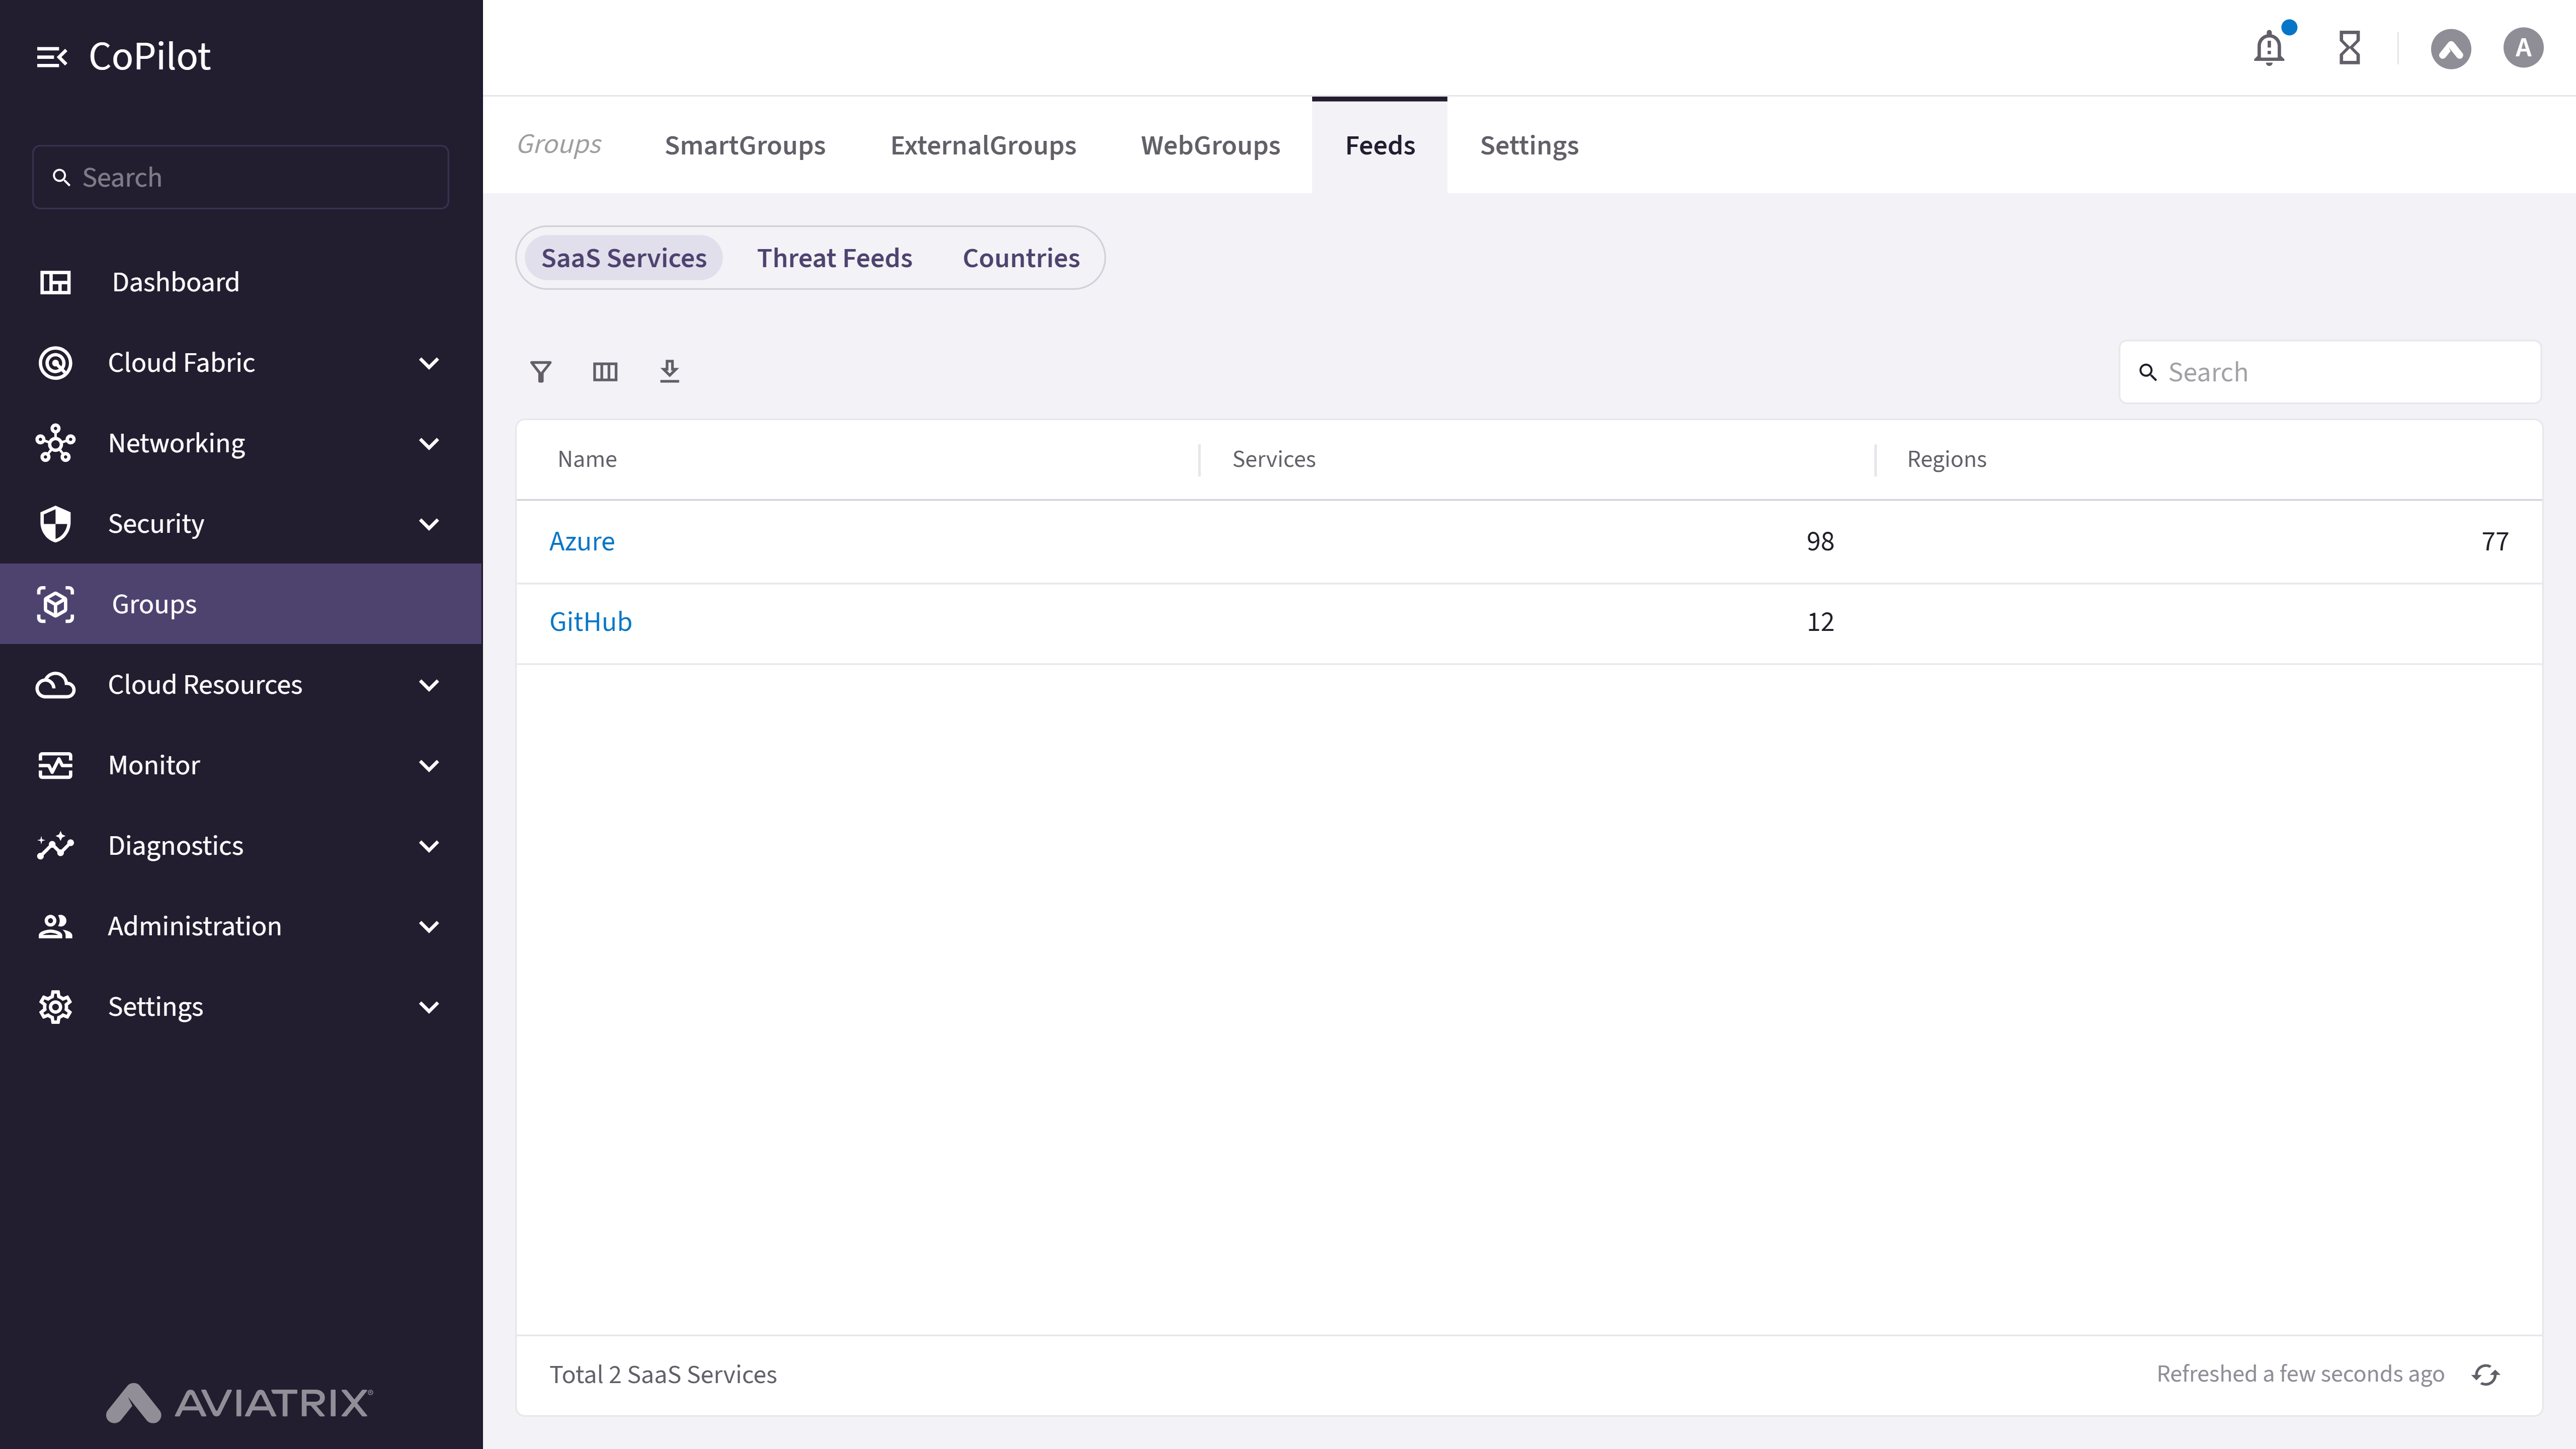
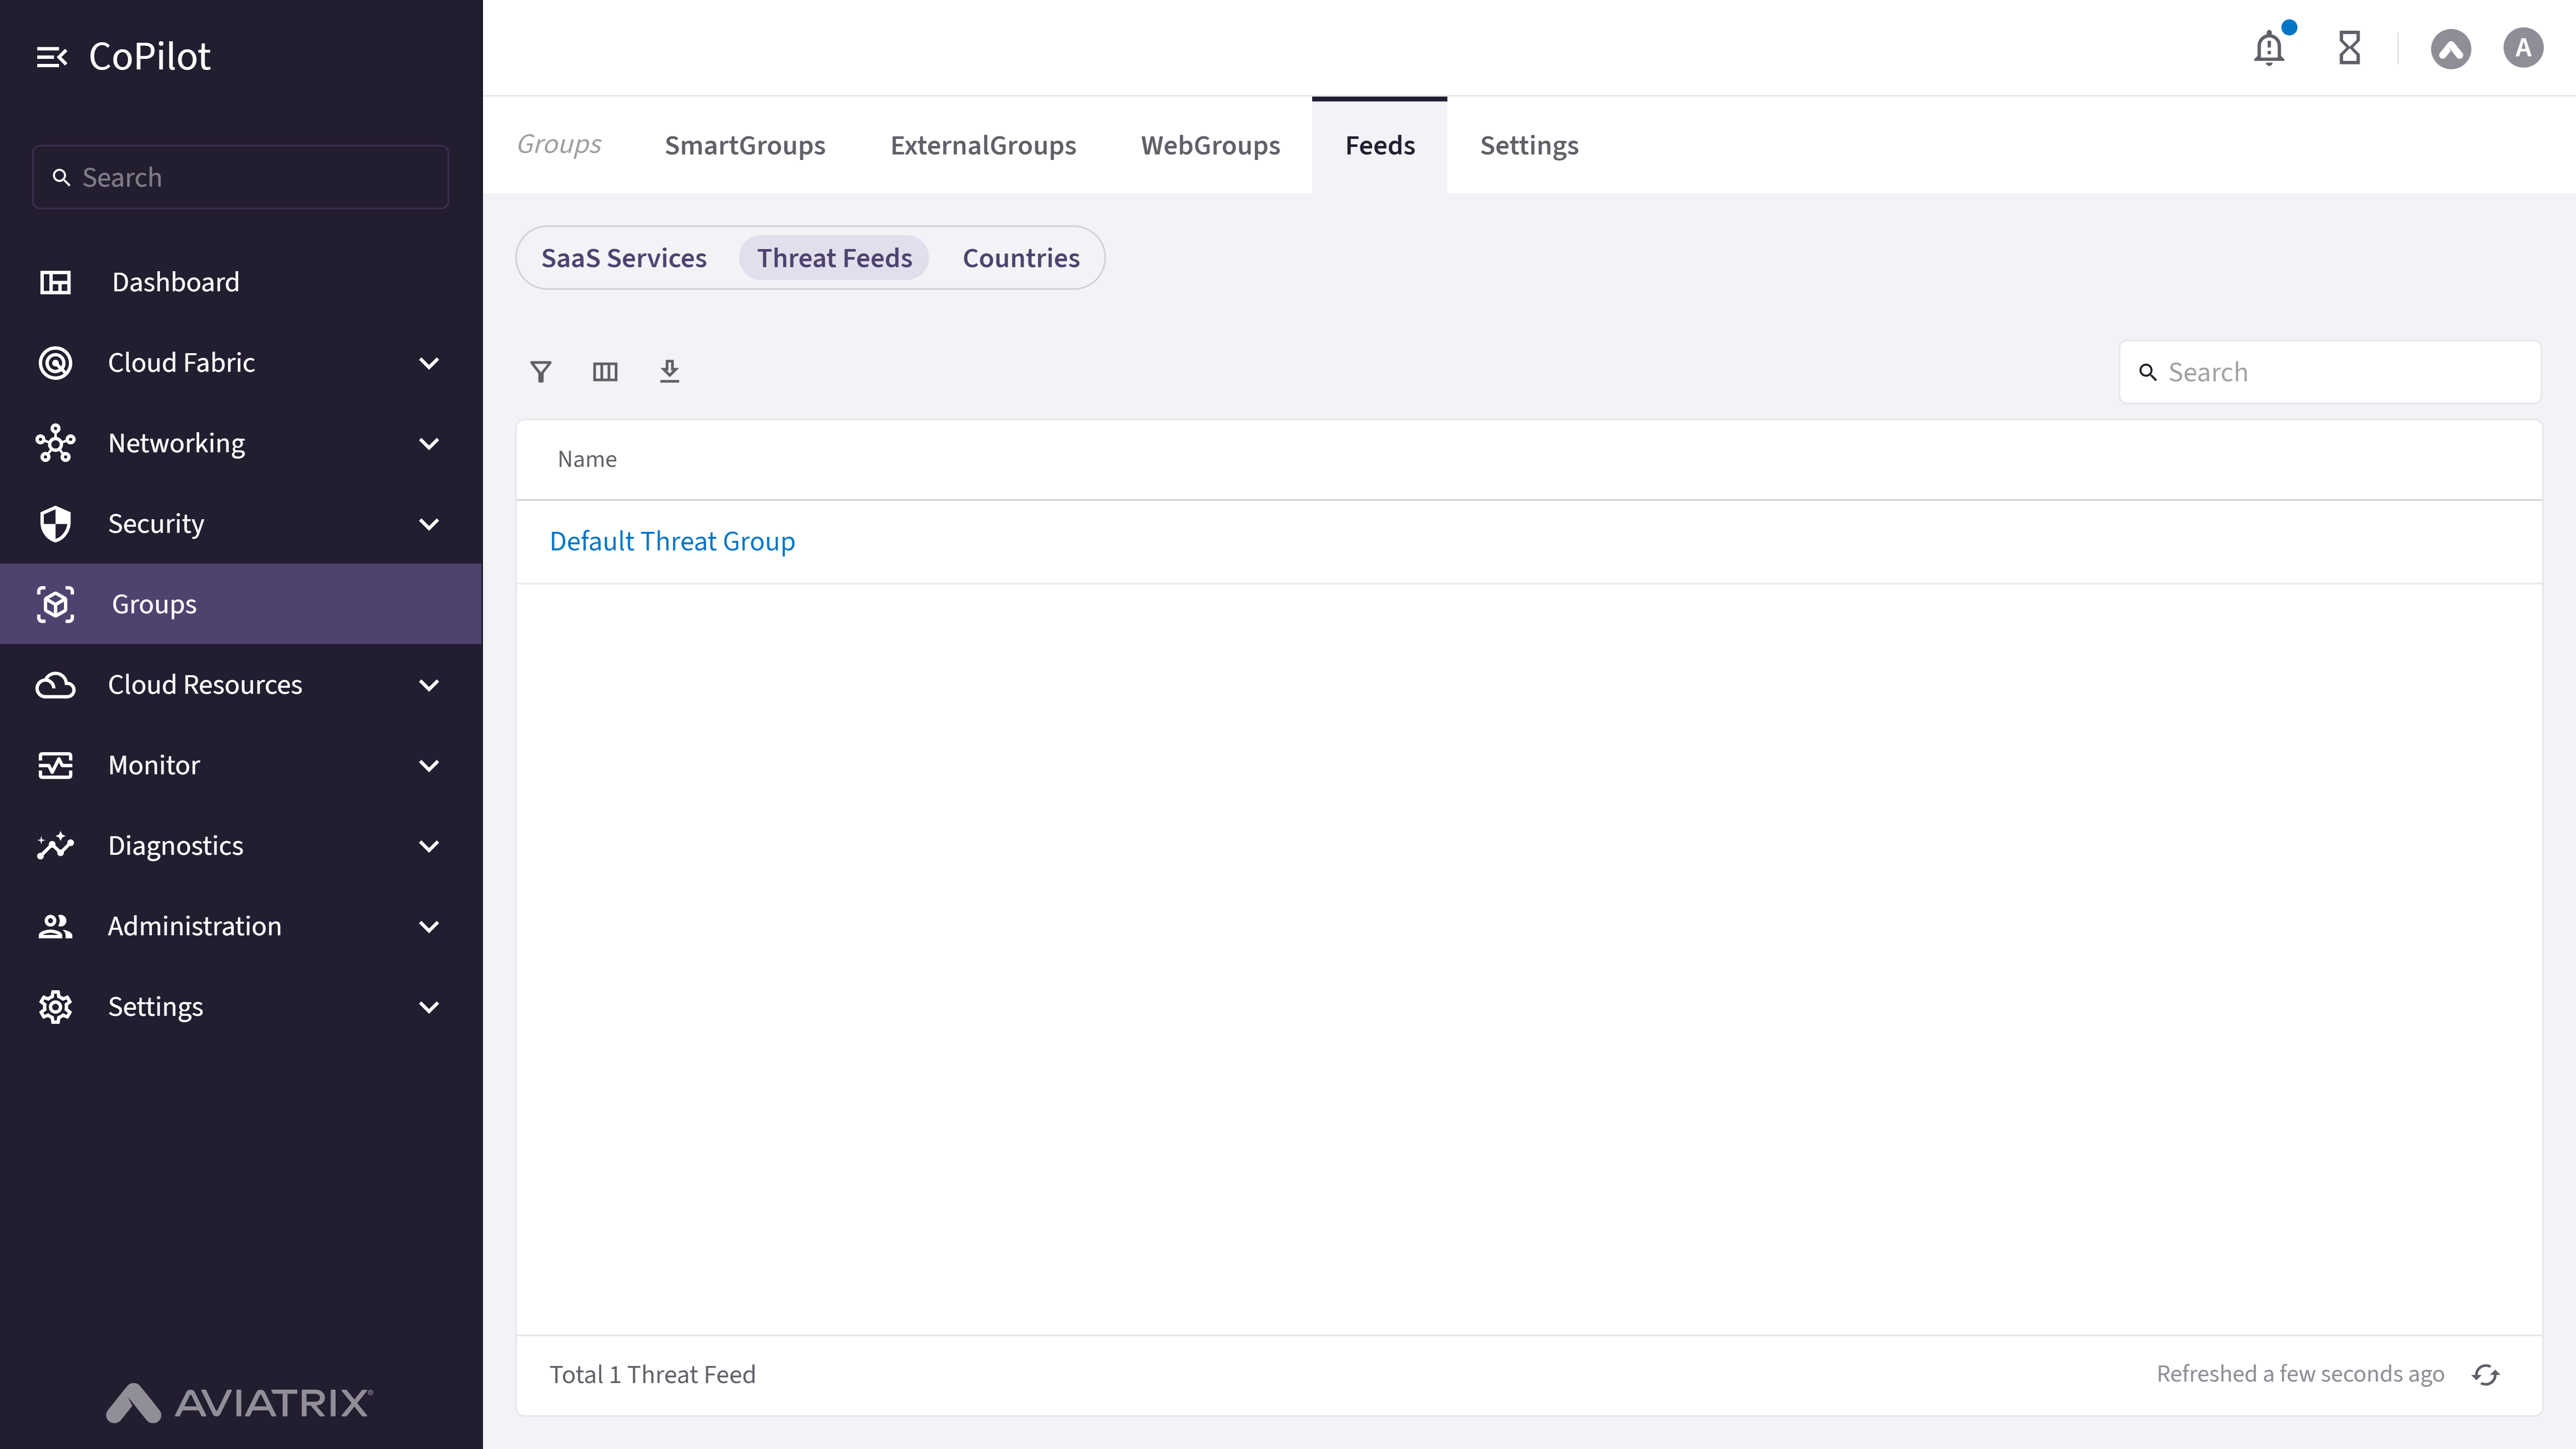
- Feeds
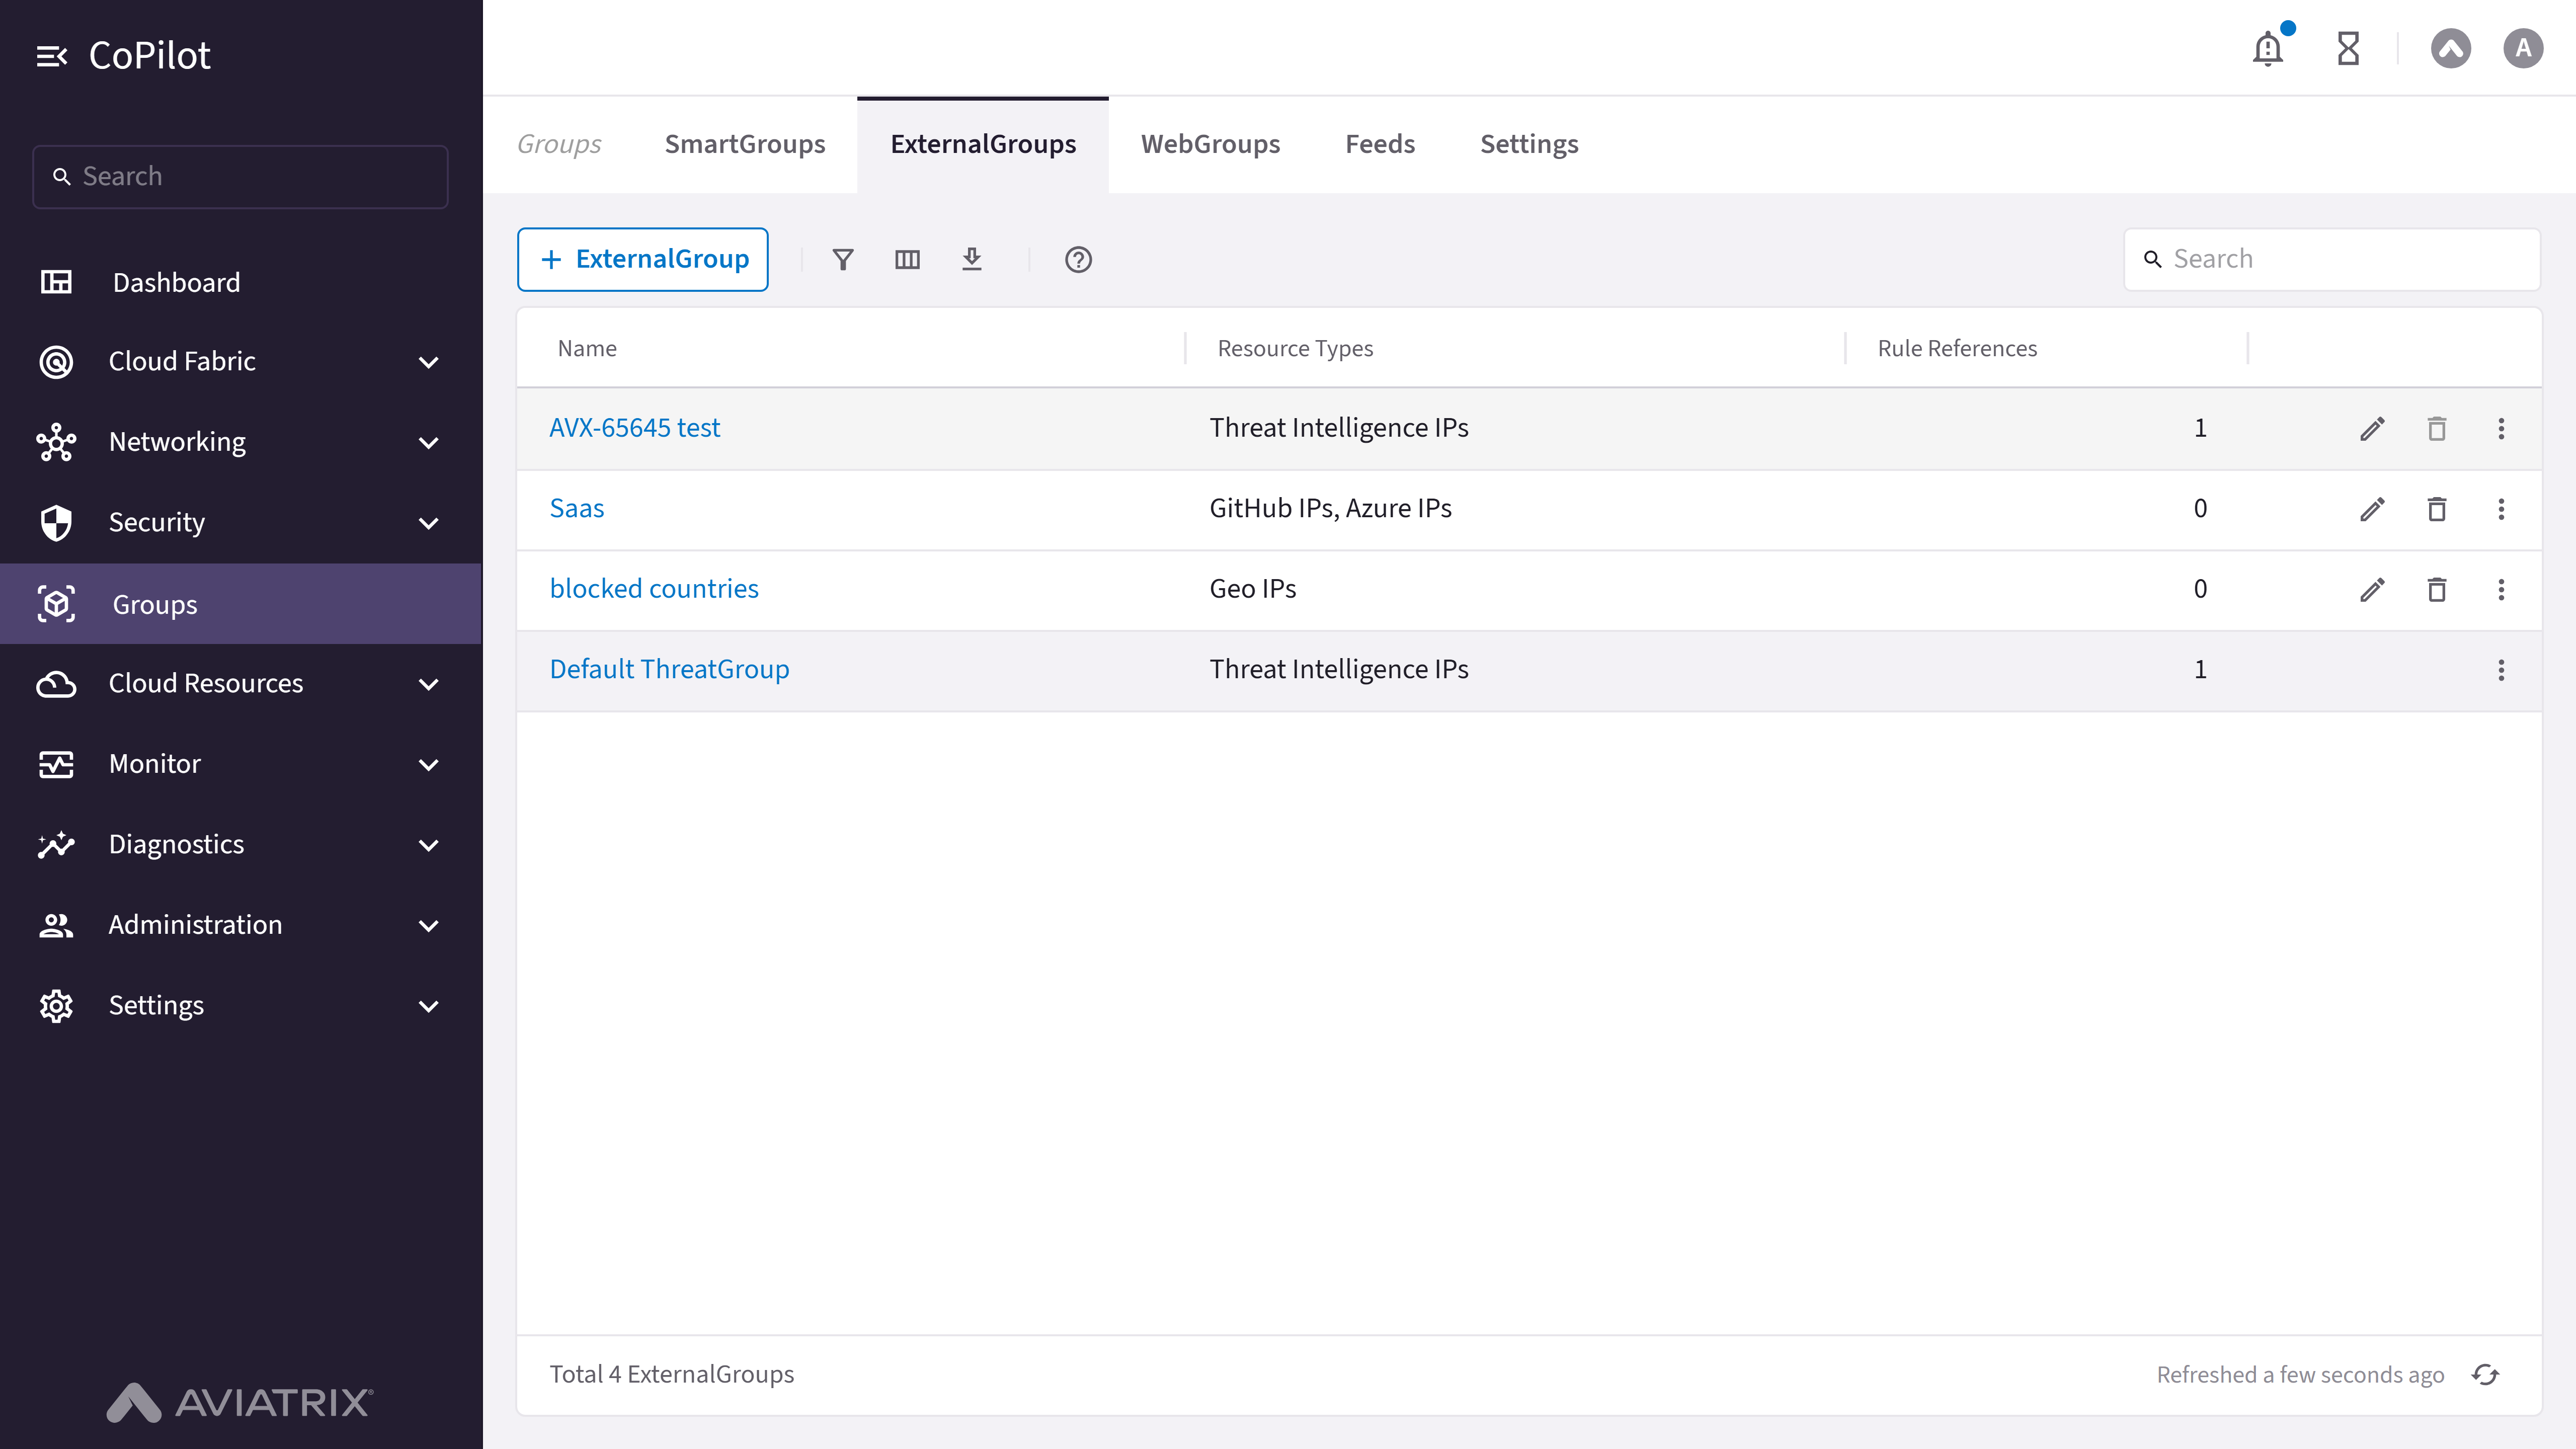
- Settings
Purpose
The SmartGroups page displays and manages SmartGroups, which are dynamic collections of resources that can be used for filtering, policy configuration, and network management across the Aviatrix CoPilot platform.Elements
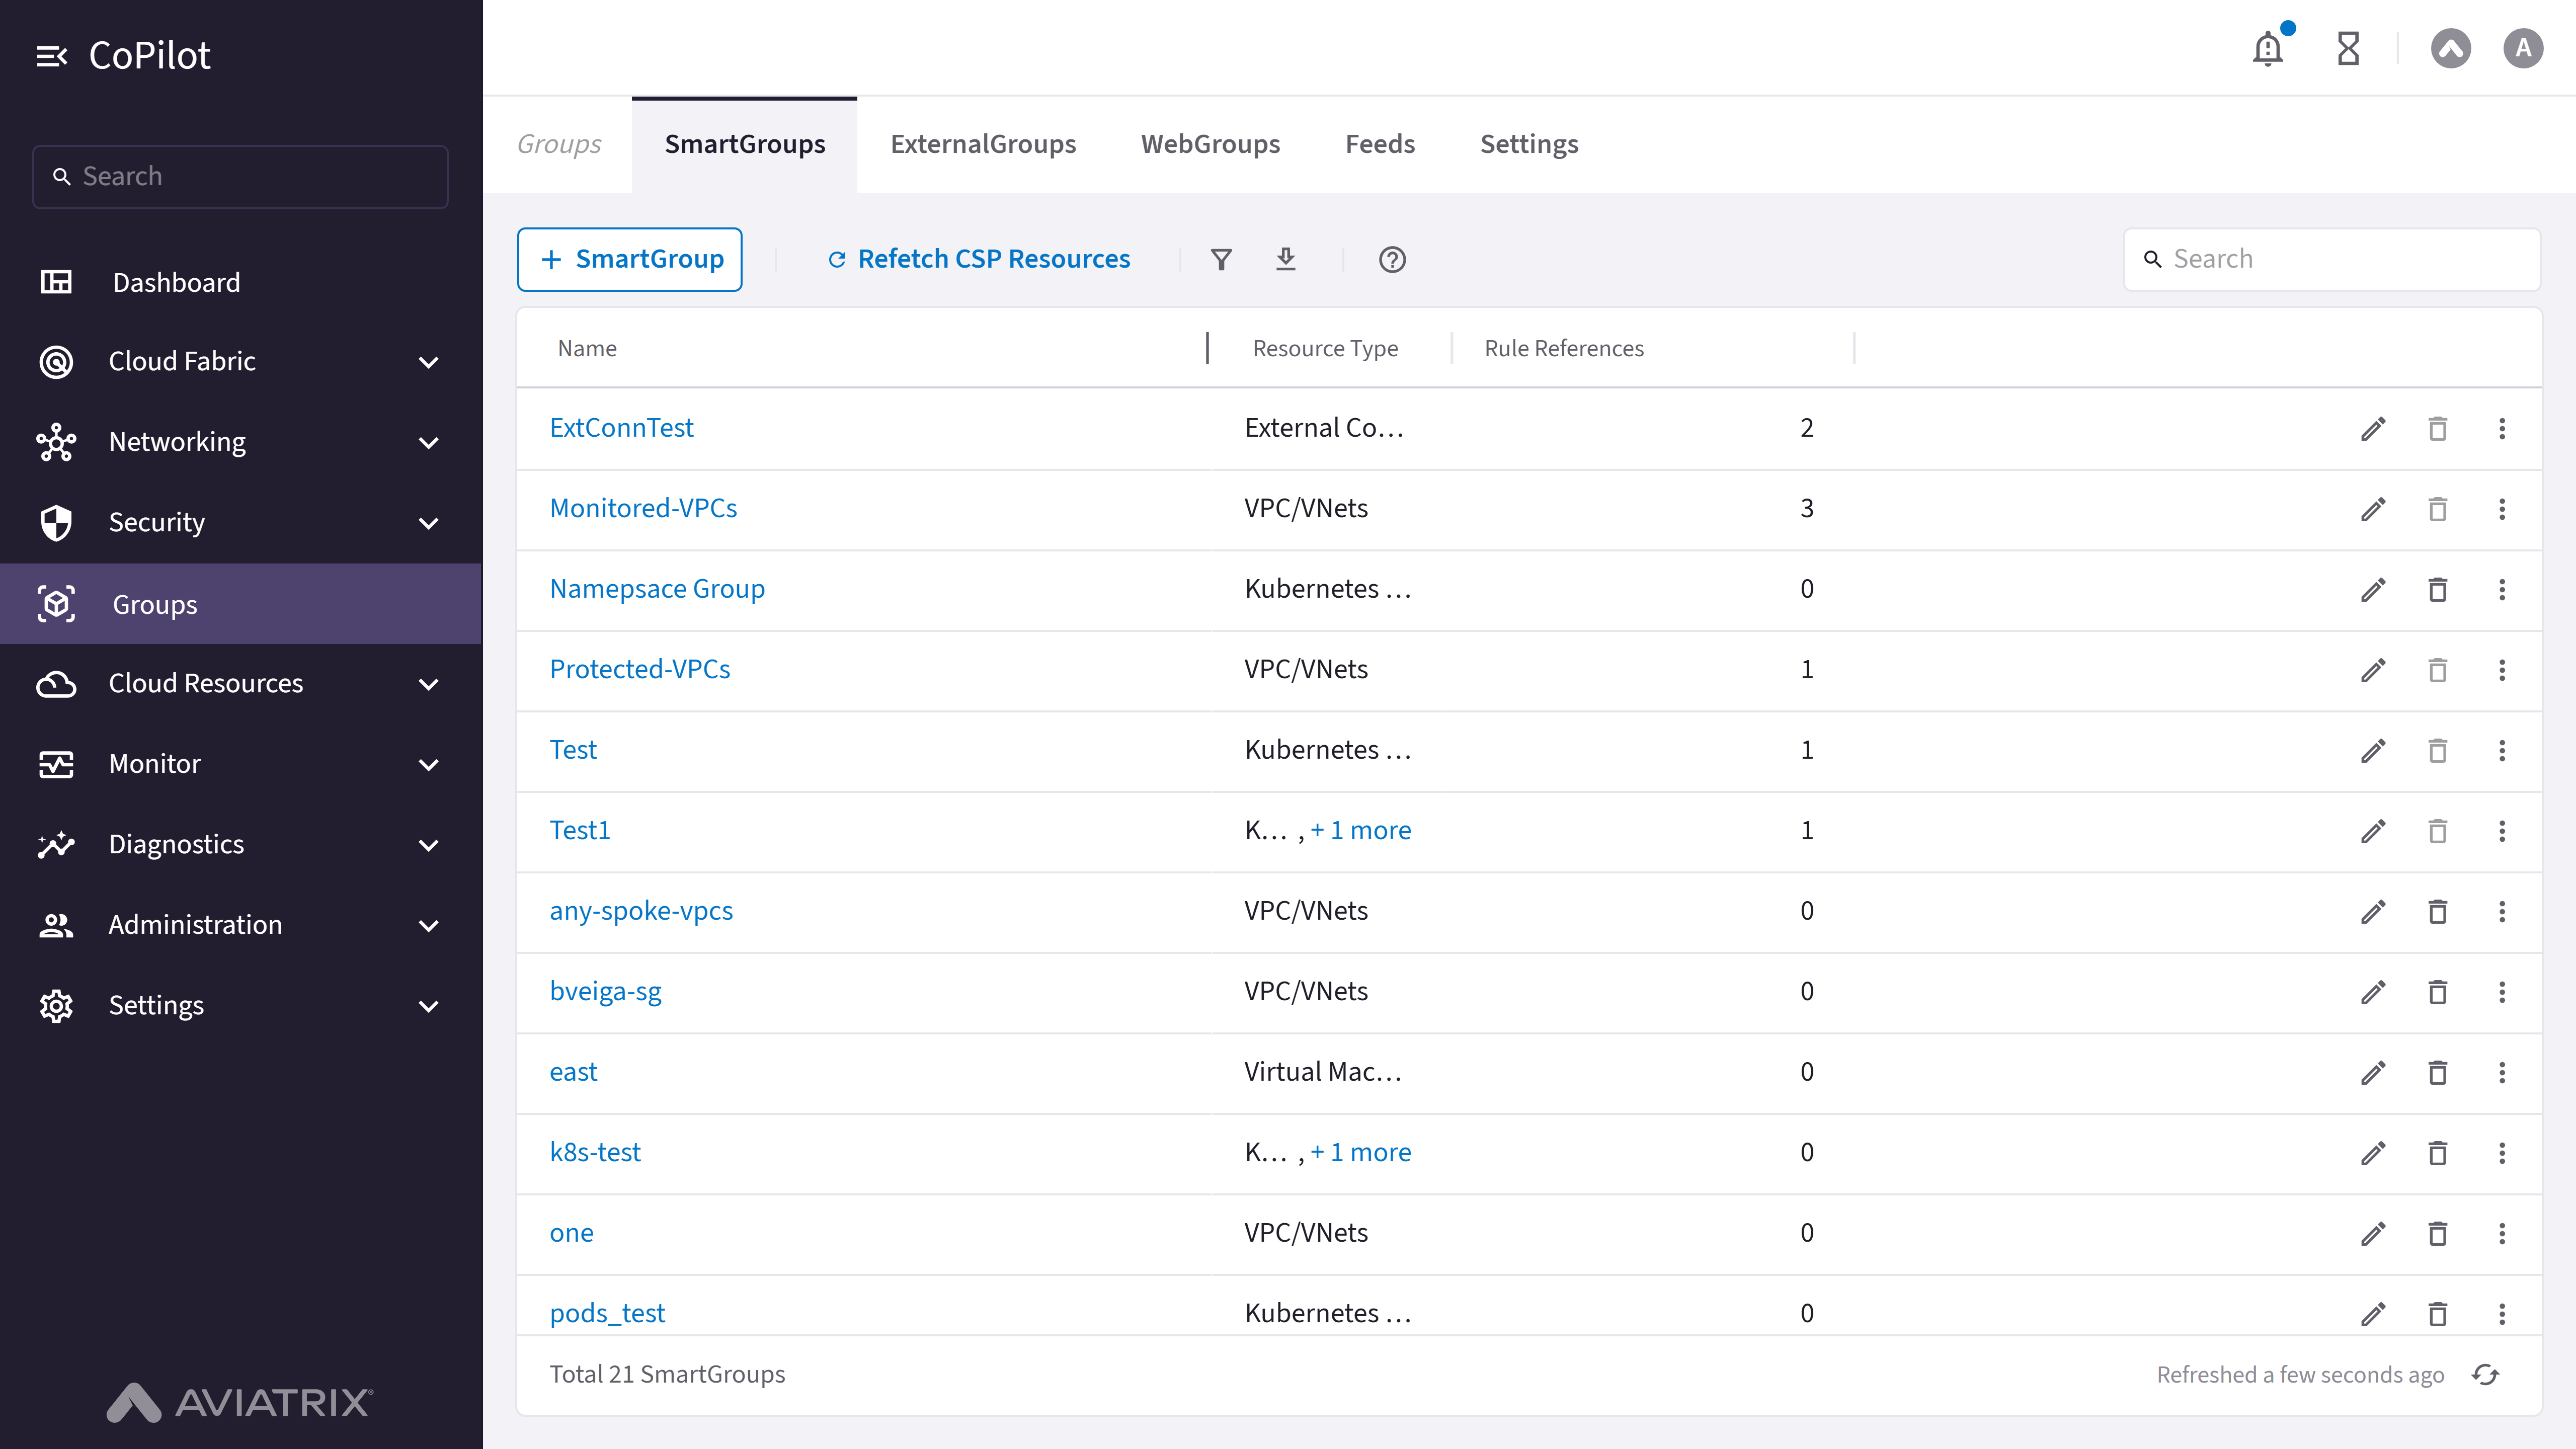
- SmartGroups table: Shows a list of all configured SmartGroups with their details. Available only to admin users; non-admin users see the table without an actions column.
- + SmartGroup button: Button to create a new SmartGroup. Admin users only.
- Refetch CSP Resources button: Button to refresh cloud service provider resources so that SmartGroup membership reflects the current cloud state. Admin users only.
- Show filters button: Button to show or hide filter options.
- Export button: Button to export SmartGroups data.
- Search box: Search box for filtering SmartGroups in the table.
- Refresh button: Button to refresh the SmartGroups table data.
Actions
View SmartGroups
View SmartGroups
To view SmartGroups:
- Go to Groups > SmartGroups.
- The SmartGroups page appears with the SmartGroups table listing all configured SmartGroups.
- Optionally, use Search or Show filters to filter the table.
- Optionally, click Export to export SmartGroups data or Refresh to refresh the table.
Parameter Details
Create SmartGroup
Create SmartGroup
To create a new SmartGroup:
- Go to Groups > SmartGroups.
- Click + SmartGroup.
- Enter a unique Name for the SmartGroup.
- Under Resource Selection, click Resource Type and select a resource type to add a match-condition block for it (Virtual Machines, Subnets, VPC/VNets, Edge Sites, IPs/CIDRs, DNS Hostnames, External Connections (S2C), Kubernetes Workloads, Kubernetes Nodes, or Serverless — the list depends on which resource types are connected and unlocked; Virtual Machines, Subnets, and VPC/VNets are supported only on public AWS, Azure, and GCP clouds).
- For each resource-type block, build one or more match conditions (for example, matching a cloud tag key/value or a resource property), and choose whether the block matches all conditions (AND) or any condition (OR). Repeat step 4 to add more resource-type blocks; multiple blocks are combined with OR.
- Optionally, toggle Preview to replace the query builder with a table of the resources currently matched by the selector, to verify the count and identity of matched resources.
- Click Save.
Parameter Details
Edit SmartGroup
Edit SmartGroup
To edit a SmartGroup:
- Go to Groups > SmartGroups.
- Locate and select the SmartGroup in the table.
Optionally, use Search or Show filters to find it. - Click the Edit icon in the actions column, or open the SmartGroup’s details drawer and click Edit there.
- In the Edit SmartGroup: <name> dialog, update the Name or the resource-type match conditions as needed.
- Click Save.
Clone SmartGroup
Clone SmartGroup
To create a copy of an existing SmartGroup:
- Go to Groups > SmartGroups.
- In the actions column for the SmartGroup, open the overflow menu and select Clone SmartGroup.
- In the Clone SmartGroup: <name> dialog, the Name defaults to
Copy-of-<name>with the same resource-type match conditions; adjust as needed. - Click Save.
Delete SmartGroup
Delete SmartGroup
To delete a SmartGroup:
- Go to Groups > SmartGroups.
- Locate and select the SmartGroup in the table.
Optionally, use Search or Show filters to find it. - Click the Delete icon in the actions column.
- Confirm the deletion.
Refetch CSP Resources
Refetch CSP Resources
To refresh cloud service provider resources for SmartGroups:
- Go to Groups > SmartGroups.
- Click Refetch CSP Resources.
View a SmartGroup's Details
View a SmartGroup's Details
To view the details of a SmartGroup:
- Go to Groups > SmartGroups.
- Click the Name of the SmartGroup in the table.