> ## Documentation Index
> Fetch the complete documentation index at: https://docs.aviatrix.com/llms.txt
> Use this file to discover all available pages before exploring further.
# Onboard Your AWS Access Account in Controller
> You can onboard an AWS account to your Aviatrix Controller from the Controller UI.
You can onboard an AWS account to your Aviatrix Controller from the Controller
UI.
You need to deploy a separate Controller to use{" "}
AWS China
.
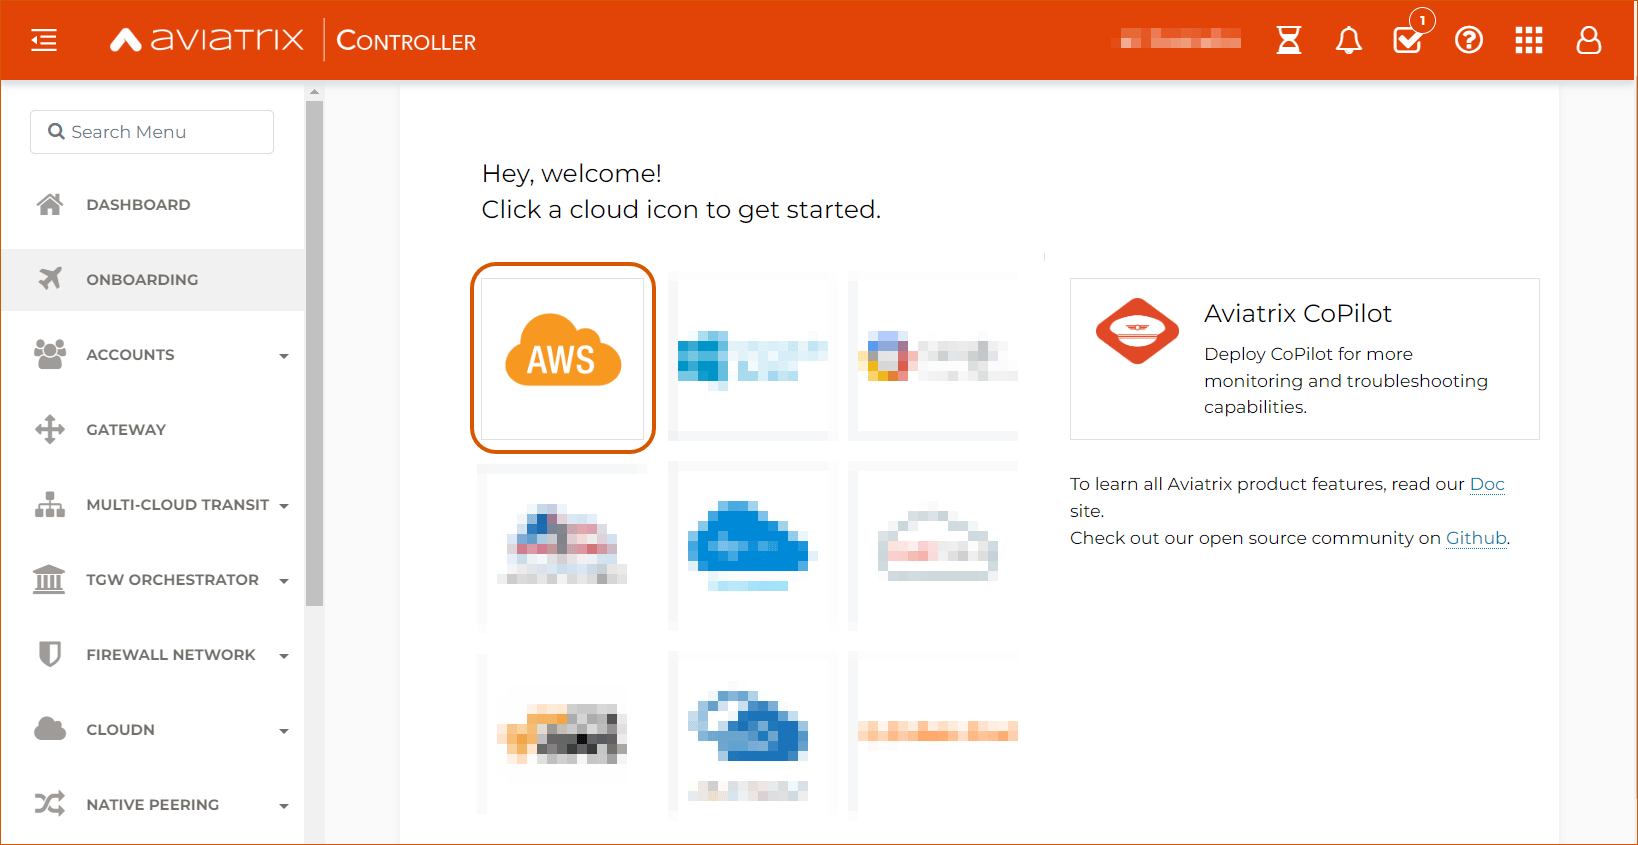
1. In your Controller, navigate to *Onboarding* in the left sidebar, and then
click on the *AWS* icon.
 2. Enter your AWS account's Customer ID.
This Customer ID was emailed to you when you subscribed to the license. If
you do not have a Customer ID, please contact Aviatrix Support.
3. Skip the Enter Certificate Domain field, which is only relevant for AWS China
accounts.
4. Under Create Primary Access Account - AWS, enter:
* Account Name: A name for this account. Note that this name is only used
within your Controller and does not need to match the name or ID from your
AWS account.
* AWS Account Number: Enter your 12-digit Account ID. To find this Account
ID, open your AWS account and click on the dropdown menu in the top right
corner. Select Account. Your Account ID is listed at the top of the page
under Account Settings.
* IAM role-based: Mark the **Use IAM Roles** checkbox.
If you leave this checkbox unmarked, use the ARN values in the optional
fields in this section to set up user roles. ARN values are only required
if you are onboarding an account that is separate from the one from which
you deployed the Controller.
5. Click *Create* to finish onboarding your AWS account.
6. Verify your email address at *Settings > Controller*.
7. Enter the verification code sent to your email address.
You can now use advanced settings to configure your IAM roles, launch gateways, and build a
single- or multicloud network architecture.
To launch Aviatrix CoPilot, please see the{" "}
CoPilot Deployment Guide
.
2. Enter your AWS account's Customer ID.
This Customer ID was emailed to you when you subscribed to the license. If
you do not have a Customer ID, please contact Aviatrix Support.
3. Skip the Enter Certificate Domain field, which is only relevant for AWS China
accounts.
4. Under Create Primary Access Account - AWS, enter:
* Account Name: A name for this account. Note that this name is only used
within your Controller and does not need to match the name or ID from your
AWS account.
* AWS Account Number: Enter your 12-digit Account ID. To find this Account
ID, open your AWS account and click on the dropdown menu in the top right
corner. Select Account. Your Account ID is listed at the top of the page
under Account Settings.
* IAM role-based: Mark the **Use IAM Roles** checkbox.
If you leave this checkbox unmarked, use the ARN values in the optional
fields in this section to set up user roles. ARN values are only required
if you are onboarding an account that is separate from the one from which
you deployed the Controller.
5. Click *Create* to finish onboarding your AWS account.
6. Verify your email address at *Settings > Controller*.
7. Enter the verification code sent to your email address.
You can now use advanced settings to configure your IAM roles, launch gateways, and build a
single- or multicloud network architecture.
To launch Aviatrix CoPilot, please see the{" "}
CoPilot Deployment Guide
.